Sure! Here’s a revised version of your content while keeping the HTML tags and format unchanged:
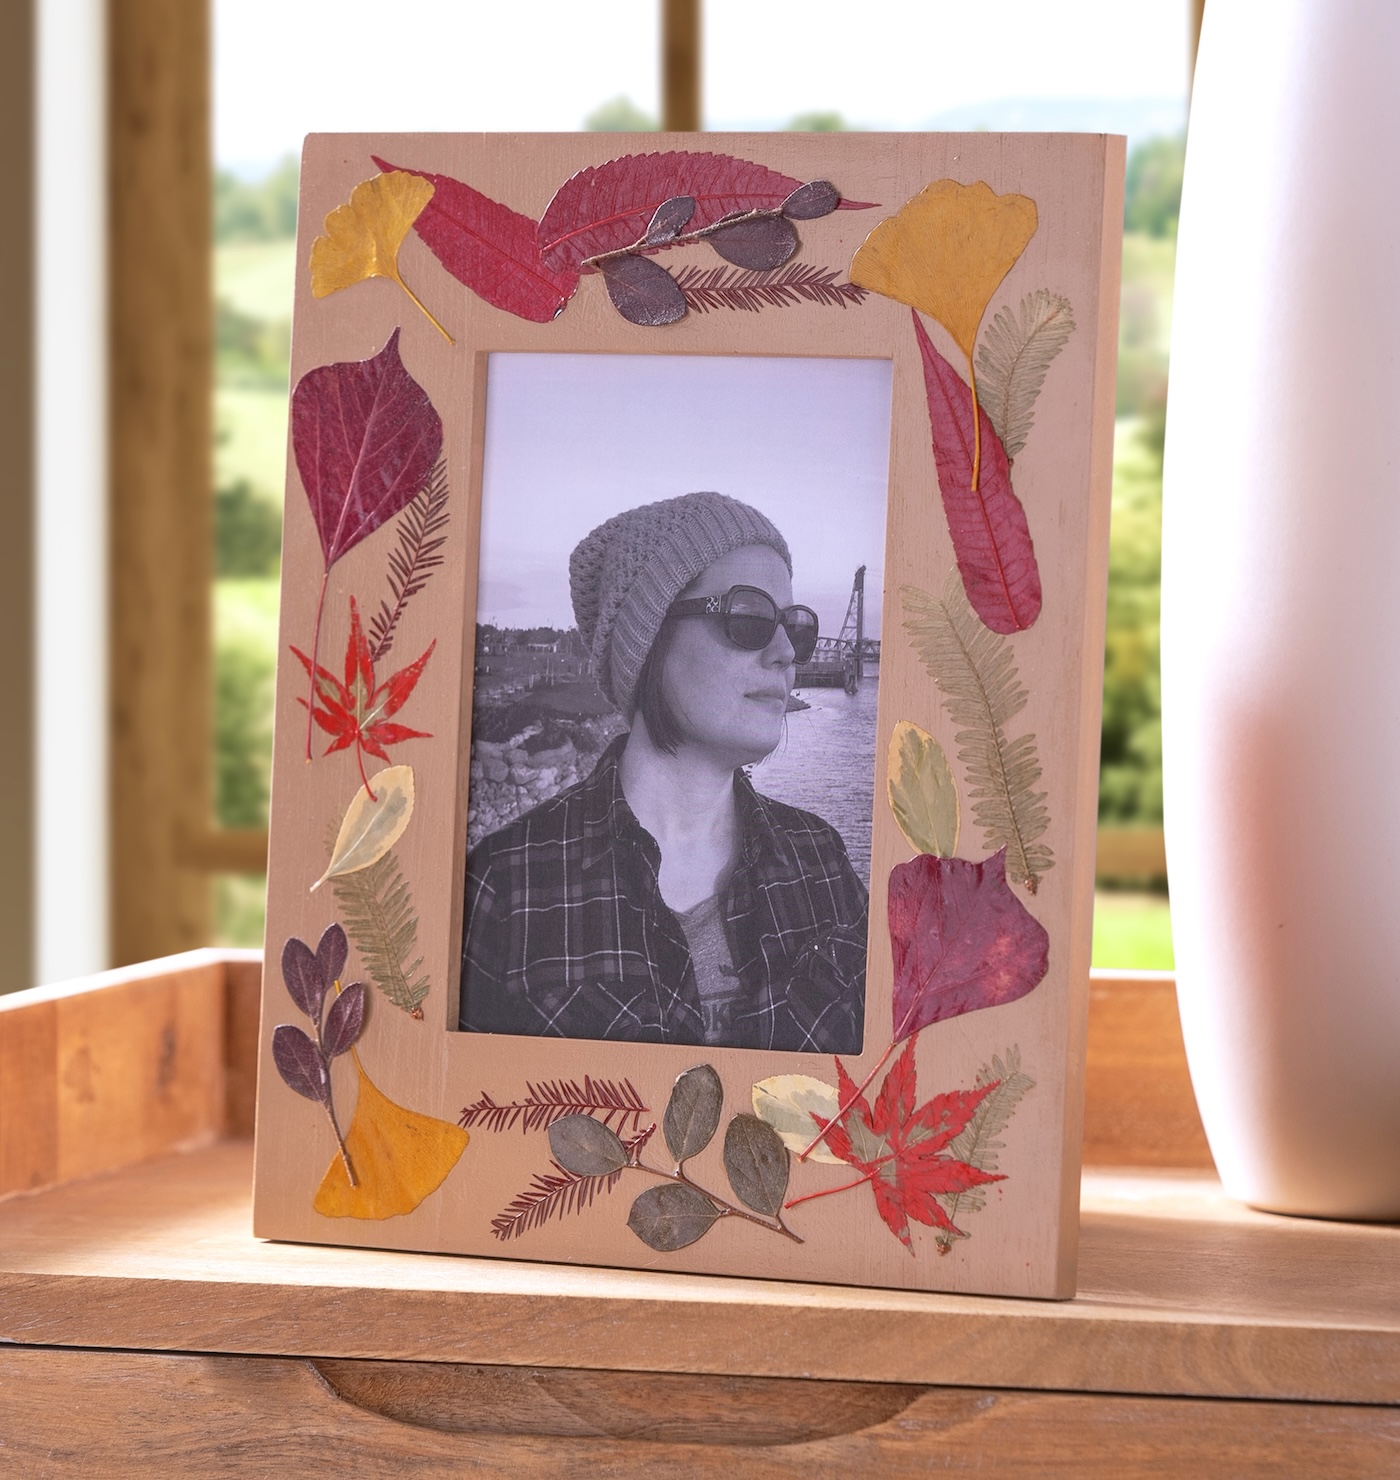
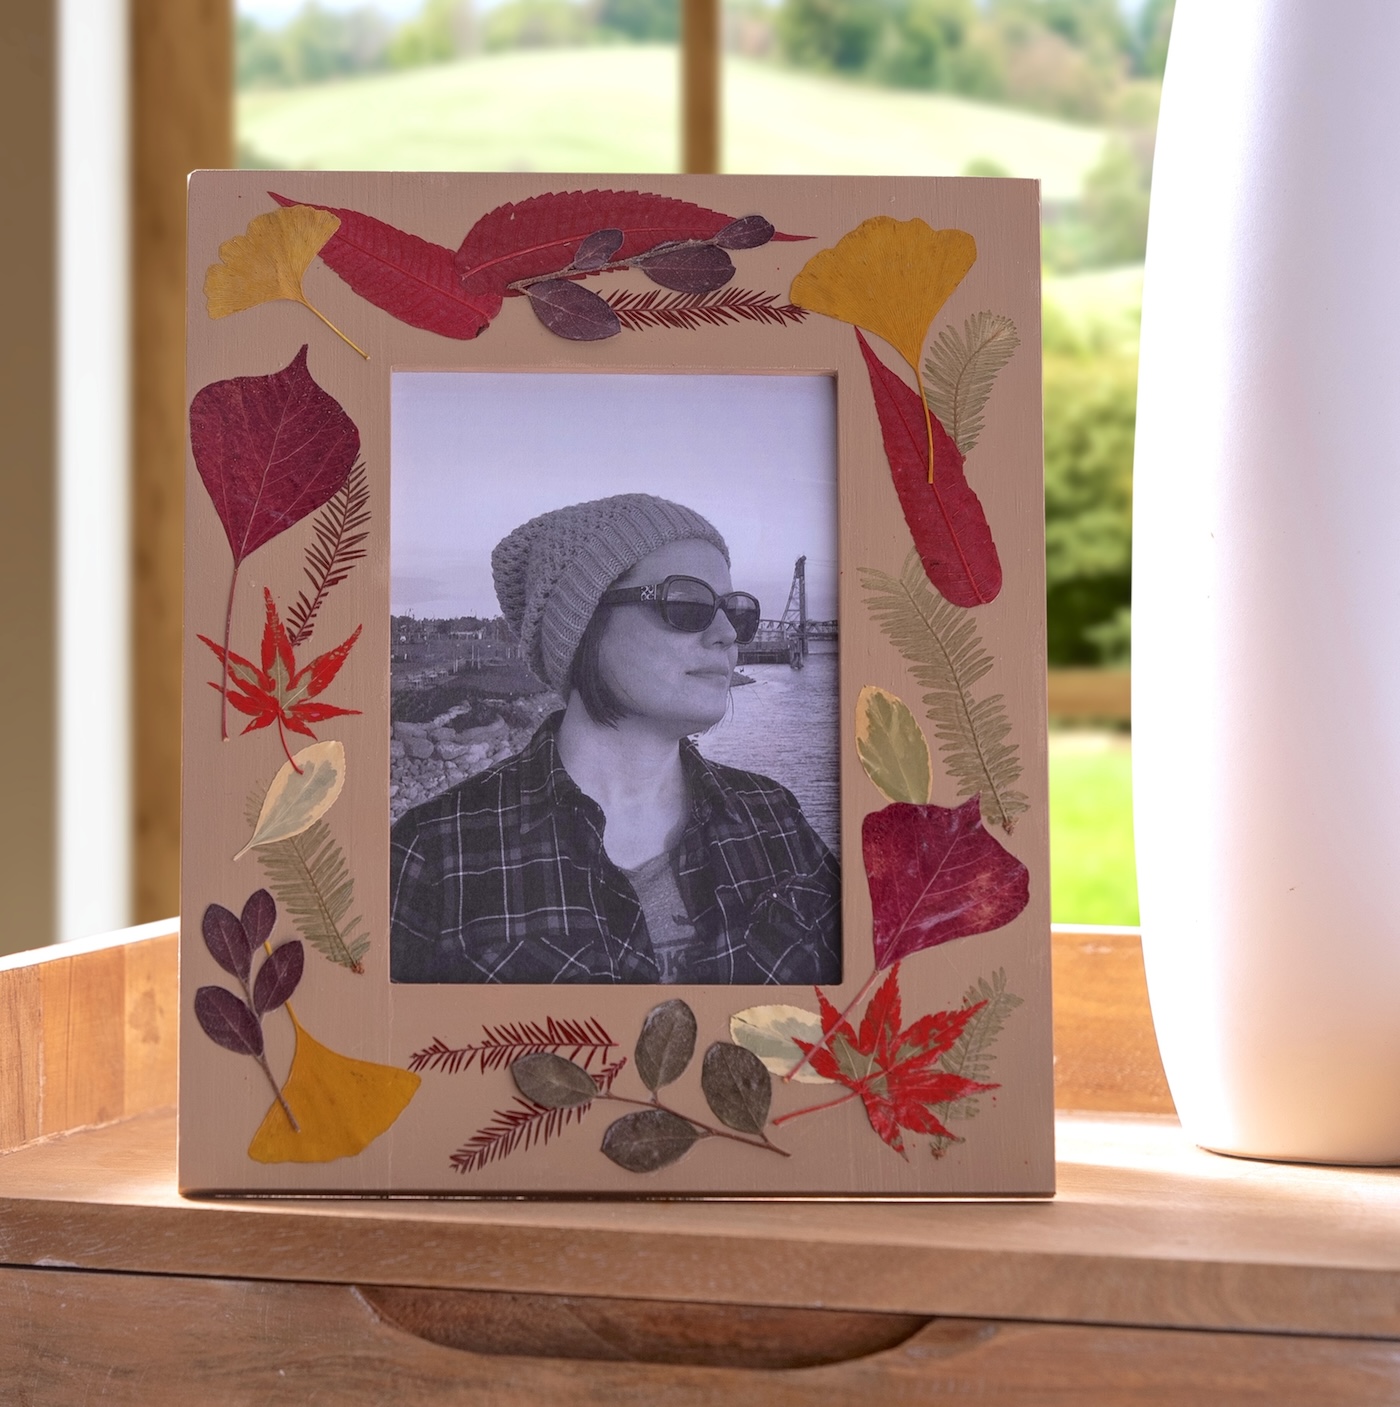
Craft a breathtaking autumn decoration with this DIY fall leaves frame! Easy to put together with Mod Podge and dried leaves – ideal for gifts or seasonal displays.
Fall is certainly my favorite season for crafting: chillier temperatures, inviting vibes, and nature showcasing its most vibrant colors.
If you resemble me at all, you may have collected a few delightful leaves during your walks (or perhaps your kids handed you a charming crunchy bouquet). Well, it’s the moment to let those treasures sparkle with this straightforward yet stylish DIY autumn leaves frame!
This endeavor seamlessly blends ease with elegance. You just require a simple wooden frame, some Mod Podge, dried leaves, and a splash of patience. The ultimate result is something you’ll truly desire to display year after year.
You’ll attach the leaves using Mod Podge (I chose Matte, though Gloss or Satin work just as well!), encasing them to form a delightful, textured frame that truly captures the spirit of autumn.
A suggestion? Remember the tweezers. Dried leaves can be delicate, and using tweezers allows for accurate positioning without ripping or crumbling.
If you’re interested in how to dry leaves for this project, I’ve got you covered. Check out my comprehensive guide on how to press and preserve leaves with ease!
This is such a fun undertaking to do solo or with older kids, and it makes a wonderful homemade gift as well. Are you prepared to create something that feels a touch like autumn enchantment? Let’s dive in!
Obtain the printable guide below:
Fall Leaves Frame
Learn how to embellish an unfinished wooden frame with dried leaves. It’s straightforward using Mod Podge!
Preparation Time15 minutes mins
Active Time1 hour hr 30 minutes mins
Drying Time2 hours hrs 30 minutes mins
Overall Time4 hours hrs 15 minutes
mins
Yield: 1 frameCost: $10
- Paint the wooden frame in the shade of your choosing. Let it dry. Apply a second coat and allow it to dry.
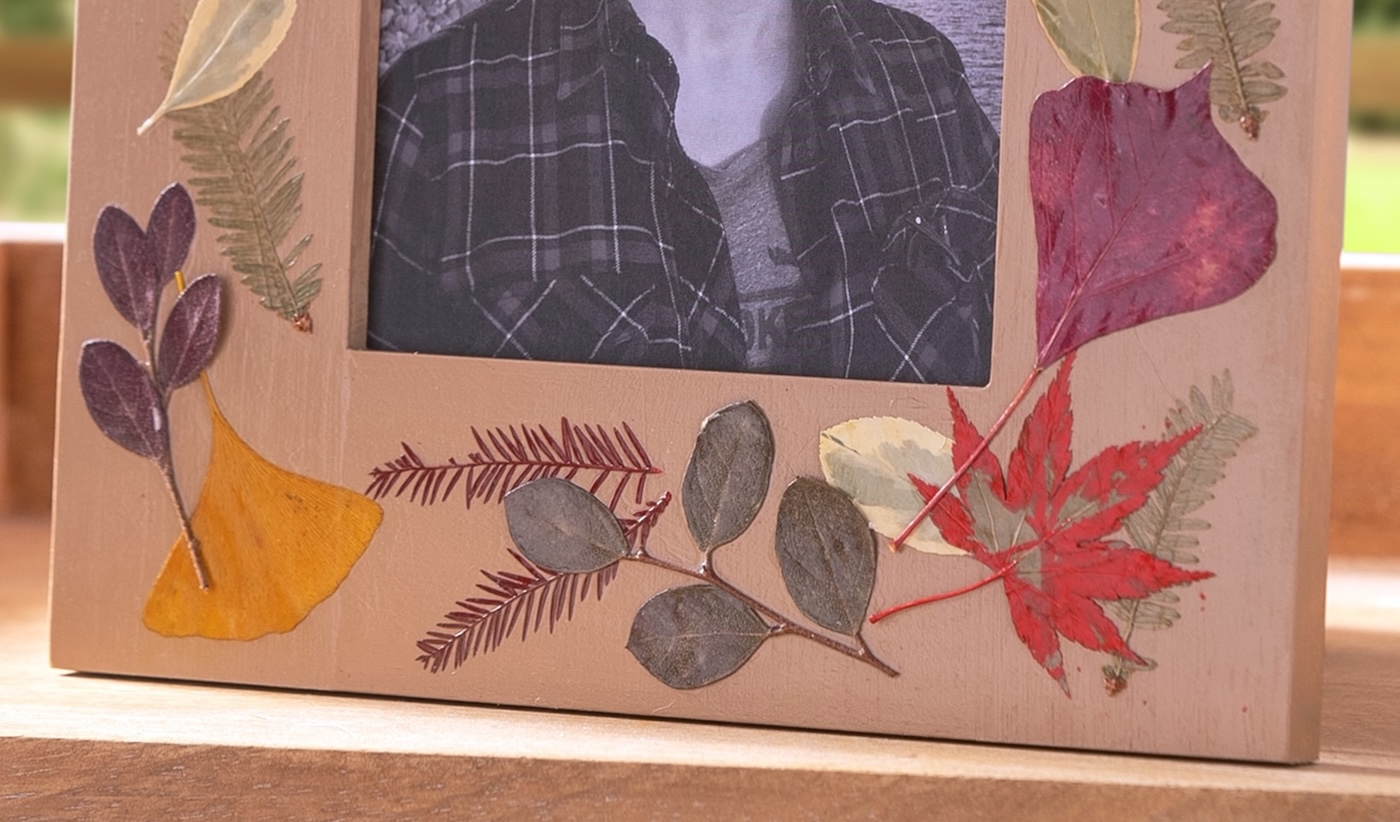
- Before adding any Mod Podge, organize the design beforehand. Use tweezers to position the dried leaves on your frame. Keep adjusting until you’re pleased with the arrangement, then take a phone picture for reference. Remove the leaves from the frame using the tweezers and set them safely aside.
- Concentrating on one area at a time and starting with the initial layer of leaves, apply Mod Podge to the frame. Employ tweezers to position the leaves and gently press them into the Mod Podge. Lightly brush off any extra and repeat the procedure. Let it dry.
- Now transition to the second layer. Add more Mod Podge to the frame and include the leaves just like before. Brush away any remaining Mod Podge and allow it to dry.
- Insert a third layer of leaves just as you did with the earlier two. Step back and verify for any spots needing coverage. Complete this for your final layer and let it dry.
- Seal the frame again – thoroughly, including the edges – and permit it to dry. To remove excess around some edges of the leaves, utilize a smaller paintbrush. Allow full drying before adding a picture.
Step 1: Some more affordable frames might feel slightly rough, and this project produces the best outcomes with a smoother frame. You should sand and clear any leftover dust prior to painting if needed.
What do you think of this project? Share your thoughts in the comments! I would also be excited for you to explore the following articles:
Confetti Pumpkins • DIY Fall Napkin Rings • DIY Fall Sign • DIY Glitter Pumpkins • DIY Leaf Bowl • DIY Nautical Pumpkin • DIY Pumpkin Seed Art • Wood Block Pumpkins • Dollar Tree Fall Crafts • Glitter Acorn Decor • How to Dry Acorns • How to Paint Acorns • Mod Podge Map Pumpkins • Paper Mache Pumpkins • Wood Pumpkin Decor