This Mod Podge tissue paper frame is cost-effective and only requires a few moments to create! Children will adore this simple and vibrant craft.
Strolling through the aisles of Michaels not long ago, I stumbled upon the Valentine’s Day display. You know, the end cap or designated area of the store where they showcase all the festive treats. I’m always enticed, akin to a moth drawn to light.
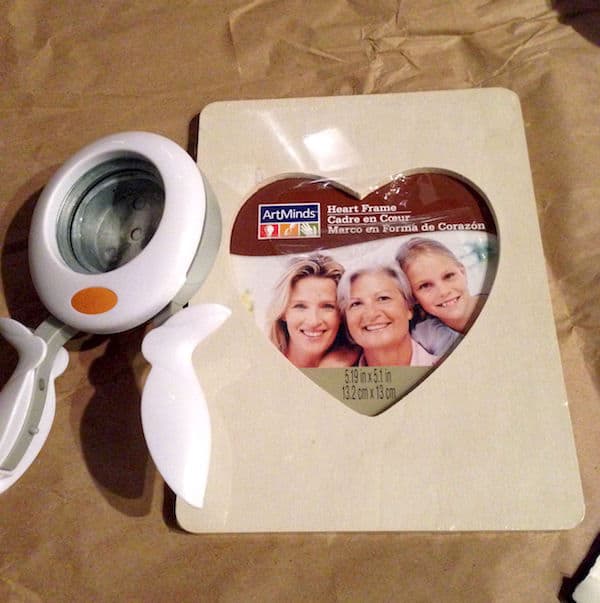
This particular instance I observed they had frames for just $1 – featuring a heart-shaped opening! The first thought that crossed my mind was my niece, and how enjoyable it would be to embellish a frame together.
And for merely $1, the cost is unbeatable. But what to use for decorating the frame? I possess a MASSIVE supply of tissue paper, so I decided to embark on a tissue paper venture.
The wonderful aspect of working with tissue paper is its affordability and the fact that children adore it. This project is incredibly simple for kids to create, and if you wish, you can join in the excitement too! Here’s how I crafted my frame.
DIY Heart Frame
Collect These Materials
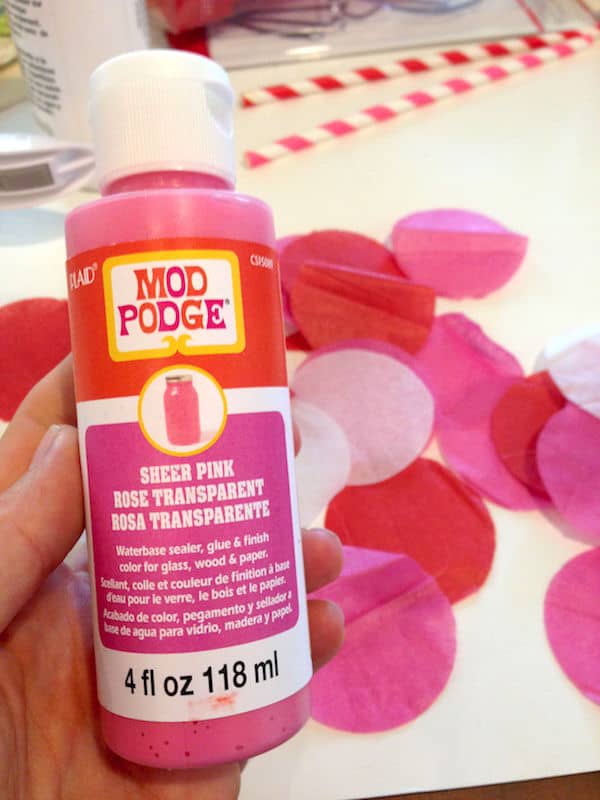
- Mod Podge Gloss
- Tissue paper in Valentine hues
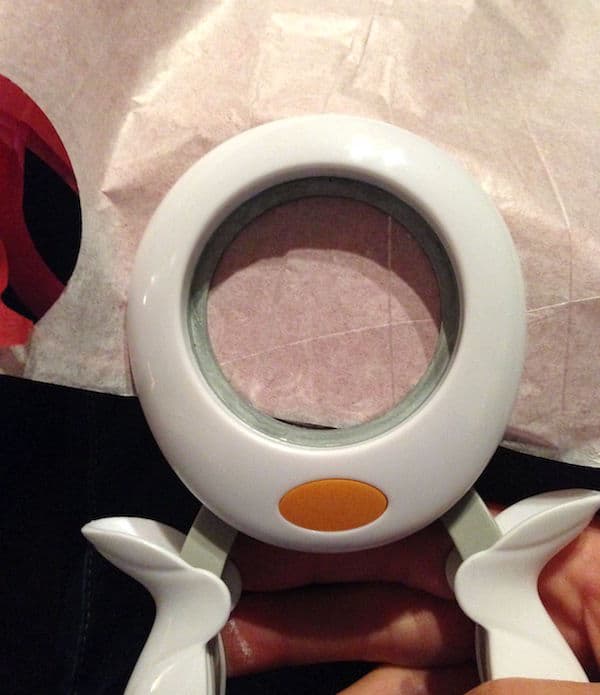
- Circle punch – 2”
- Wood embellishments – Valentine-themed
- Craft adhesive or hot glue gun
- Scissors or craft knife
- Paintbrush
- Wood frame with heart cutout – just $1!
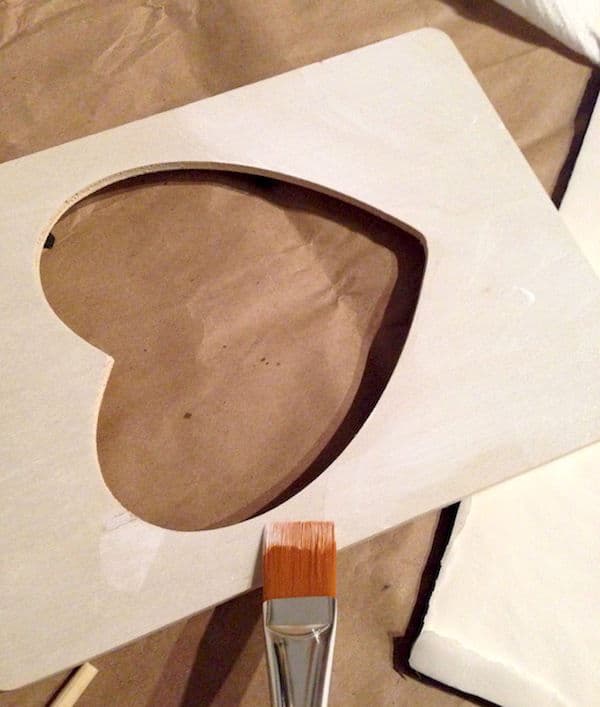
Paint the wooden frame using Apple Barrel in White. Allow to dry.
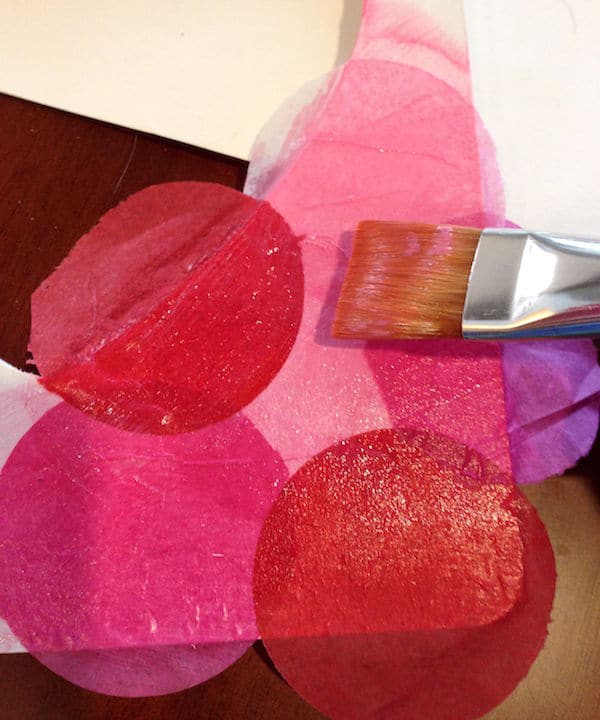
Utilize the circle punch to cut out multiple circles from the tissue paper. Cut out several in various colors.
Employ the Mod Podge to attach the tissue paper circles onto the front of the frame. Starting in one corner, apply Mod Podge to the frame, then place the circles directly on top.
*Note: In this image I have Mod Podge Sheer Colors displayed . . . they are no longer in stock. Just opt for regular Mod Podge!
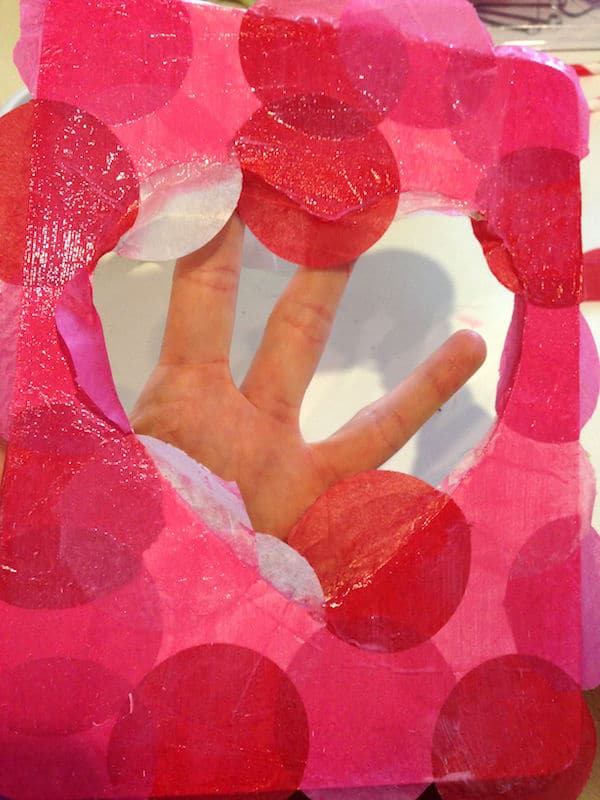
Continue applying Mod Podge and circles, overlapping them as you progress. Cover the complete front side of the frame.
You may fold the edges of the tissue paper circles over the frame’s edge and Mod Podge them down – or you can allow the frame to dry and trim the edges with scissors or a craft knife.
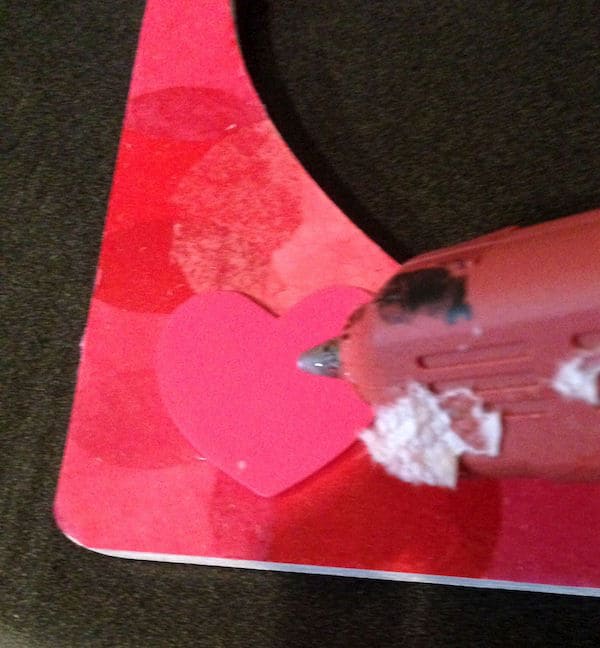
After the frame has dried, attach the wooden valentine decorations to the frame using craft adhesive.
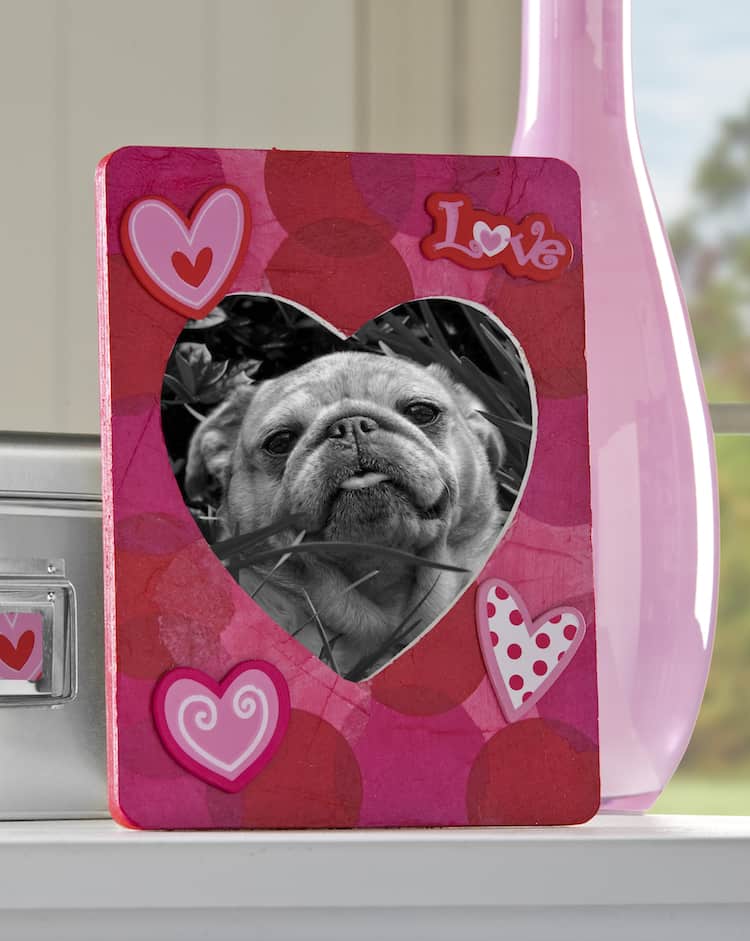
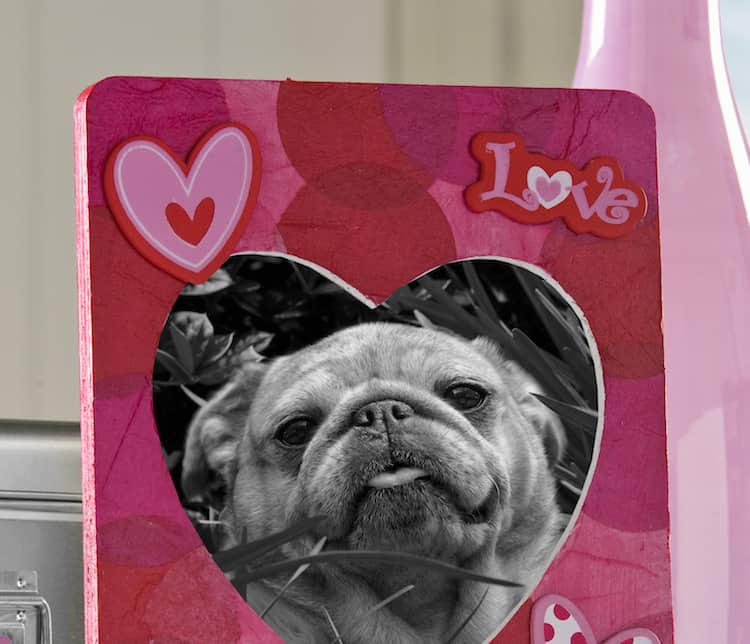
This heart frame is fantastic. Particularly with my pug’s photo inside! If this appeals to you, you will likely enjoy our other Valentine’s Day crafts.
For another fabulous Valentine’s Day guide for children, explore these heart-shaped photo magnets from my friend Amanda! I would also be thrilled for you to look at these additional projects: