Discover how to embellish your own picture frame using a piece of scrapbook paper and Mod Podge! This is incredibly simple, anyone is capable of doing it.
I’ve been obsessed with Dimensional Magic recently, applying it to everything. So please bear with me; I hope I won’t overwhelm you. But I simply had to demonstrate how it can be utilized on items beyond just jewelry.
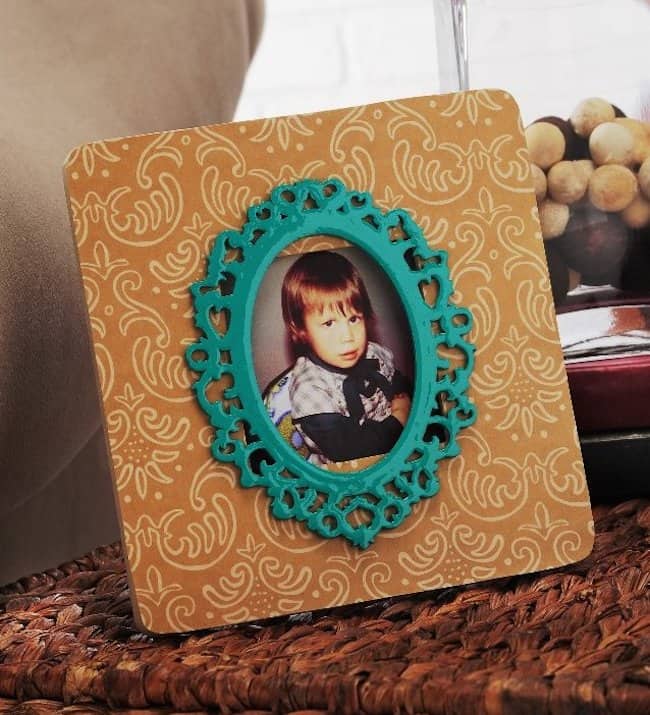
This damask decoupage frame is exceptionally easy (hello novices!), and the bonus is that the Dimensional Magic is on the wooden accent piece at the center. You might need to magnify the image to appreciate the detail, but the elevated DM finish appears quite striking in person.
Who is that delightful little one in the DIY photo frame? You’ll just have to speculate. Meanwhile, here are the instructions for the decoupage frame project.
DIY Scrapbook Paper Frame
Collect These Materials
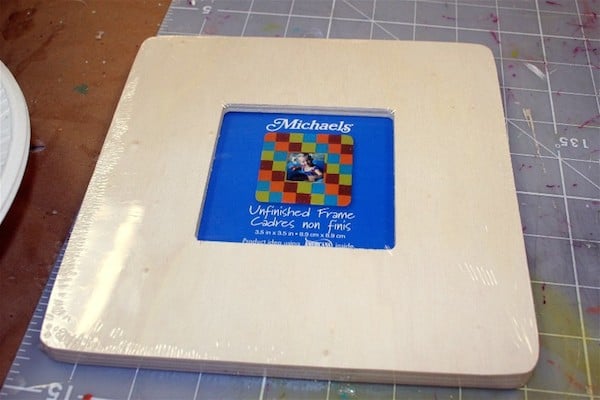
I adore these Michaels frames. They cost only $1! You could create an entire wall of them for very little.
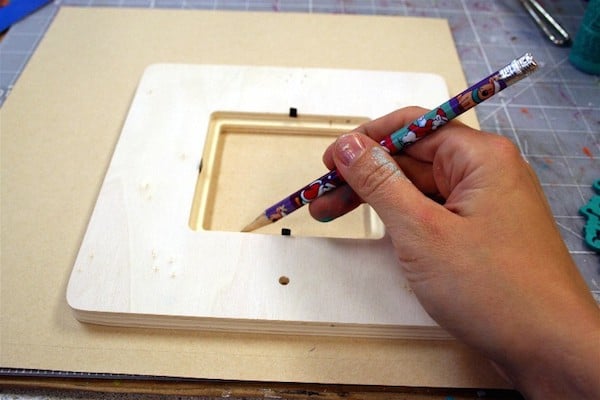
Turn the paper over, design side facing down, and trace the frame onto it with your pencil.
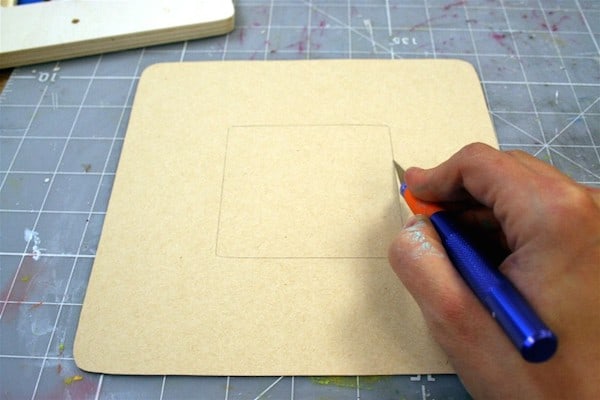
Trim the paper – I always utilize a craft knife for the inner section.
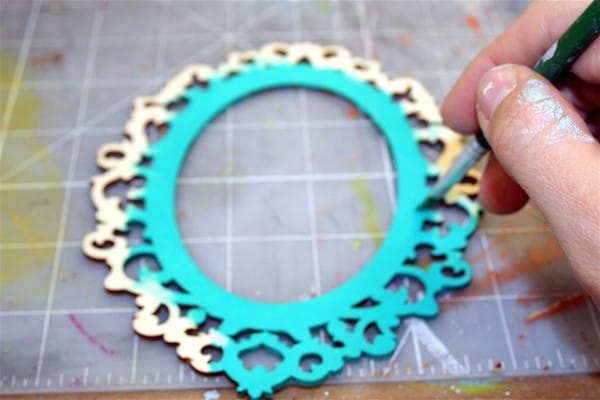
Coat your wood accent with the shade of your preference. I chose Aqua. I hope you are thoroughly impressed with my photo “skills” as I focus on my fingers instead of the wooden piece. Allow to dry.
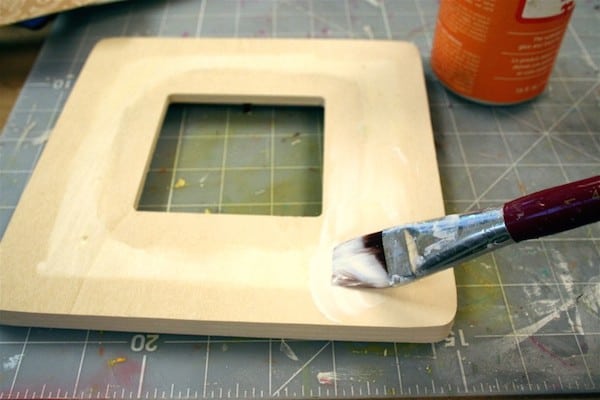
Color the edges and back of your frame with Parchment and let it dry. Then, apply Mod Podge to the front of the wooden frame and smooth the paper down. Allow drying for 15 – 20 minutes.
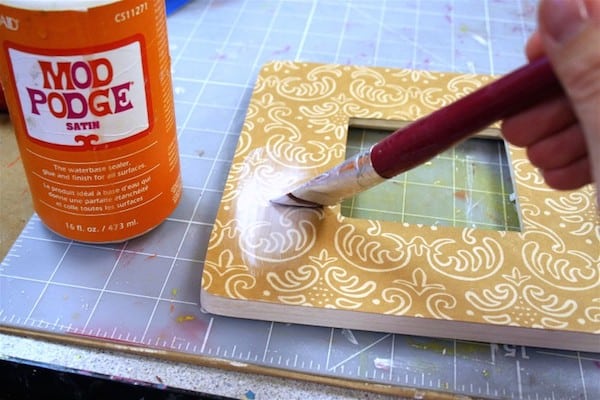
I have a little secret: I absolutely adore Satin Mod Podge. It’s my preferred finish – it has the same look as the Hard Coat, except the Hard Coat is incredibly durable for frequently used items. Regular Satin Mod Podge is sufficient since this frame is intended for display rather than rough handling. Apply a few layers of decoupage to your frame and let it dry.
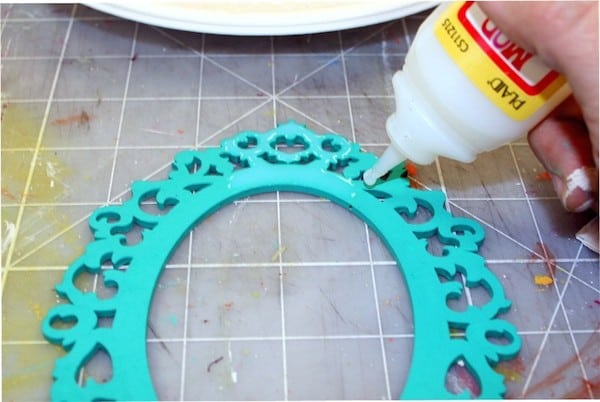
Apply Dimensional Magic to the wooden accent. One thing I LOVE about DM is its remarkable surface tension – meaning, it remains where you place it (as long as you don’t dispense too much).
My top recommendation for DM is that it prefers to dry in a warm environment. I always set it on top of the stove and away from the windows. If it gets cold, it will crack.
Adhere your wooden piece to the front of your frame, insert a picture, and you are all set to go. Welcome to an affordable gifting idea.
Now that you’ve mastered how to embellish your own picture frame, which pattern of scrapbook paper will you opt for? Share your choice in the comments! Also, explore these additional ideas: