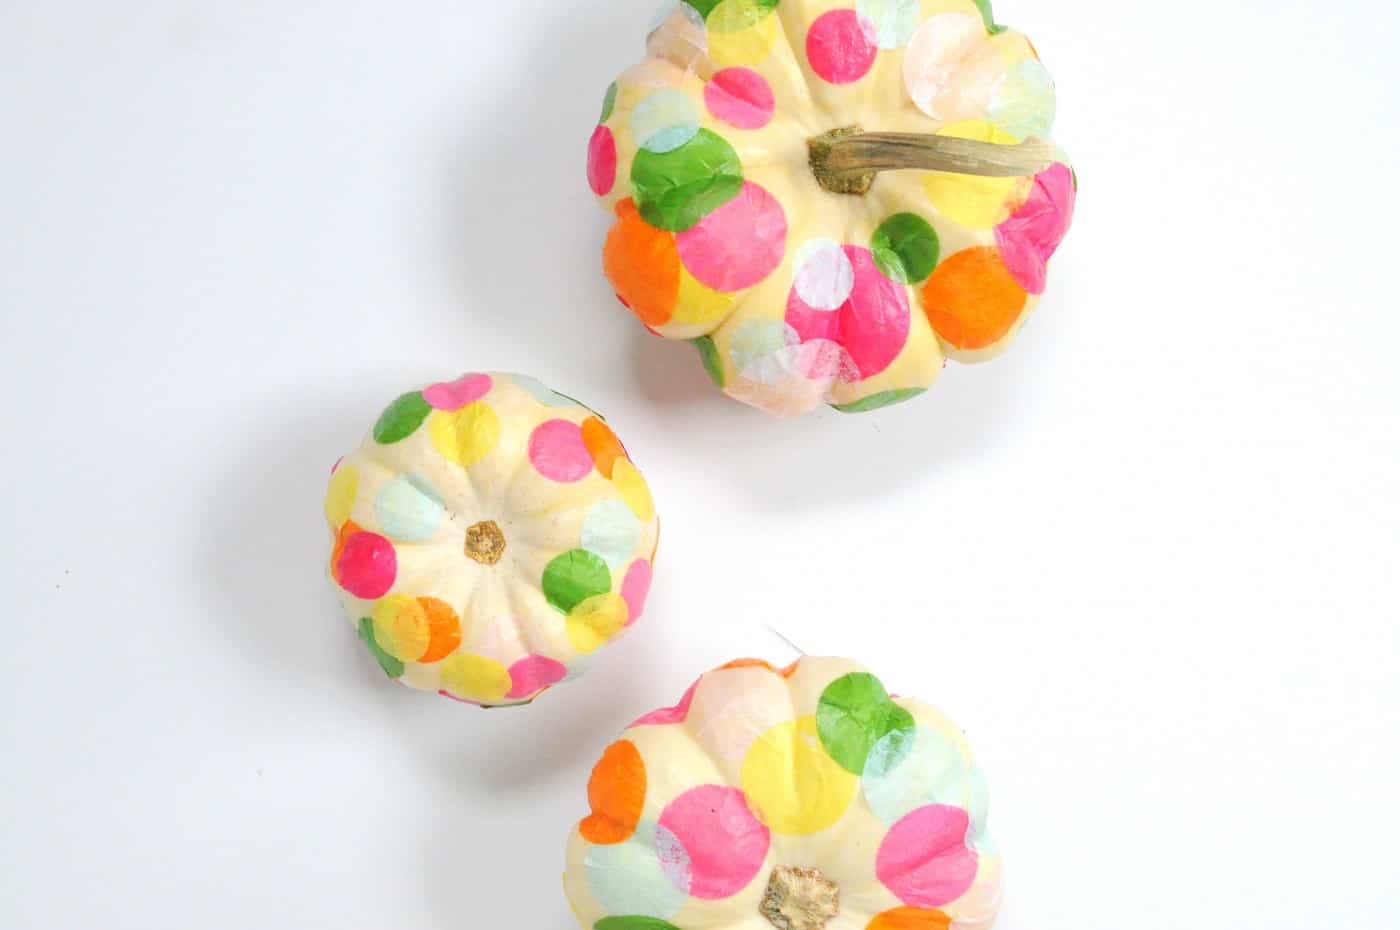
Experience this simple no-carve mini pumpkin embellishing with Mod Podge – ideal for children, toddlers, and effortless Halloween crafting.
What I’ve realized about autumn crafting is that larger isn’t necessarily superior – particularly regarding pumpkins.
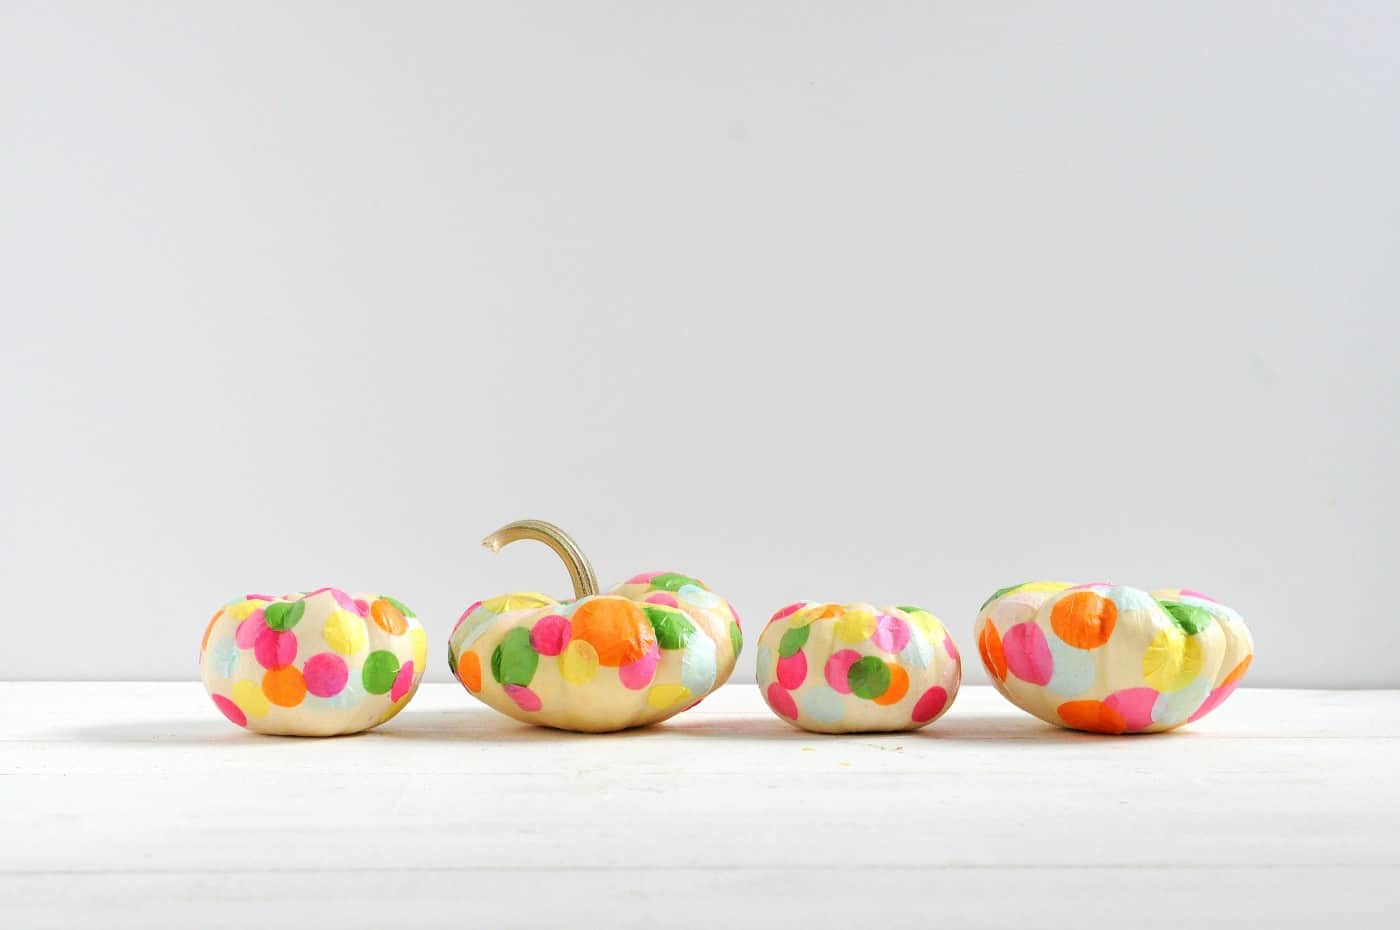
Miniature pumpkins are charming, economical, and honestly, much simpler to manage while crafting with kids (or if, like myself, your balance occasionally resembles that of a newborn giraffe).
If you’ve ever attempted carving a pumpkin with a toddler, you already understand it’s less celebratory and more akin to a pumpkin-scented wrestling match. The good news is: this project needs absolutely no carving and precisely zero band-aids.
These no-carve mini pumpkins are ideal for a relaxed crafting afternoon with the youngsters or even a delightful activity at a Halloween gathering.
The most exciting aspect? You’ll work with Mod Podge, vibrant confetti, and your imagination – no sharp blades required! It’s simple enough for toddlers yet still enjoyable for older children and adults (we notice you, adults who covertly delight in crafting with googly eyes and glitter).
This year, let’s avoid the pumpkin insides and choose something a bit less chaotic yet equally festive.
Prepared to embellish some mini masterpieces? Grab your Mod Podge and let’s get started!
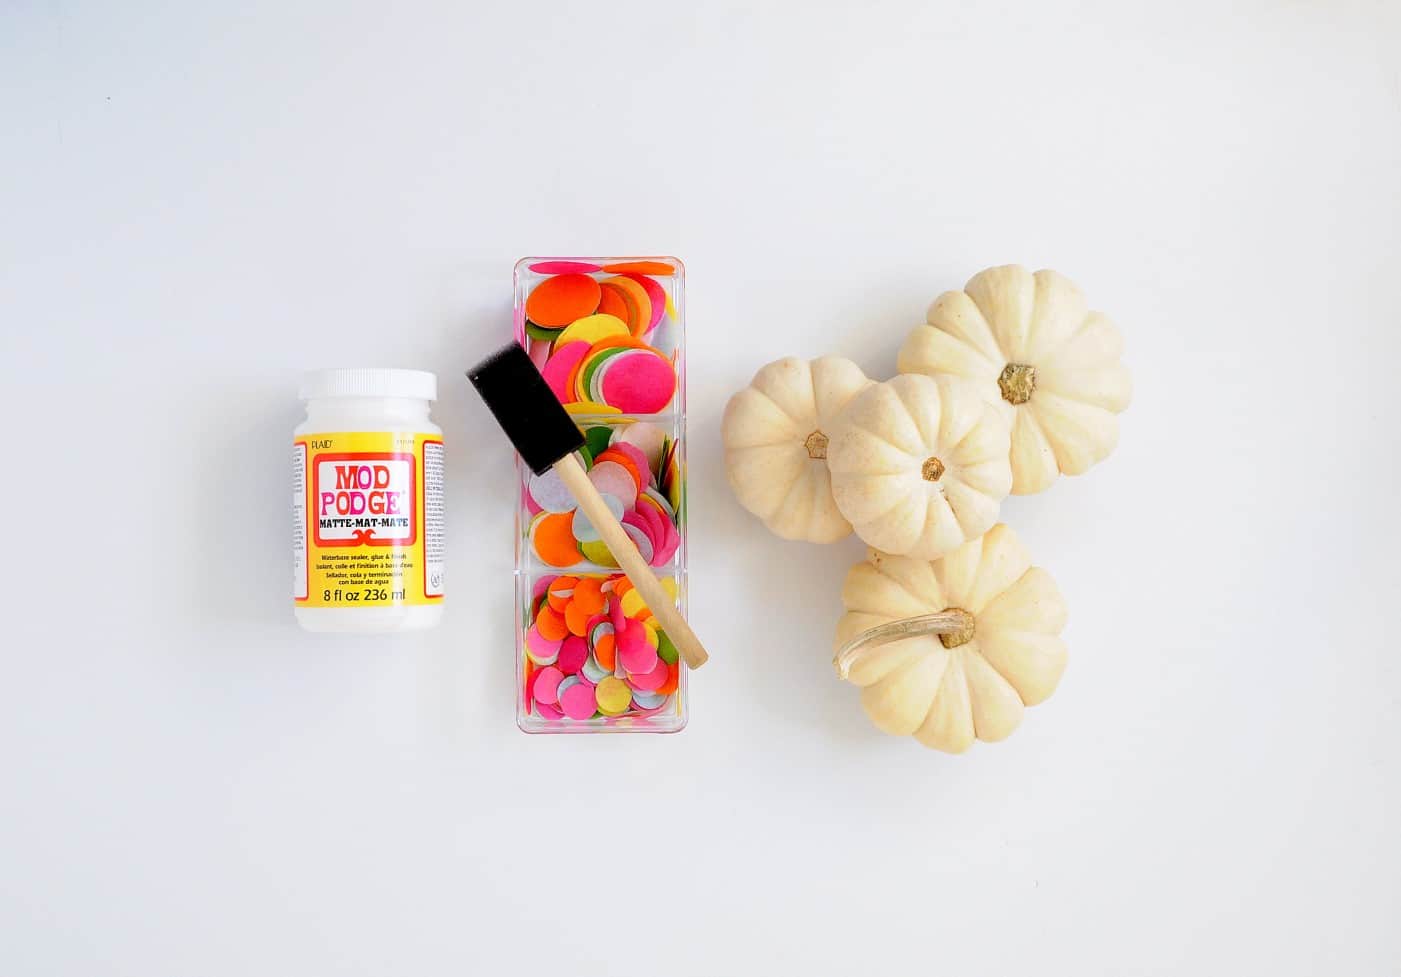
Here’s what you will require to begin!
Assemble These Materials
Access the printable guide below:
Embellishing Mini Pumpkins
Both youngsters and adults will adore this concept for adorning mini pumpkins! Gather your confetti and Mod Podge to commence.
Preparation Time5 minutes mins
Active Time1 hour hr 30 minutes mins
Drying Time1 hour hr
Total Duration2 hours hrs 35 minutes
class=”wprm-recipe-details-unit wprm-recipe-details-minutes wprm-recipe-total_time-unit wprm-recipe-total_timeunit-minutes” aria-hidden=”true”>mins
Yield: 3 pumpkins
Cost: $3
-
In small portions, apply Mod Podge to a pumpkin. Layer individual pieces of confetti and allow it to dry.
-
Proceed until a complete pumpkin is covered, smoothing as you continue. Avoid brushing too much over the existing confetti, or it may come off. Let it dry slightly between layers if necessary.
-
Repeat this process with the other pumpkins. Allow them to dry, and if preferred, apply a second layer of Mod Podge for sealing.
Note: You can craft your own confetti using tissue paper and a paper punch. Stack multiple sheets of tissue together for a tidy punch.
What were your thoughts on this concept? Share your opinions in the comments! I’d also appreciate it if you could explore these additional autumn ideas:
Confetti Pumpkins • Decorate Paper Craft Pumpkins • DIY Glitter Pumpkins • DIY Leaf Bowl • DIY Nautical Pumpkin • Wood Block Pumpkins • Duct Tape Pumpkin • How to Paint Acorns • How to Preserve Leaves • Mod Podge Map Pumpkins • Paper Mache Pumpkins