Craft beautiful DIY glitter pumpkins utilizing chalk paint, Mod Podge, and Diamond Dust. This rapid and adaptable autumn project is ideal for your seasonal embellishments.
Let’s face it — autumn crafts are among the most enjoyable to create. And when a touch of sparkle is included? Even greater.
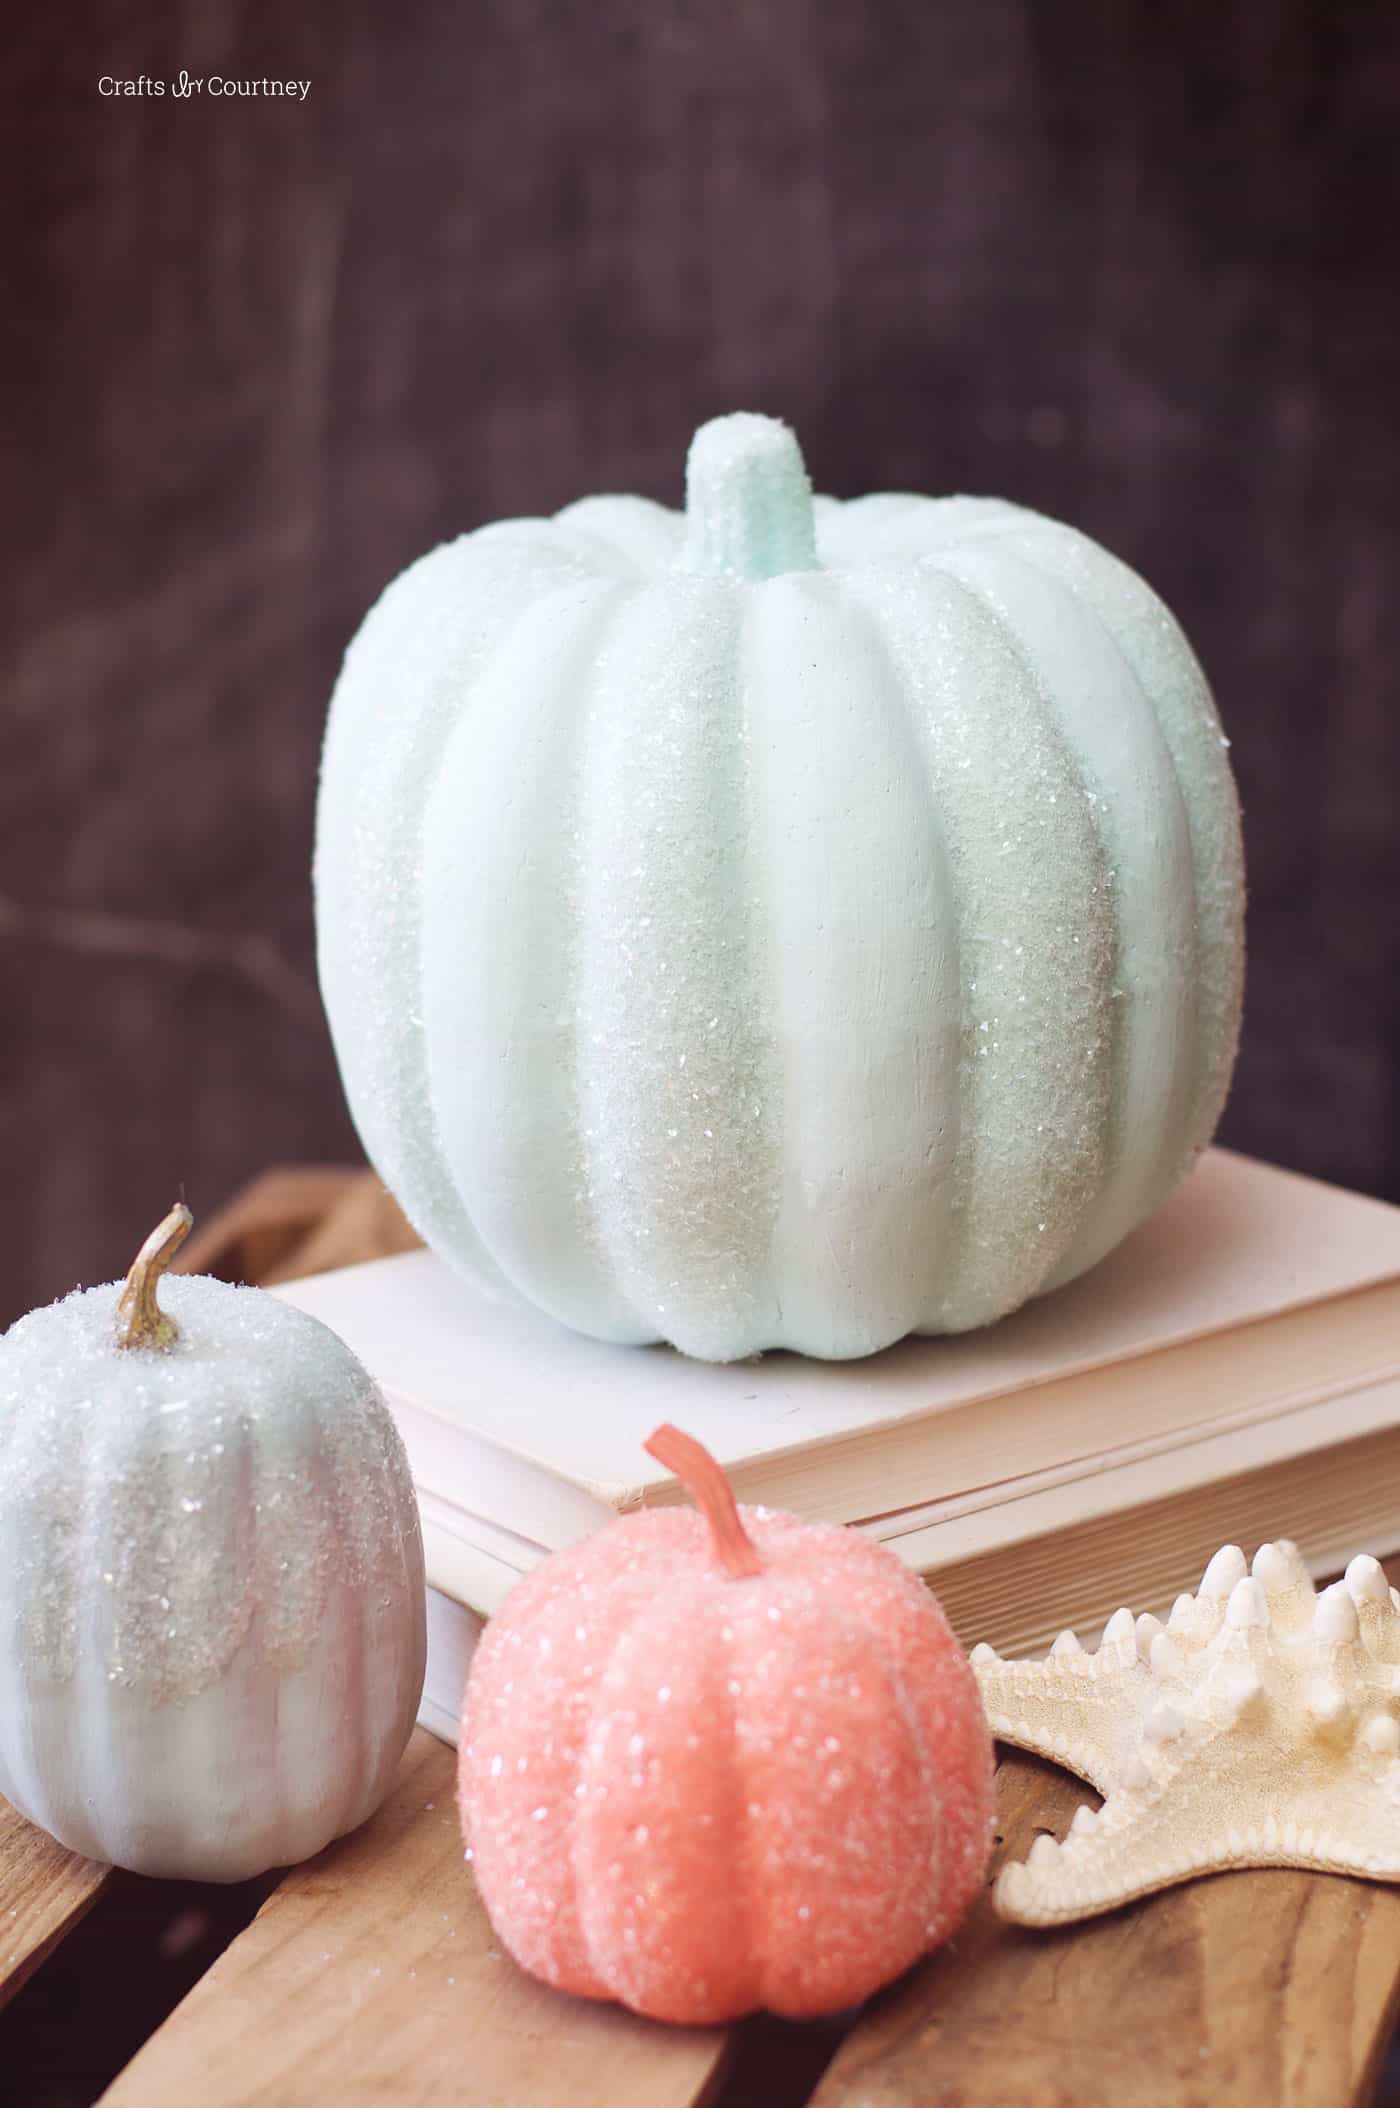
If you’re in search of a chic method to adorn for fall (without investing excessive time or funds), these DIY glitter pumpkins will certainly appeal to you.
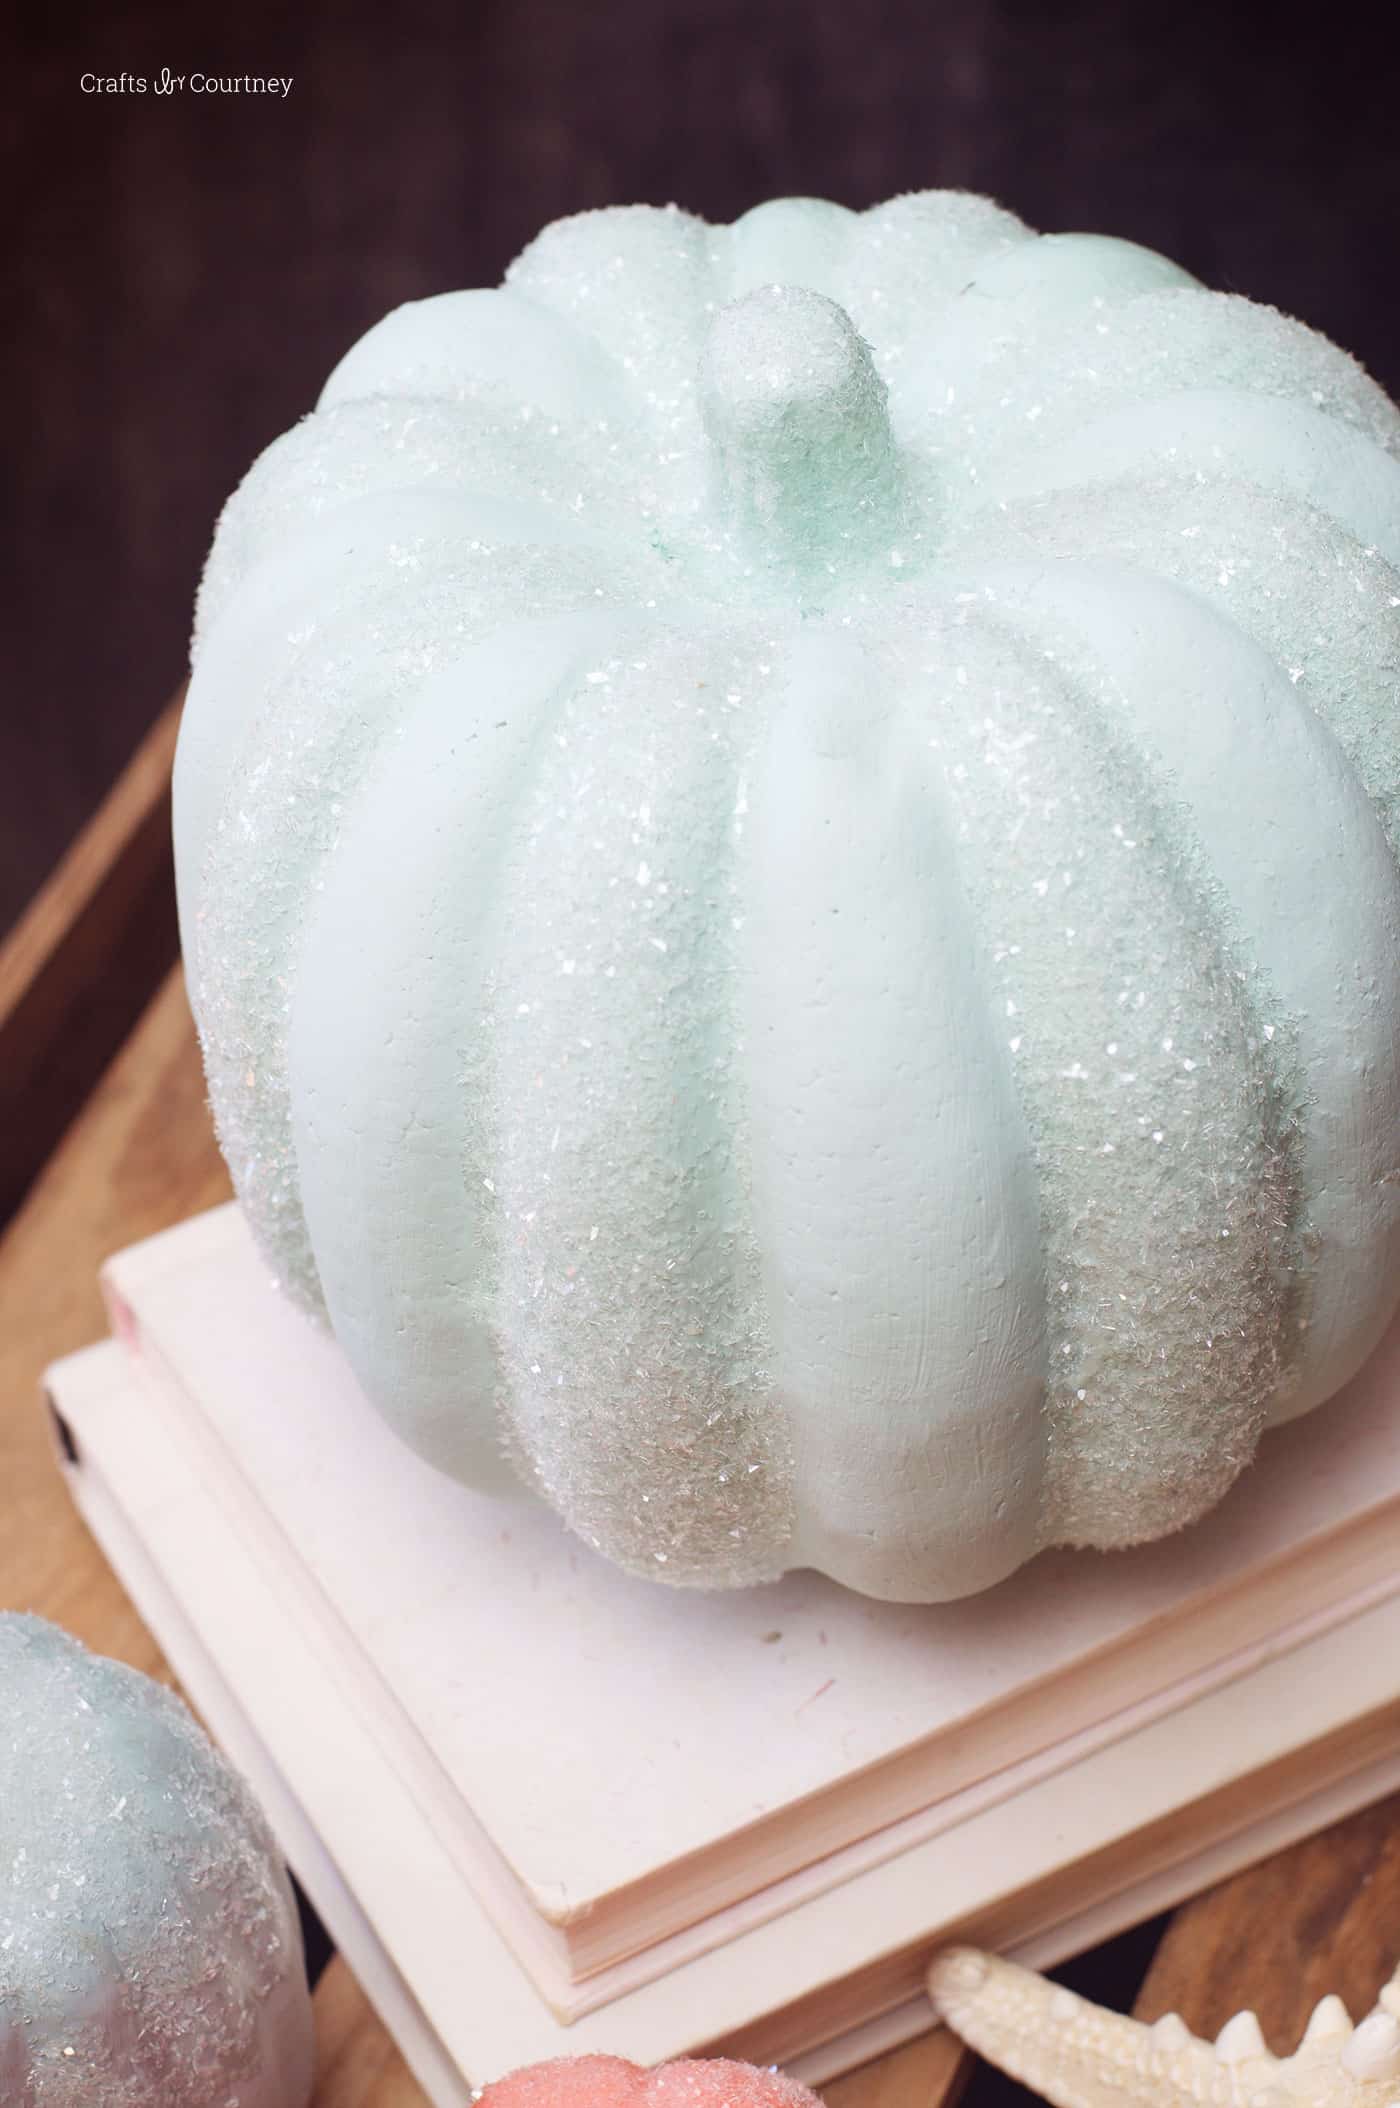
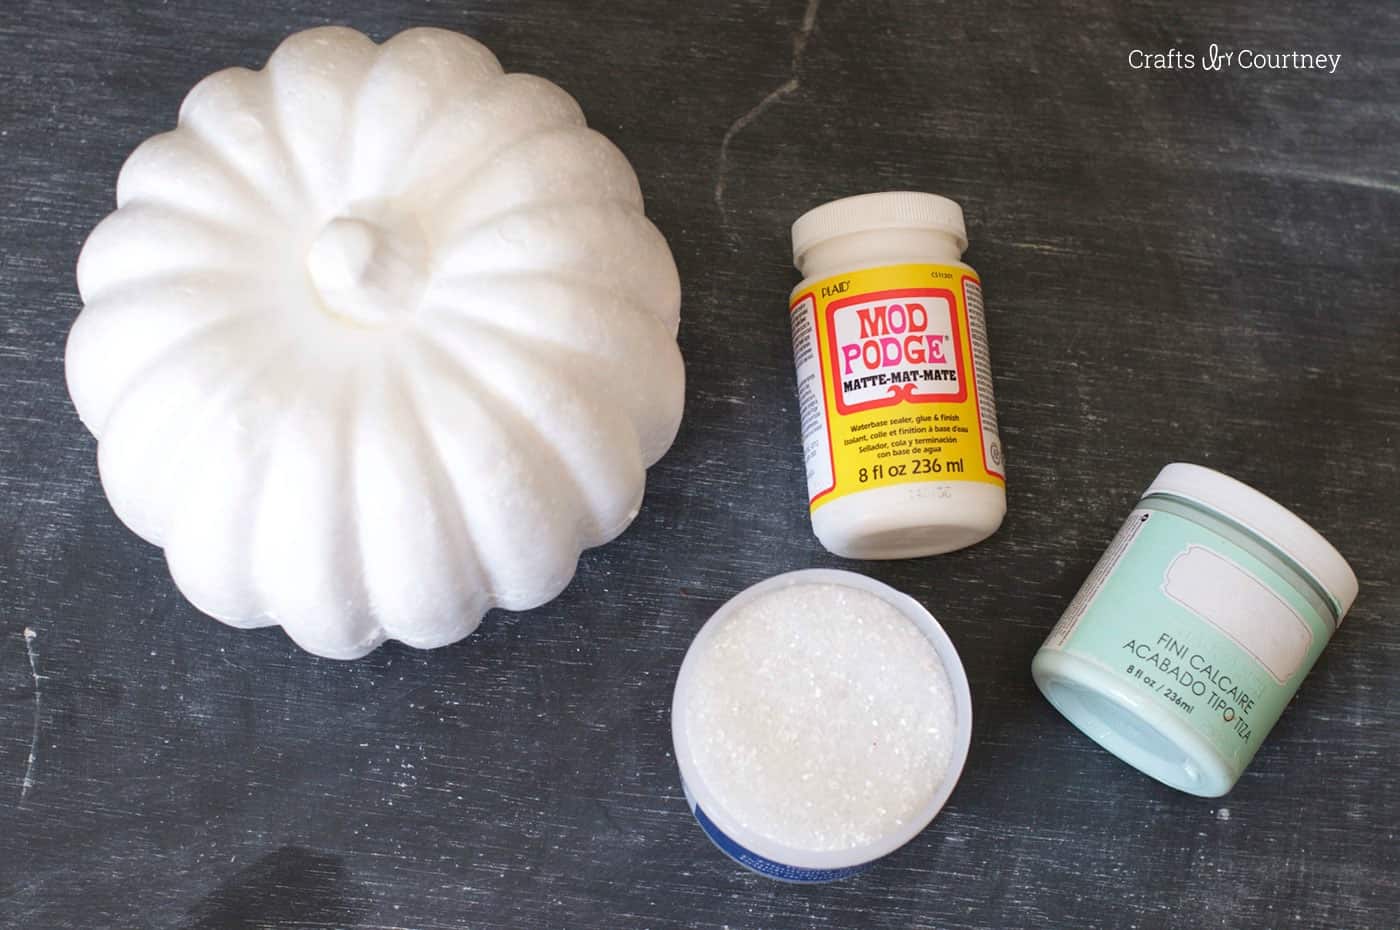
Constructed using foam pumpkins, chalk finish paint, Mod Podge, and glitter. However, not just any glitter — Diamond Dust. It’s a type of crushed glass glitter that reflects light in the most charming, understated manner.
That said, if you lack Diamond Dust or wish to keep it extremely kid-friendly, you can absolutely opt for your preferred craft glitter instead. This method works just as well!
What I admire about this project — aside from its simplicity — is how customizable it is. Prefer gentle neutrals? Opt for grays and creams. Enjoy a darker aesthetic? Experiment with rich blues or plum.
You can combine and adjust as you please, and the glitter adds that perfect touch of “pop” to a mantel, shelf, or Thanksgiving spread.
The best part? These glitter pumpkins require only about an hour or two to assemble (excluding drying time). So if you have little ones bustling about or simply need a quick victory, this is one autumn decor option you’ll truly have the time to execute.
Now, let’s explore how to craft these shimmering delights! Obtain the printable instruction card below:
Glitter Pumpkin DIY
Discover how to create these pumpkin ornaments using chalk paint, Mod Podge, and Diamond Dust!
Prep Time20 minutes mins
Active Time1 hour hr 40 minutes mins
Dry Time2 hours hrs
Total Time4 hours hrs
Yield:
3 squashes
Expense: $12
-
Apply two layers of chalk paint on each squash using the brush. Allow to dry in between each layer.
-
Use Mod Podge on the sections where you intend to apply Diamond Dust. Dust the glitter directly onto the moist Mod Podge (it will dry transparent).I worked on about a quarter of the foam squash at once. You will paint the segments of the squash and then progress to step 3.
-
Continue until all sections of the squash you wish to highlight are completed. Allow squashes to dry thoroughly before showcasing.
I had Matte Mod Podge in my supply photograph, but I switched to Gloss Mod Podge to enhance the Diamond Dust area’s luster.
Thank you for exploring my latest fall squash decor for my residence! This craft forms part of our autumn crafts for adults, Thanksgiving crafts for adults, and Dollar Tree autumn crafts. I would also love for you to check out these other creations I’ve crafted with Mod Podge for fall:
Confetti Squashes • Decorating Squashes (75+ Ideas!) • DIY Leaf Bowl • DIY Nautical Squash • DIY Squash Seed Art • Wood Block Squashes • Fall Leaves Frame • Glitter Acorn Decor • How to Dry Acorns • How to Paint Acorns • How to Preserve Leaves • Mod Podge Map Squashes • Paper Mache Squashes • Wood Squash Decor