Transform an ordinary clipboard with textile, paint, and Mod Podge! A delightful and straightforward craft to customize your office or educational supplies. Also makes for an excellent gift, particularly for educators.
Skills Needed: Beginner. I suggest testing with a leftover piece of wood and textile if you have never used Mod Podge before, to ensure you don’t encounter wrinkles. Otherwise, you’re all set! This is quite easy.
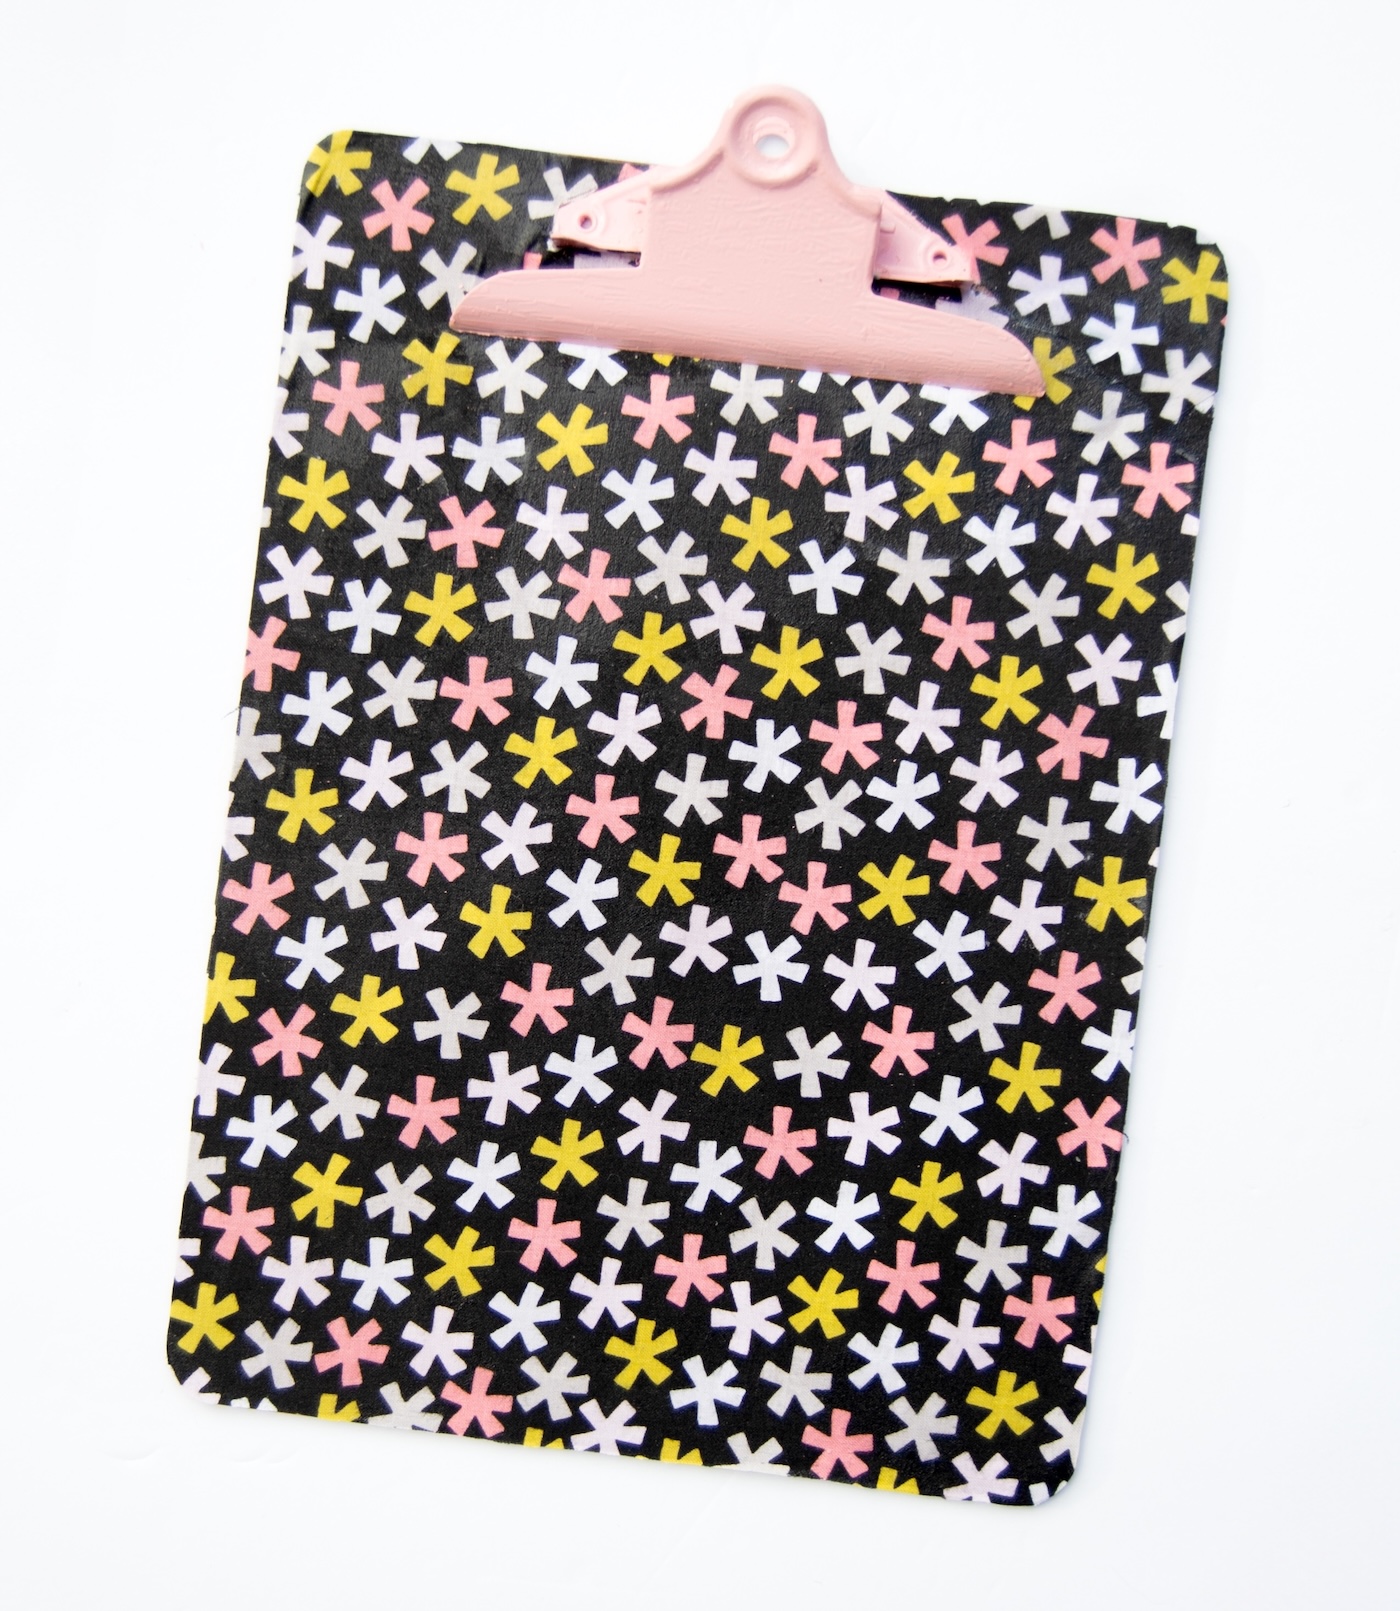
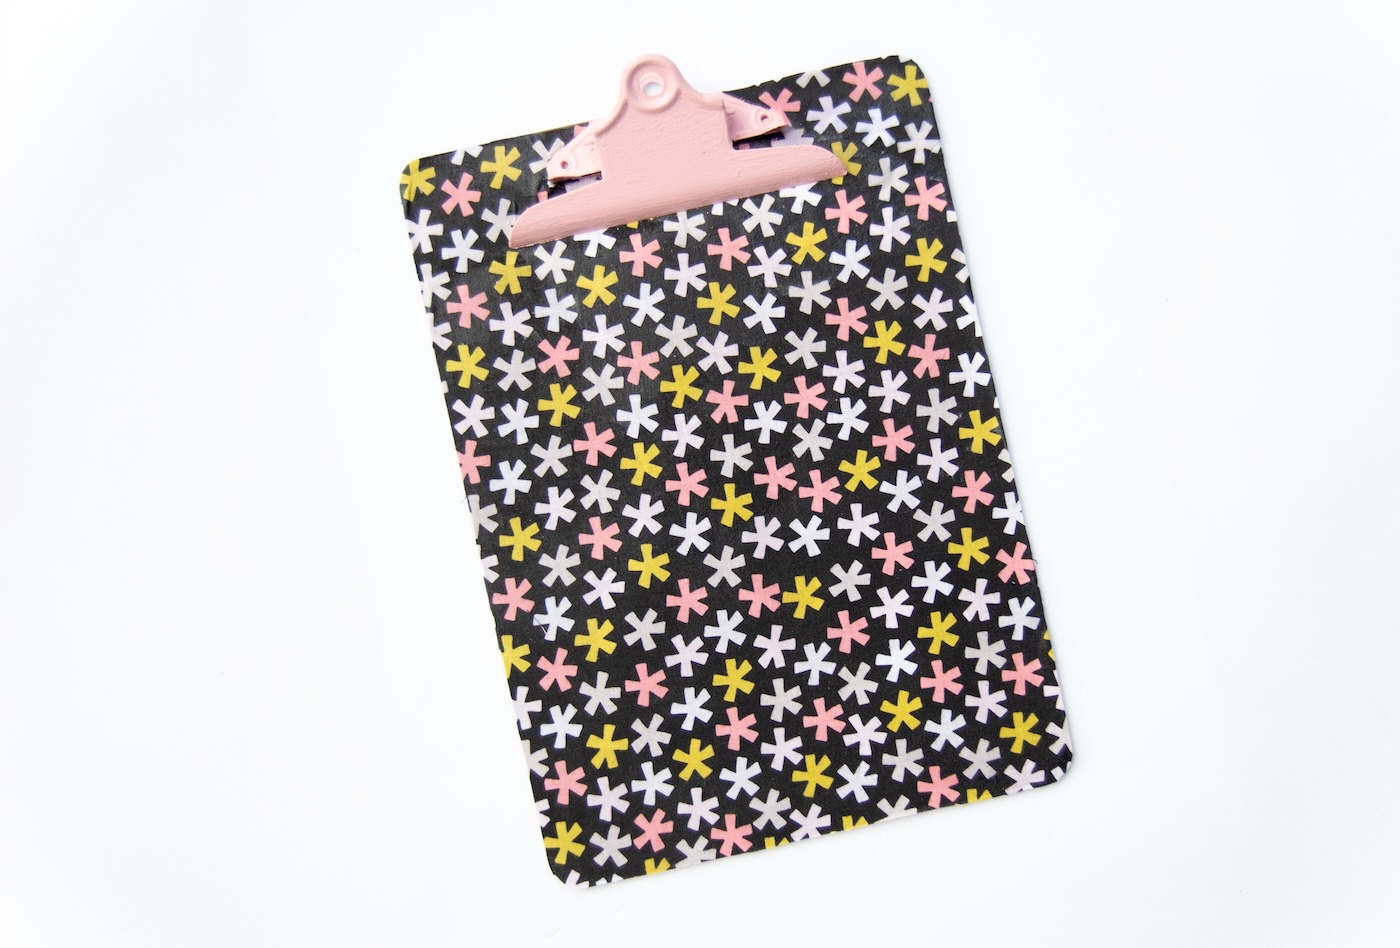
Let’s face it – you might have a simple, brown clipboard, or you could opt for something significantly more exciting. Basic brown does not appeal to me, so I decided to give a fresh clipboard a Mod Podge transformation!
And while crafting, I kept a special individual in my thoughts: my mother, who dedicated years as a fifth-grade instructor. Although she may be retired now, she continues to enjoy charming school supplies.
Wouldn’t this serve as a fantastic present for a teacher? Whether for a classroom, home office, or simply someone who enjoys a touch of extra style in their workspace, a custom clipboard is both functional and enjoyable.
Moreover, it’s exceptionally simple to create! All you require is some Mod Podge, fabric (scrapbook paper is also an option), and a few basic materials to craft something distinctive.
This undertaking is ideal for novices – so if you’re unfamiliar with Mod Podge, this is an excellent starting point.
The greatest aspect? You can completely tailor it with any design, colors, or patterns that resonate with you. Prefer something sleek and contemporary? Go ahead. Favor vibrant and eye-catching? Make it stand out! The options are limitless.
Whether you’re crafting one for yourself, a teacher, or a friend who enjoys organization, this DIY clipboard is bound to be popular. Ready to abandon the monotonous brown and enhance your office supplies? Let’s make it happen!
Obtain the printable instructions below:
Embellish a Clipboard
Discover how to embellish a clipboard with textile and decoupage medium, an uncomplicated craft ideal for gifting.
Prep Time20 minutes mins
Active Time1 hour hr 30 minutes mins
Dry Time2 hours hrs
Total Time3 hours hrs 50 minutes mins
Yield: 1 clipboard
Cost: $5
-
Place the clipboard on the reverse side of your fabric. Outline and cut the material roughly with your scissors. Set it aside.
-
Employ painter’s tape around the clip to safeguard the back from being spray painted and adhering to the clip. If a plastic layer is present, keep it on to shield the clipboard’s backside.
-
Apply several light layers of spray paint on the clip until completely covered (on the top and inside as well), ensuring to allow drying time in between. Allow it to dry thoroughly when finished.
-
In sections, Mod Podge your fabric onto the clipboard. If your clipboard is made of MDF, add a layer of Mod Podge on the fabric before attaching it, followed by another Mod Podge layer on top to enhance the adhesion. Allow each section to dry before progressing to the next.
-
When reaching the upper portion, create a slit in the top part of the fabric to accommodate the clip. Remove any excess fabric that overlaps the clip backing before using Mod Podge to secure it.
-
Add an additional layer of Mod Podge over the fabric as a concluding coat.
-
Cut away the excess fabric surrounding the clipboard and utilize Mod Podge to secure the edges. Allow to dry.
Optional concluding step: Use clear or iridescent acrylic spray for added surface protection.
Did you find joy in embellishing a clipboard? If so, you might also enjoy these other DIY gift suggestions:
DIY Magnets • DIY Notebook • Glitter Mug • Create a Keychain • Mod Podge Coasters • Painted Wooden Spoons • Photo Blocks • Photo Bracelet • Photo Cushions • Travel Mug