Create a beautiful Mod Podge vase using tissue paper! This simple DIY undertaking is ideal for crafting personalized home adornments that are vibrant and distinct.
Skills Needed: Advanced Beginner. It’s advisable to possess some familiarity with Mod Podge to execute this task, as tissue paper can easily wrinkle.
Are you passionate about blooms? If you’re a lady like myself, the answer is probably “yes.” I can be selective about my blooms, and this may seem amusing, but I really have a fondness for white flowers. I find white tulips to be especially stunning.
They are sleek and minimalistic, adding charm to decorative vases, of which I possess many (hello, decoupage enthusiast). I’m here to demonstrate how to beautify a vase with tissue paper making it an attractive holder for flowers!
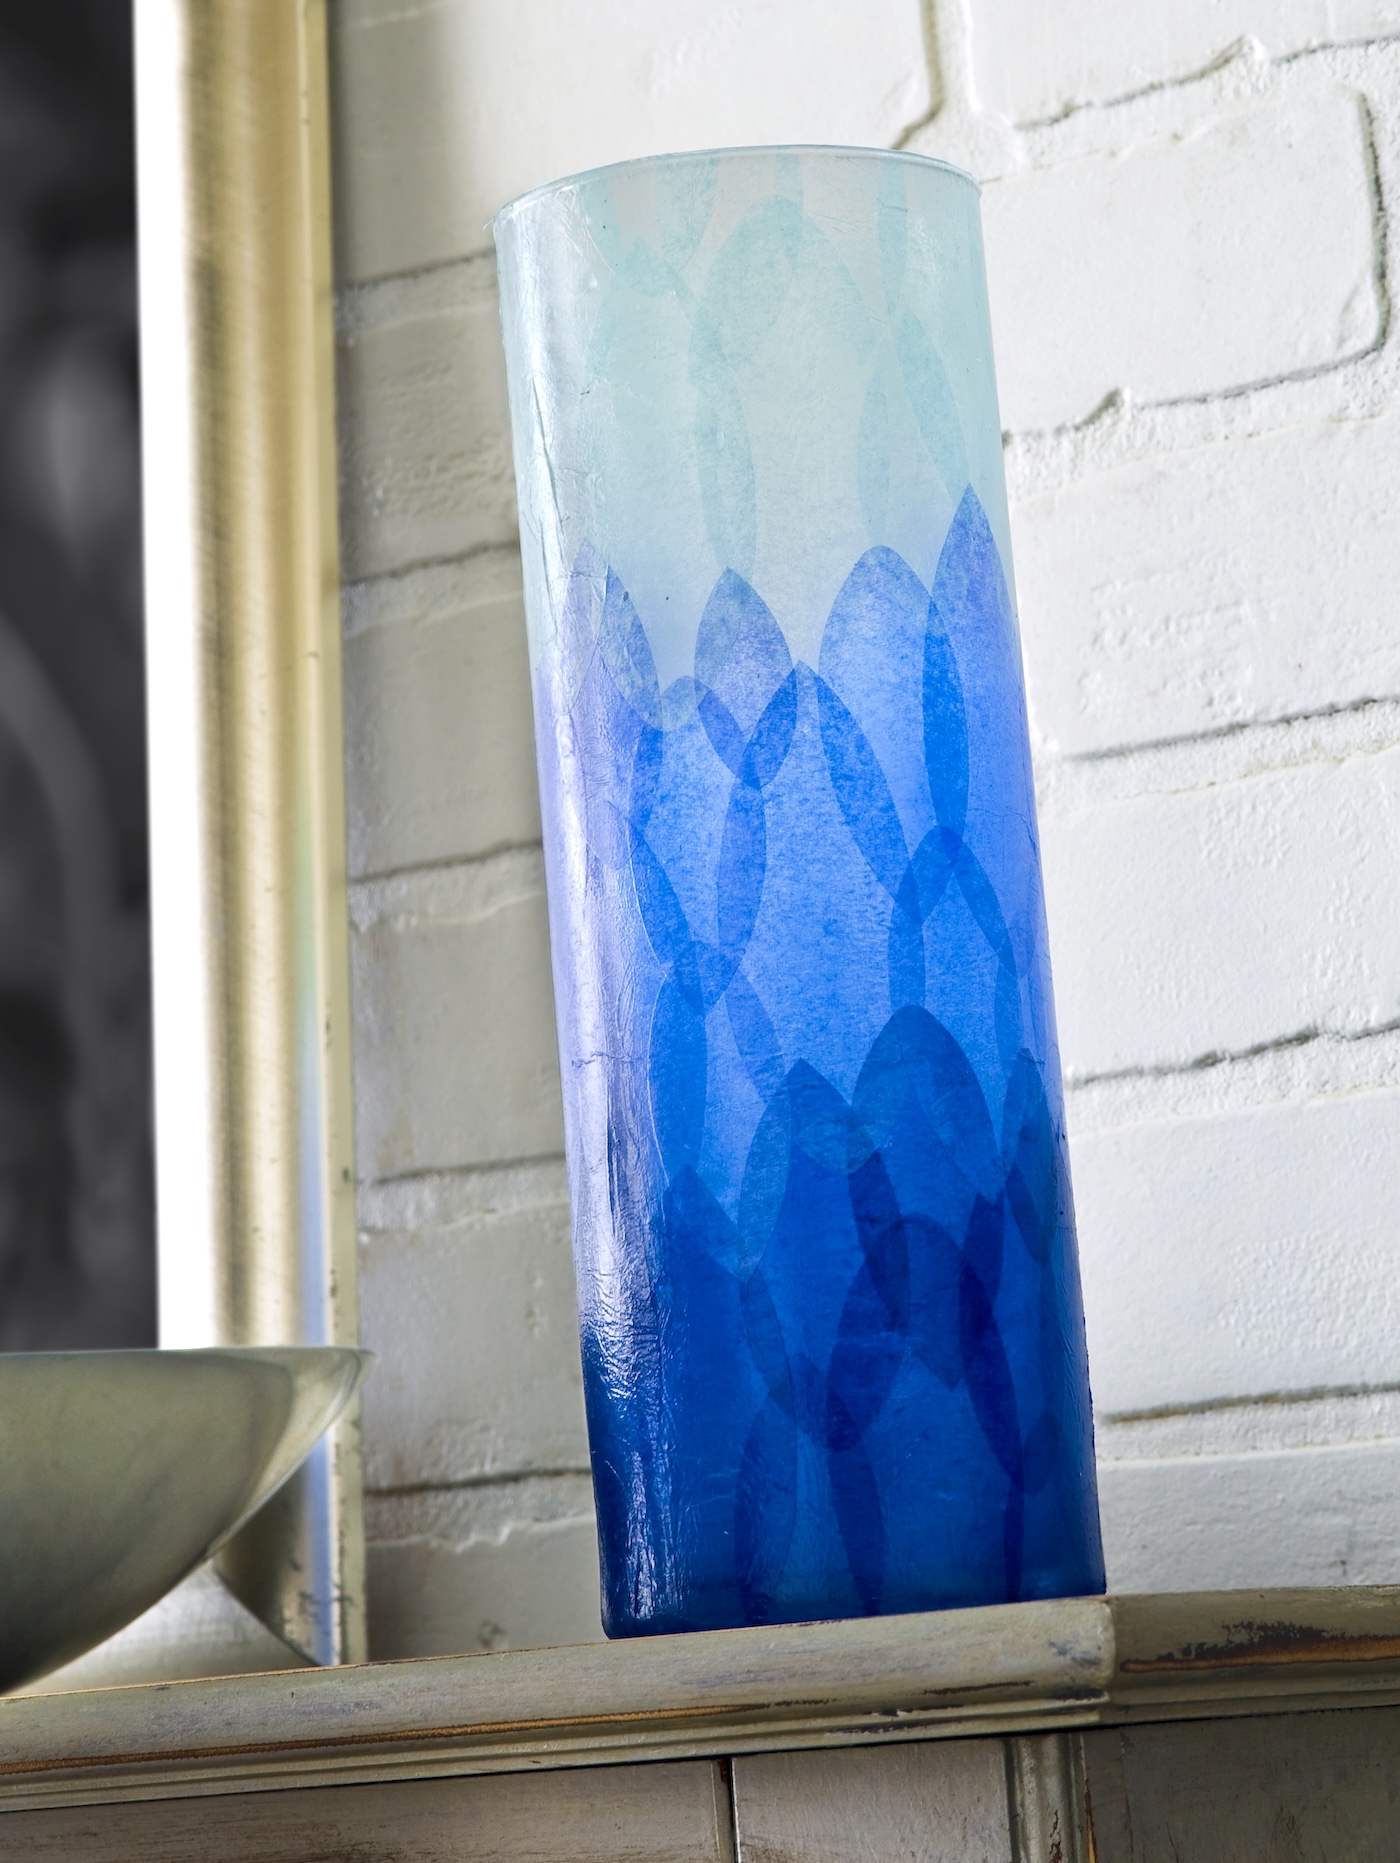
I recently enhanced a slender glass vase with tissue paper, and I believe it’s perfect for showcasing white tulips. I adore having a vase in my kitchen to lift my spirits in the morning or even adorning a vase just like this one filled with tulips as a present.
The tissue paper makes this an ideal budget-friendly craft, and I appreciate the ombre effect. If you’re interested in Mod Podging on glass, this is a superb project to begin with. Here’s the process.
Collect These Materials
I’m extremely pleased with the outcome. Now you understand how to embellish a vase using tissue paper! My technique prevents the tissue from wrinkling since smaller pieces are utilized. Just like with my wine bottles!
Access the printable instructions below:
Tissue Paper Vase
Discover how to Mod Podge a vase using tissue paper! This is a delightful craft that can be effortlessly tailored.
Preparation Time5 minutes mins
Active Time1 hour hr 30 minutes mins
Drying Time3 hours hrs
Total Duration4 hours hrs 35 minutes mins
Yield: 1 vase
Expense: $2
-
Utilize a cutter and die to shape the designs from the tissue paper. If you lack a Big Shot or similar device, you can conveniently use a paper stencil and cut the tissue with scissors.
-
Apply Mod Podge onto the glass and gently press one tissue paper piece down. You may opt to use your finger or a brush.
-
Brush Mod Podge lightly over the surface. Just ensure you don’t apply too much pressure, so you won’t tear the tissue paper. Repeat with the other pieces until you reach the top. Allow to dry.
-
Use the X-Acto to trim away any excess dried tissue paper that overlaps the edge. Then coat the entire vase again with Mod Podge. Allow to dry before showcasing.
Step 1: Whether using a die cutter or scissors, you can layer the tissue paper and cut out multiple shapes simultaneously.
The most time-intensive aspect of this project is cutting stacks of leaves. The quantity needed depends on the size of your vase – it took me about ten minutes. Feel free to cut more if required.
Start with the darkest hue at the base if you’re creating an ombre vase as I did – place your mid-tone color in the middle and the lightest on top.
Did you enjoy this project? I’d love for you to explore these other concepts!