Discover how to utilize resin for your crafts! Resin creates some of the most amazing projects; acquire tips and tricks along with frequently asked questions for novices. This is your comprehensive manual.
I’m not sure if you’ve heard everything about resin, but it’s extremely popular right now! I’m genuinely thrilled to share my expertise on this material with you, as it allows for some of the most fantastic crafts you can imagine.
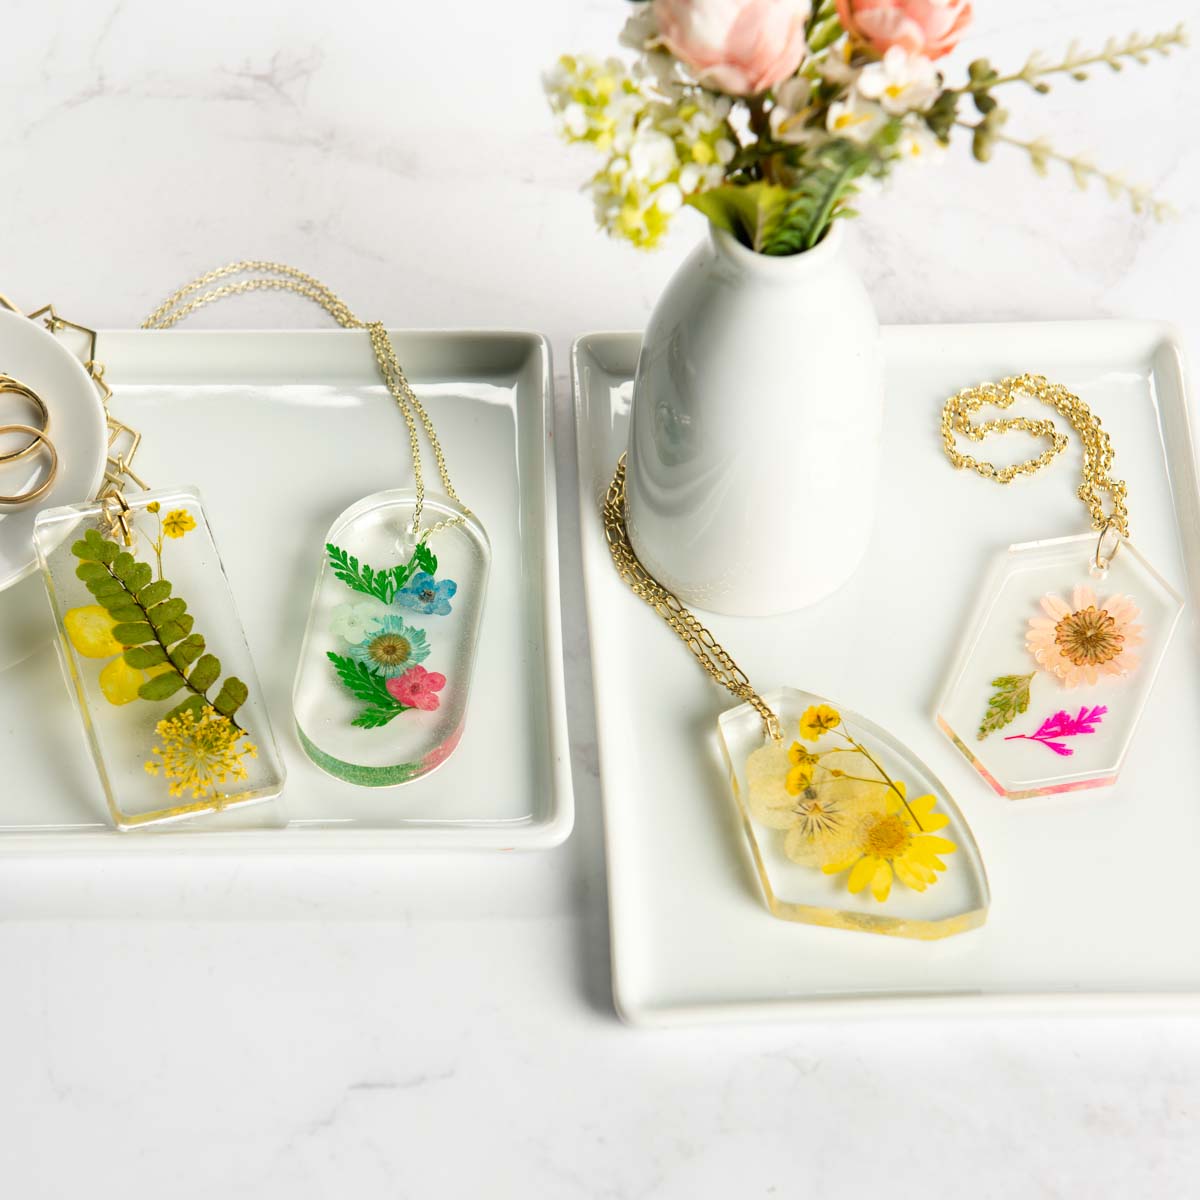
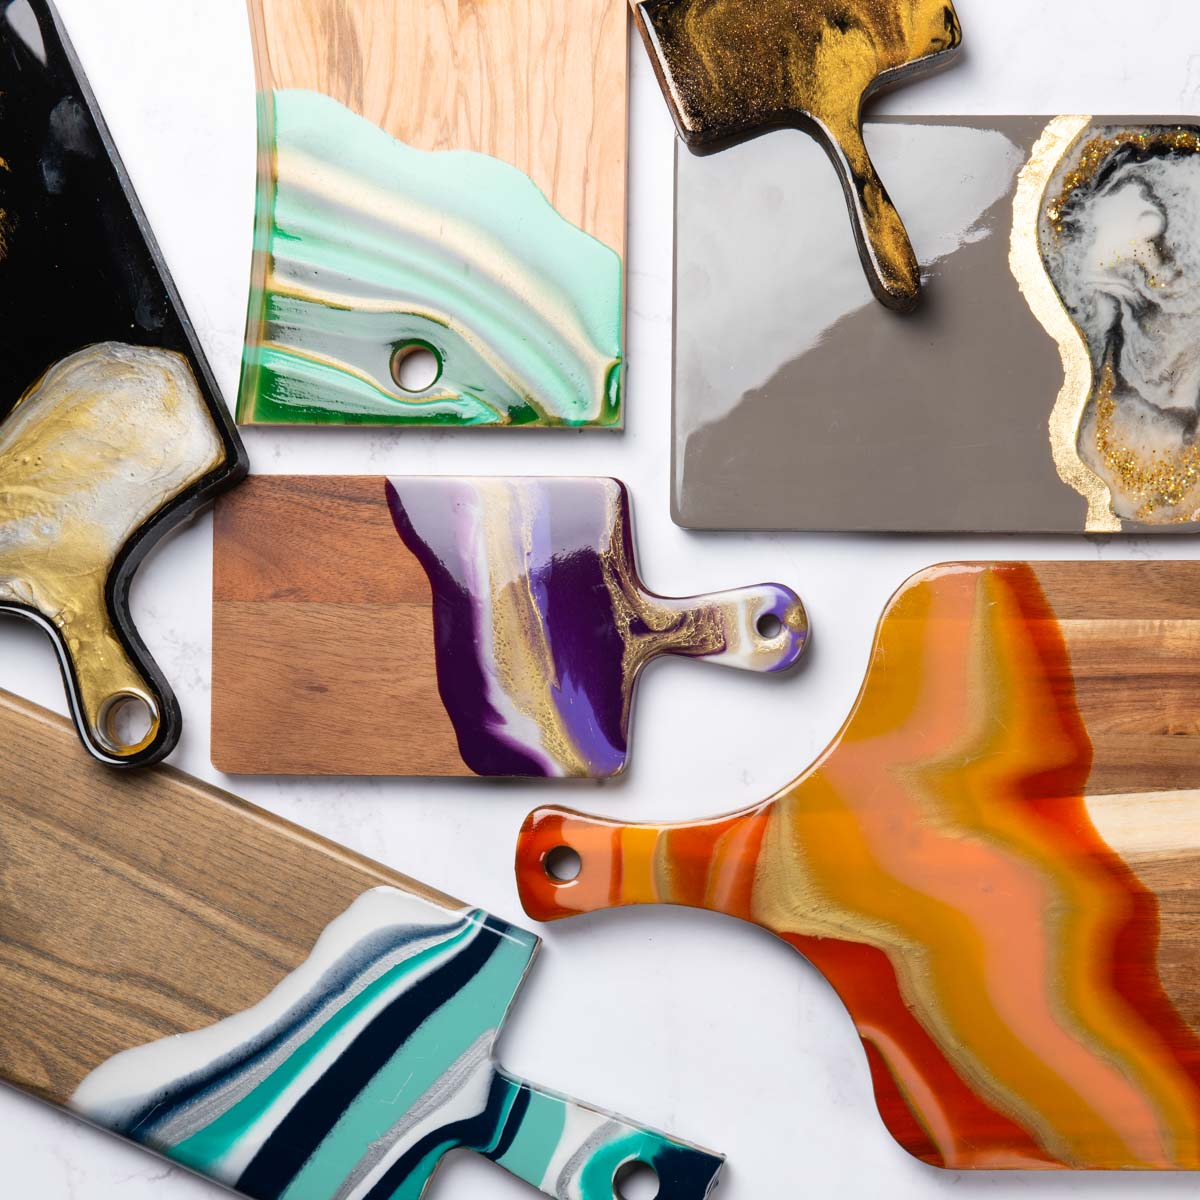
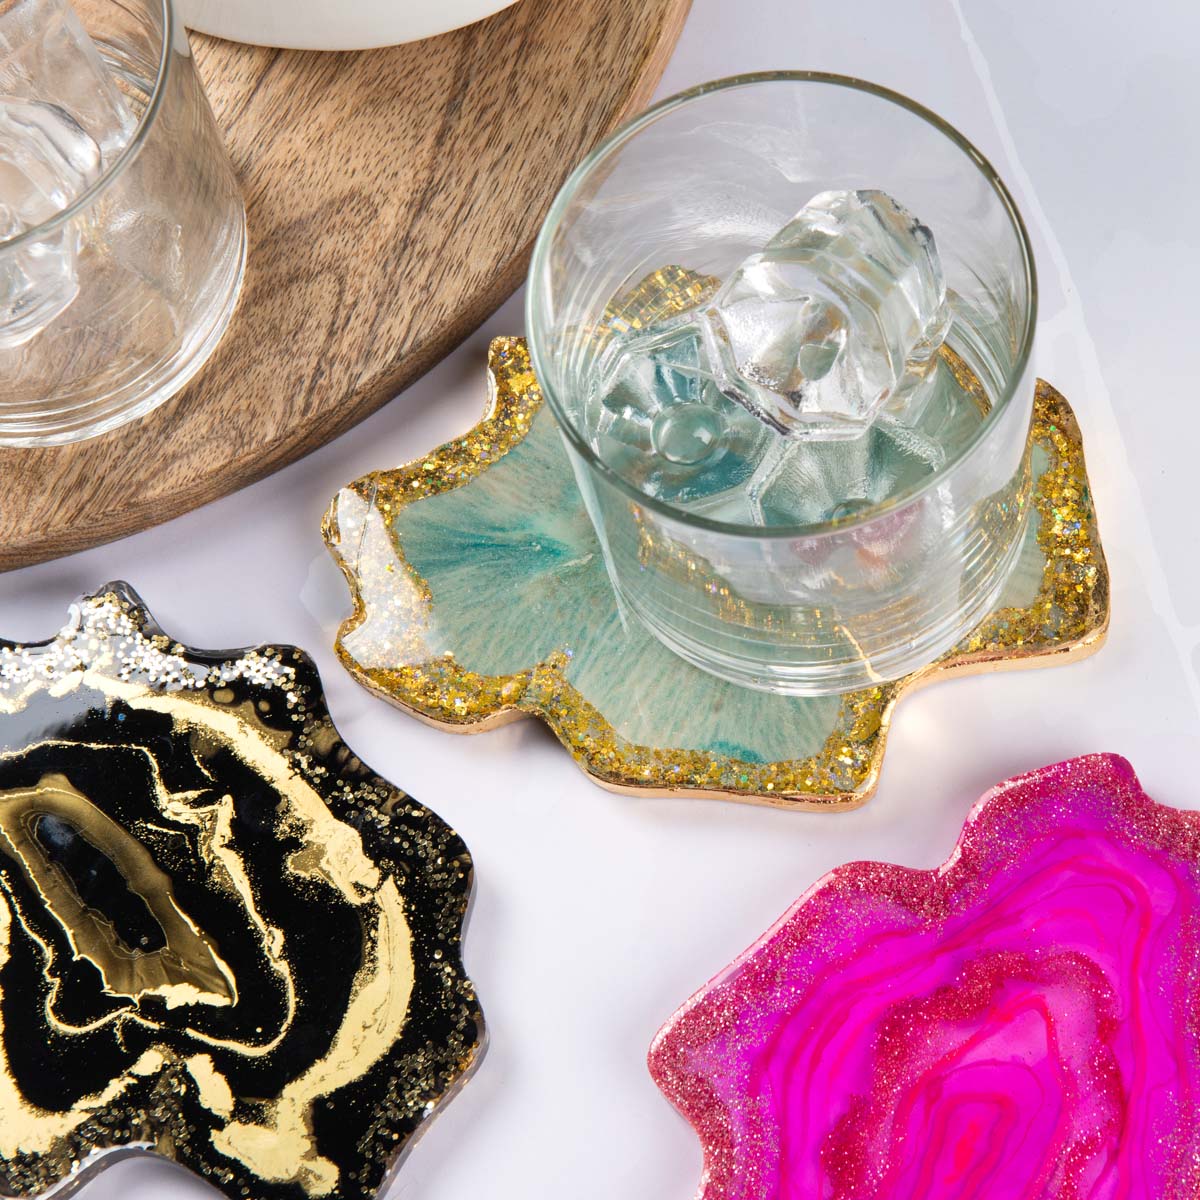
Crafts such as these keychains, coasters, and wall decorations.
You can employ this transparent, hardening product for home embellishment, presents, jewelry, and more. If you check out our resin crafts, you’ll discover precisely the kinds of projects you can undertake.
I don’t know about you, but whenever I embark on a new craft, I like to know what I can create. I need something to work towards!
Once you affirm that you’re enamored and wish to delve into this craft, it’s time to uncover how to execute it. Before we commence, I’d like you to view this video for an overview of using resin. Afterward, we’ll delve into the specifics.
Resin for Novices
This is the aspect I’m most eager to unveil – the FAQ! This is the core of this article: everything regarding resin and what you need to know for success.
If you happen to have a question, do not hesitate to leave it in the comments. I’d also love to hear about your journey with this craft. Let’s embark!
What is Resin?
You’re likely pondering “what exactly is this substance?” Well, resin is essentially an adhesive in liquid state that can also serve as a coating.
Technically, it could be used for bonding materials, but you will appreciate it in its cured state, which is a tough and transparent layer. That’s how it will be employed in resin crafts.
Epoxy vs. Casting Resin
You will come across both terms often, so I’ll clarify the distinction.
Epoxy resins have a thicker consistency and cure more rapidly than casting resins. They are intended for coating purposes.
Casting resins are typically utilized to create three-dimensional items such as paperweights, molds, figures, and even jewelry.
The terms are frequently used interchangeably along with the products. You can learn additional details about the differences between epoxy resin and casting resin here.
Is it Simple to Work with Resin?
This is actually what I adore about it. It’s exceptionally simple to work with! In essence, you mix and pour. You might incorporate a few additional items. Think of the procedure as preparing a very straightforward recipe that utilizes equal amounts of two components.
The primary “concern” is that resin undergoes a chemical transformation, which is quite distinct from a decoupage medium.
It is non-toxic once cured, however, it’s important to take appropriate safety measures as you would if dyeing fabric. Better to be cautious than regretful.
PS: it may appear intimidating, but it’s really not. I feel very secure while handling resin!
Materials You’ll Require
Here’s what you’ll generally want to have ready when crafting resin artwork:
- Measuring cups and mixing containers
- Craft sticks or small dowel rods
- Butane torch, heat gun, hair dryer, or 91% rubbing alcohol
- Silicone mat, wax paper, or plastic covering to protect your workspace
- Silicone molds
- Decorative elements (optional): dried flowers, alcohol ink, glitter, gold leaf, and a variety of other embellishments
- Personal protective gear – respirator, goggles or glasses, gloves, and attire to cover your arms. Whether or not you choose to don this equipment is your decision, but it’s recommended, particularly if you’re sensitive in respiratory matters.
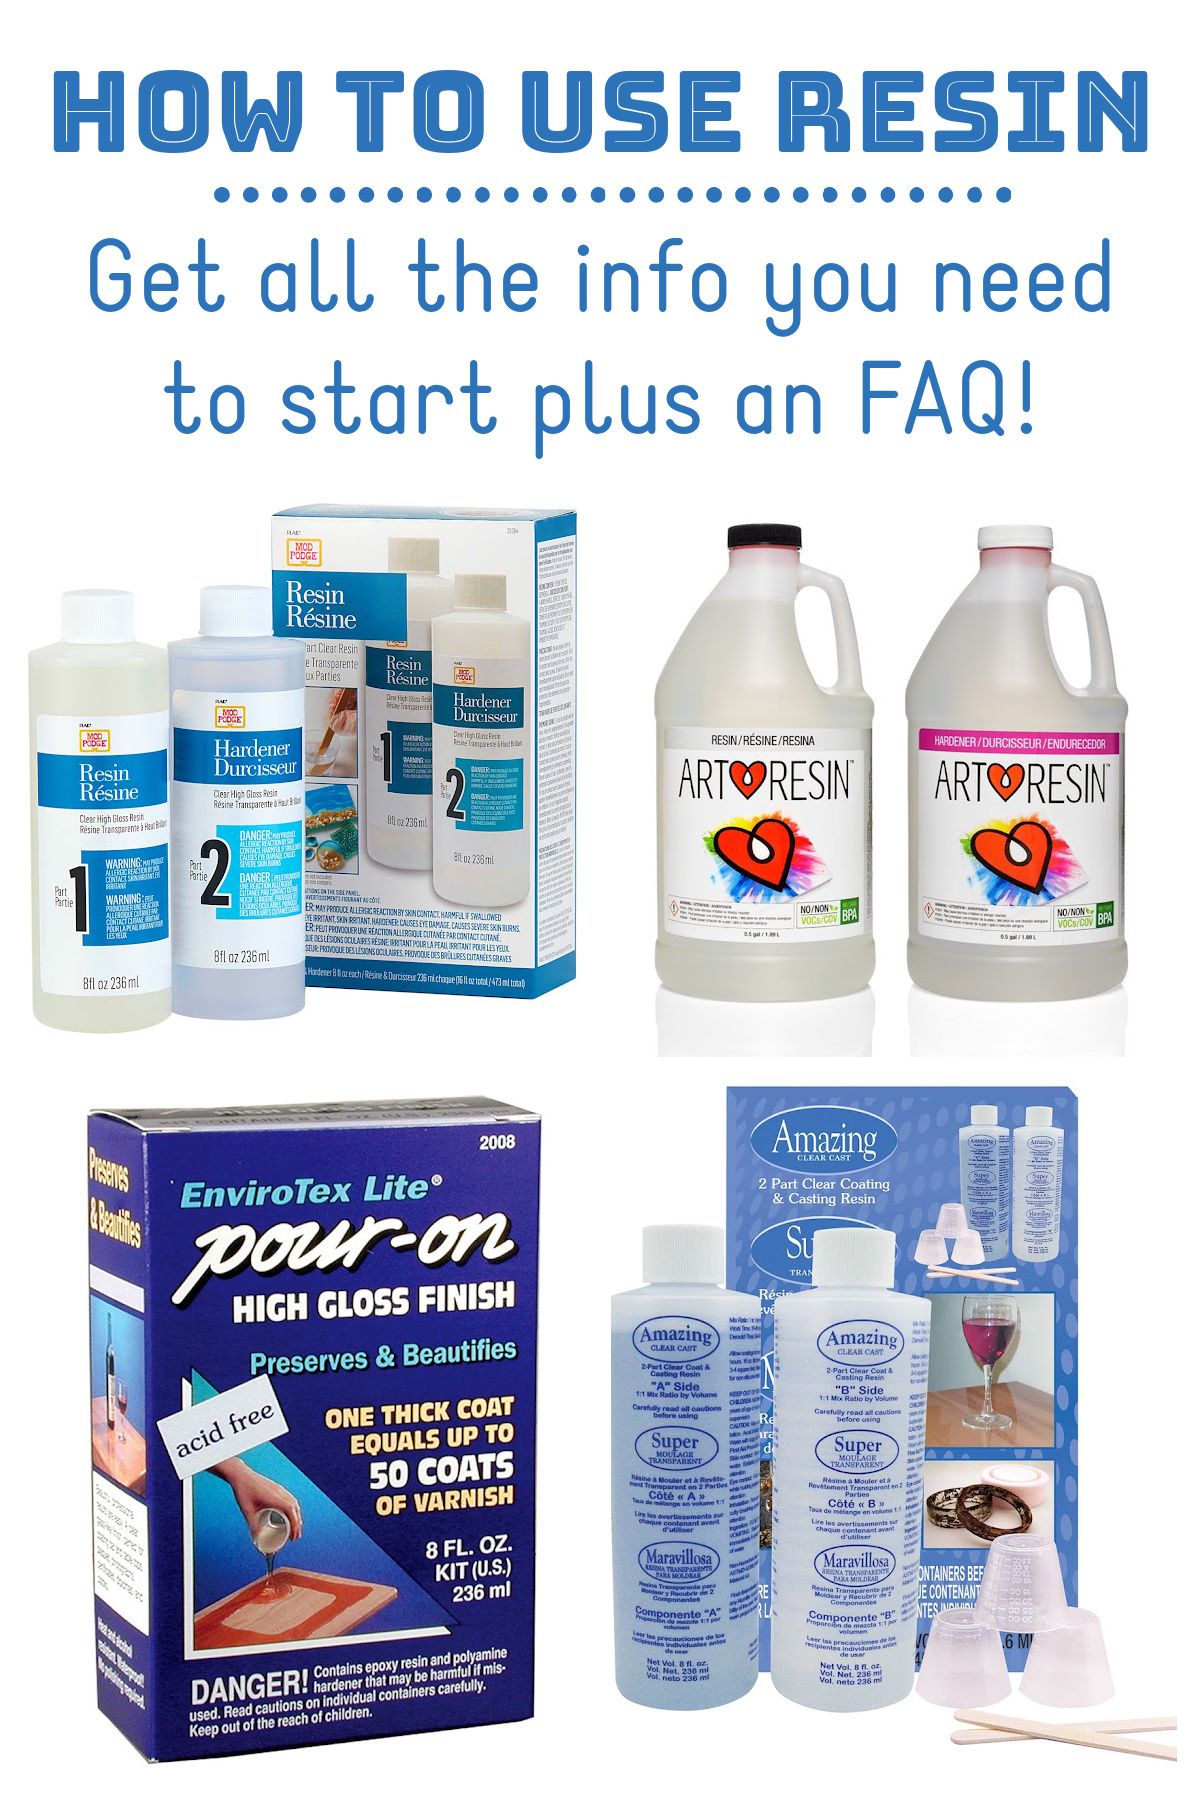
What is the top resin for novices?
Plaid Crafts has launched Mod Podge Resin, which I consider very straightforward to use. It possesses excellent lightfastness properties and cures to a solid, transparent gloss finish that many prominent brands lack.
Moreover, Mod Podge Resin is FDA-approved for food safety, has minimal VOCs, and is produced in the USA.
Various craft retailers offer multiple brands, so it’s essential to examine the packaging to determine what suits your requirements best. I’ve created numerous items using the Mod Podge range and consistently achieved positive results, allowing me to wholeheartedly endorse it.
What is the process for using resin step by step?
- Prepare your materials and don your personal protective gear if applicable.
- Combine a 1:1 ratio of Resin (1) and Hardener (2). Be cautious about the quantity of resin necessary to completely fill your mold or cover your project.
- Mix gently for 3 minutes. Ensure to scrape the edges of your cup to guarantee thorough mixing.
- Allow your mixture to rest for 2 minutes.
- Eliminate any air bubbles using a torch. Maintain a constant motion with the torch.
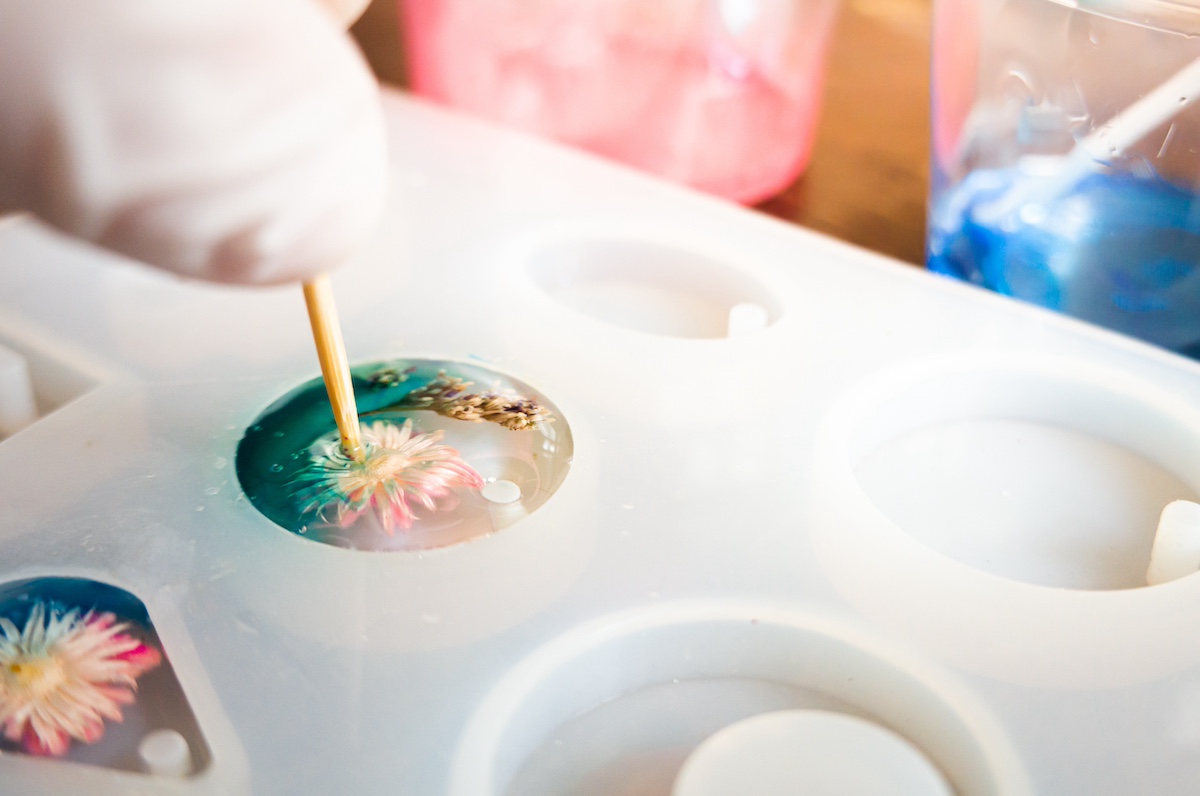
- Customize your project by incorporating alcohol ink, paint, glitter, flowers, and more.
- Pour the resin into the silicone mold and let it rest. Again, use your torch to remove any air bubbles. Repeat if more bubbles surface.
- Permit your project to cure for 24 hours before removing it from the mold.
Is a torch really necessary? If you plan to undertake numerous projects, I would say yes. You can also exhale onto the project (!) or utilize a lighter to eliminate bubbles. However, using a torch is honestly the most convenient method.
Where can I acquire the molds?
The silicone molds are absolutely fantastic! They shape your completed project. In fact, a mold is essential for any project! You can buy molds from craft stores like Michaels, Jo-Ann, Hobby Lobby, and also on Amazon.
To be frank, I was unaware there were so many options until I encountered some astonishing items during a trip to the craft store. You can create dominoes or even a license plate frame, for instance… so amazing!
How long after blending resin will it start to solidify?
Typically, it has a working timeframe of 20 – 30 minutes. You can incorporate additives like alcohol inks or glitters during this window.
However, it’s essential to consult the guidelines for any brand and type of resin you purchase. If the instructions are unclear, assume the minimum of 20 minutes working time.
What is the duration for curing?
Approximately 7 days for a complete cure, but you can take your resin items out of the mold after 24 hours. They will appear solid. After that time, your project will continue to strengthen further.
Is it possible to apply resin in layers?
Indeed. The second layer can be put on once the first layer has solidified. This might take one to two…
hours, based on the moisture level and temperature within the space.
How can I eliminate the bubbles?
You may gently stir or warm the resin prior to mixing to assist with bubble removal – however, I have noticed that regardless of the method, bubbles persist. Expect them, and don’t stress, as you can eliminate them easily.
Many individuals utilize a blow torch, culinary torch, lighter, or heat gun. This is the favored technique. Position it above the surface of the creation, just over it, and observe as the bubbles rise to the top and burst.
If a torch is not available, you can breathe on your resin project. Indeed – it’s effective! I’ve tried it. Don’t forcefully blow, just get near and softly exhale. The warmth causes the bubbles to pop.
Allow yourself two rounds of bubble bursting to ensure they are gone. Heat the surface and pop the bubbles, wait five minutes, and then repeat the process.
Is cured resin waterproof, safe for food, and heat resistant?
Indeed, it is waterproof. Resin is generally FDA approved as food safe when correctly combined following the guidelines included with the product (be sure to verify the instructions or website for the specific brand you purchase to confirm).
Resin is usually heat resistant up to 110° F. If subjected to higher temperatures, the project may turn yellow. Note: resin is not advisable for decorative hot plates. There are high-temperature resins, which is what I would recommend specifically if you are seeking that characteristic.
Should I anticipate shrinkage?
Is it inappropriate that I chuckled at this question? No, you shouldn’t foresee significant shrinkage. Perhaps a bit, but not substantially at all. Unless it encounters cold water (sorry, I had to!).
What can I incorporate into resin?
Essentially anything! My preferred additions (to use a frozen yogurt phrase) include glitter, alcohol inks, paint, dried flowers, charms, clay beads, gold leaf, and specks . . . and much more. People enclose some peculiar items in resin. No judgments here!
Extra Suggestions
These are the recommendations for utilizing this product that I would like to share with you. Please keep these in mind:
- Operate on a flat surface at a warm temperature of 70 degrees or above.
- The available time for working with resin is 20 – 30 minutes.
- You can remove your project from the mold after 24 hours.
- The complete curing duration for your project is 3 – 7 days.
- If unopened, the product has a shelf life of 1 year. Once opened, it is 6 months.
- Ensure to keep your containers in a warm setting, between 60 – 70 degrees. Additionally, remember to store in original packaging.
Now that you’re informed on how to utilize resin, are you prepared to begin? I would love to hear your reflections and experiences in the comments. Connect with me!
Furthermore, here are all the projects you should attempt to commence:
Cutting Board • Geode Coasters • Gold Leaf • Ocean Resin Art • Preserve Flowers • Resin Frame • Wood Slice Coasters