Artwork has a unique way of accumulating in our residences, wouldn’t you agree? Ha! And which child doesn’t believe that each creation is a work of art? Well, many of them are sentimental if not artistic masterpieces as well. What should we do with the multitude of creations that kids produce daily?
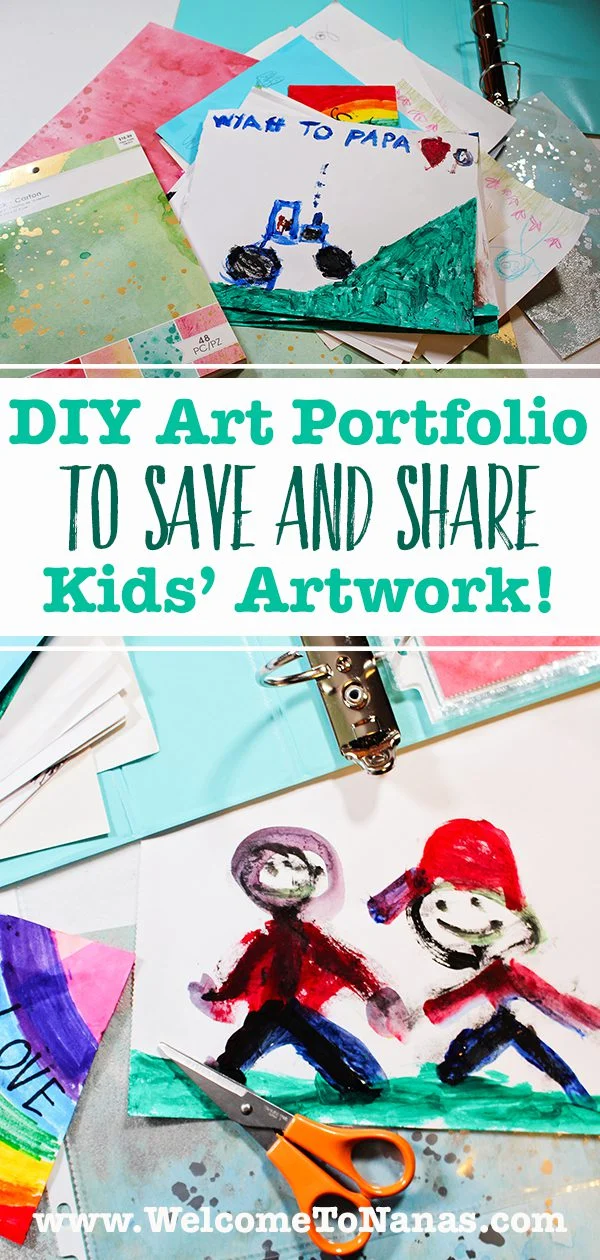
DIY Art Portfolio to Preserve and Share Children’s Artwork!
Here’s a straightforward approach to create a DIY Art Portfolio to Preserve and Share Children’s Artwork! When completed, the art will be securely stored on a shelf in your home, ready to be enjoyed and shared.
Ready to Create an Art Portfolio Right Now?
Perhaps you are eager to construct the DIY Art Portfolio to Preserve and Share Children’s Artwork immediately.
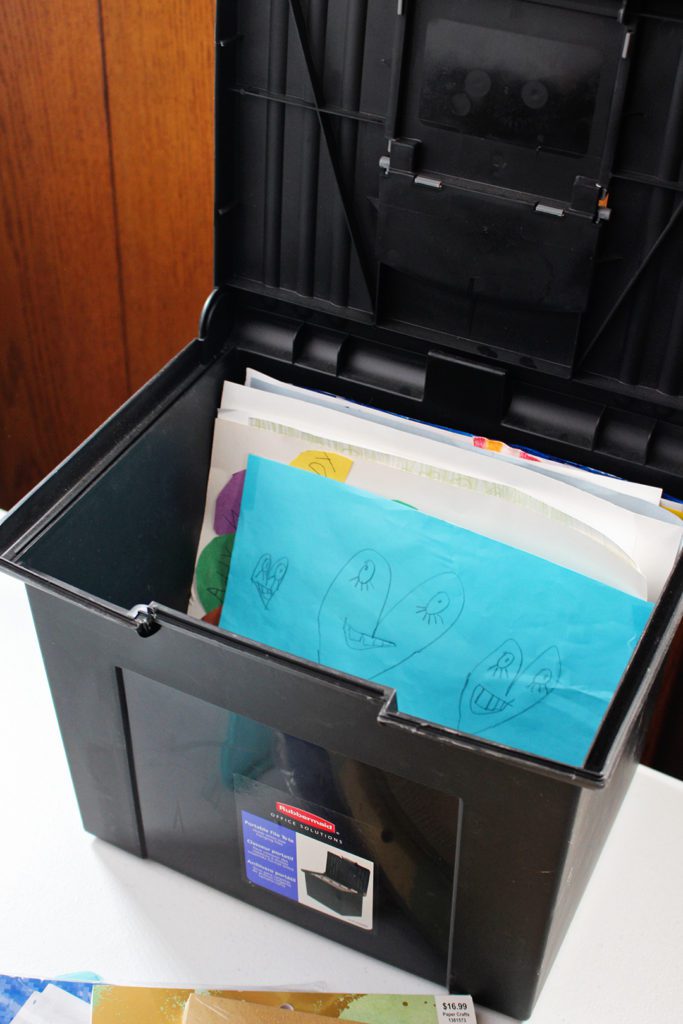
If that’s the case, take a stroll around your home and gather all the artwork you can find (flat and 3-D creations). Store it all in a tub, box, or even a brown paper grocery bag, one for each child.
Select the Art Treasures to Preserve
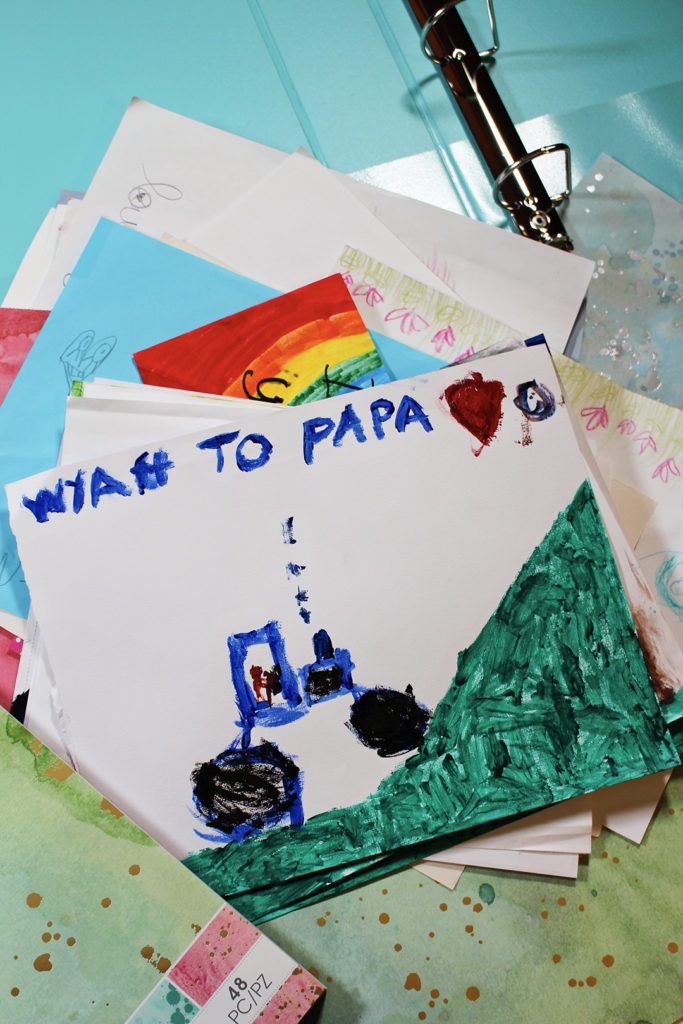
On a day when you have some mental clarity and time, arrange all of the artwork on the floor, one child at a time. Explain to the little artist what the task entails. You’re selecting the beloved pieces to create a sort of museum. Not every creation can be in a museum—only the cherished ones!
They will be able to select their top 20 favorite pieces, and then you will choose your own top 20. These will be organized in the Art Portfolio that they can revisit repeatedly. They can also share these with others—like Nana!
Note—naturally, you can reduce or increase the number of pieces to use.
An Art Treasure Quest
Consider adding excitement to the time by transforming it into a treasure quest for the beloved art pieces. The remaining items can be returned to the box for subsequent use. Store the extra art boxes in your closet. You’ll determine their fate when they are out of view.
This may prove more challenging for some young artists than others. Remember, you are imparting a valuable skill, so persevere.
Now, enjoy yourselves!
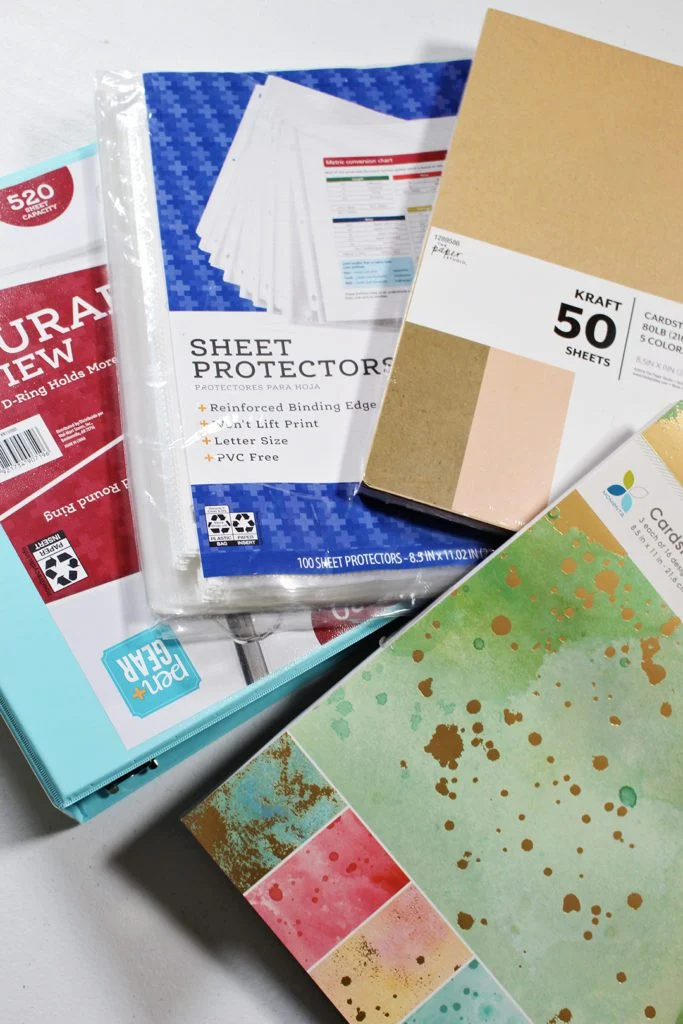
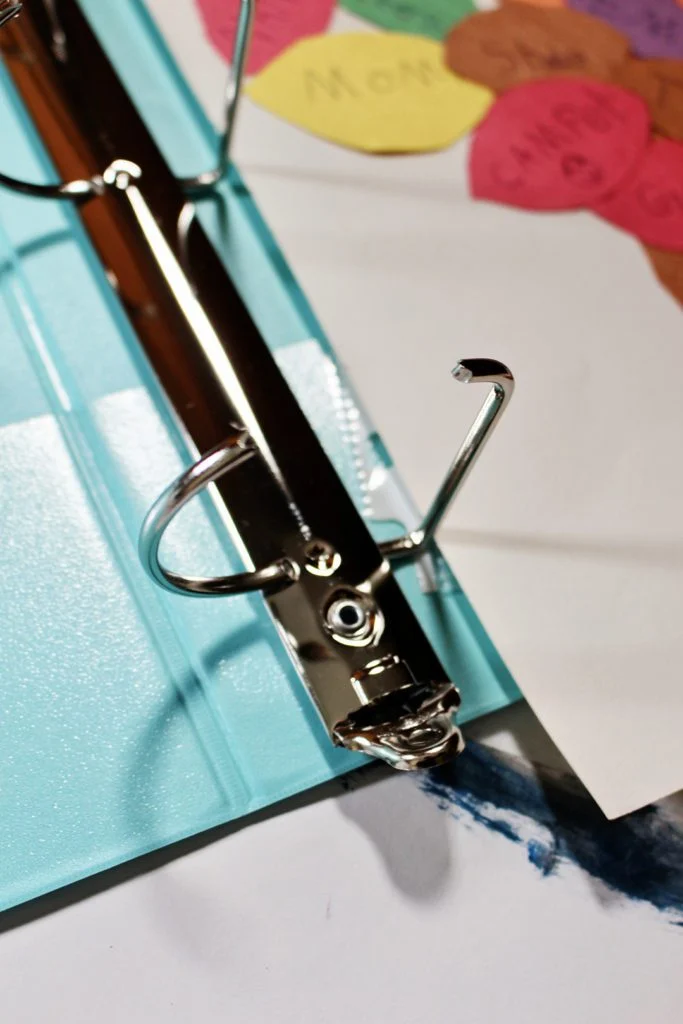
Prepare the binder
The binder is a 2-inch D-Ring Binder that accommodates 8.5 by 11-inch sheets. The D-ring facilitates maintaining the artwork flat both on the shelf and while perusing it. I selected one with a transparent pocket on the front to design a cover for the art portfolio.
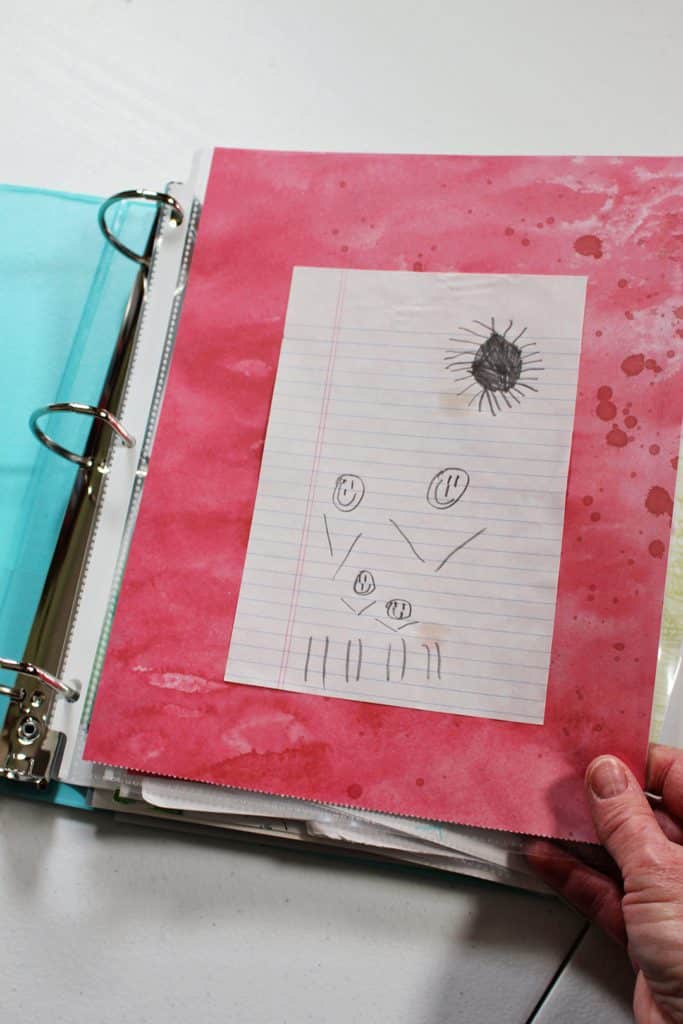
Insert some 8.5 by 11-inch plastic pockets into the binder and start sliding the art into the pockets. You may choose to be as meticulous as you like with this, but I suggest avoiding getting caught up in achieving perfection. The objective is to store the artwork effectively and complete the task in an uncomplicated way.
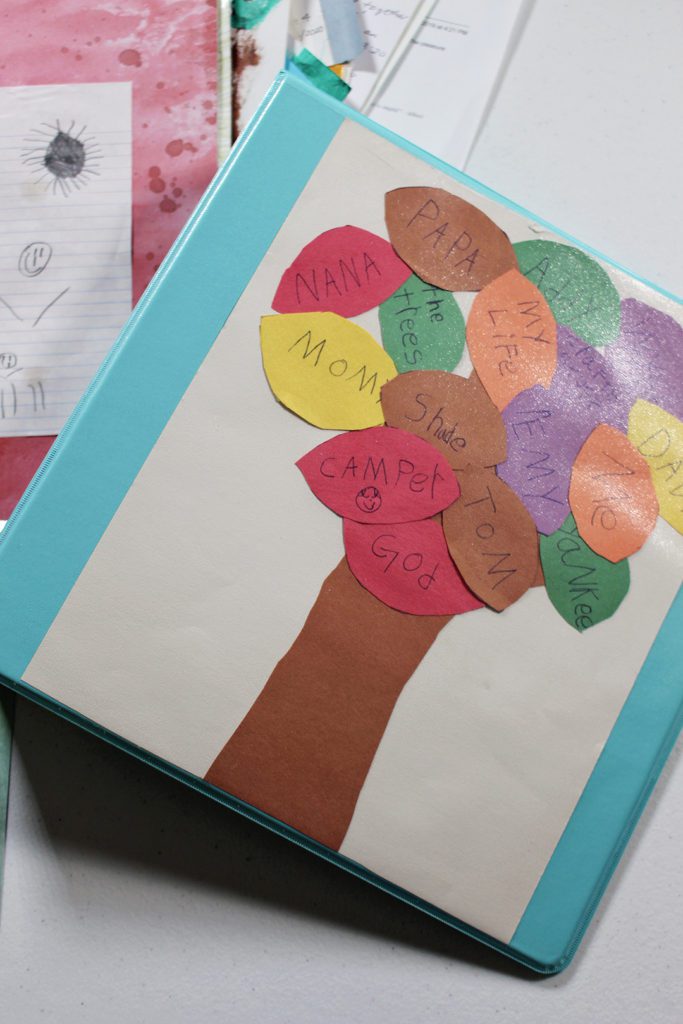
Create a cover
To start, select the absolute favorite piece that can be placed in the front cover. Isn’t that lovely?
Now let’s explore the interior of the portfolio.
You can utilize a marker to label the creations if desired, but they are equally stunning as a simple picture album. Trust your instincts, relish the journey.
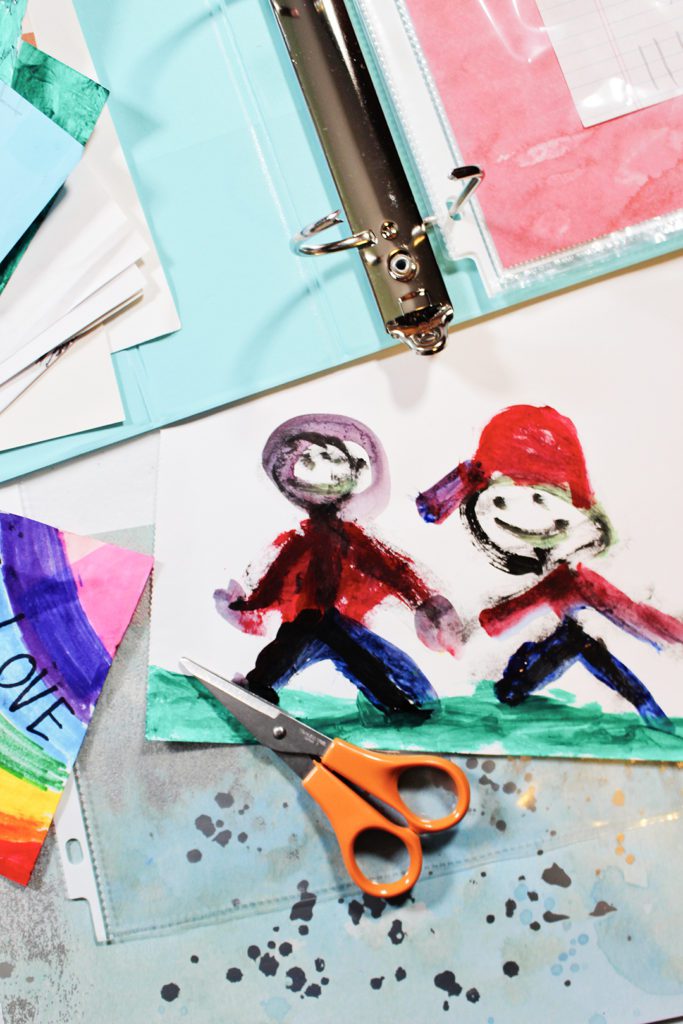
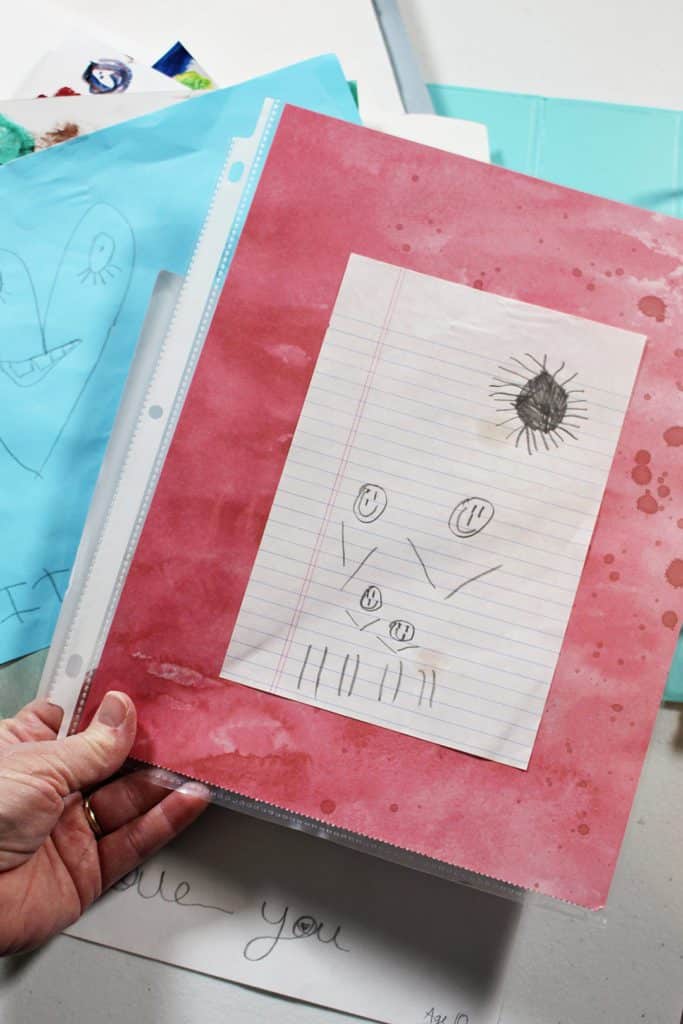
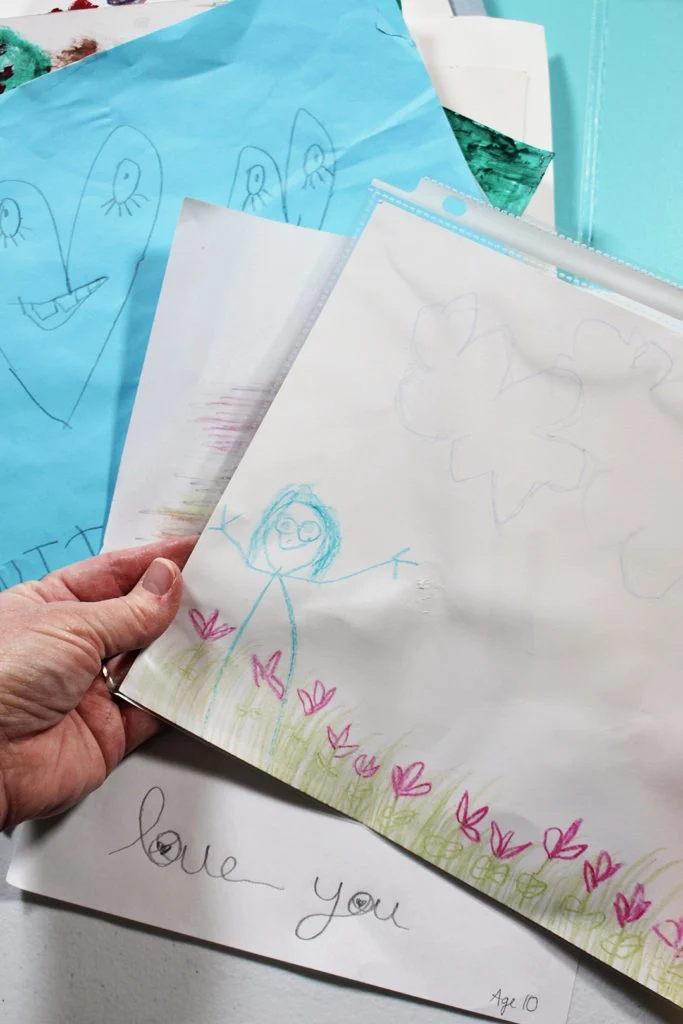
Insert the artwork into the plastic sleeves
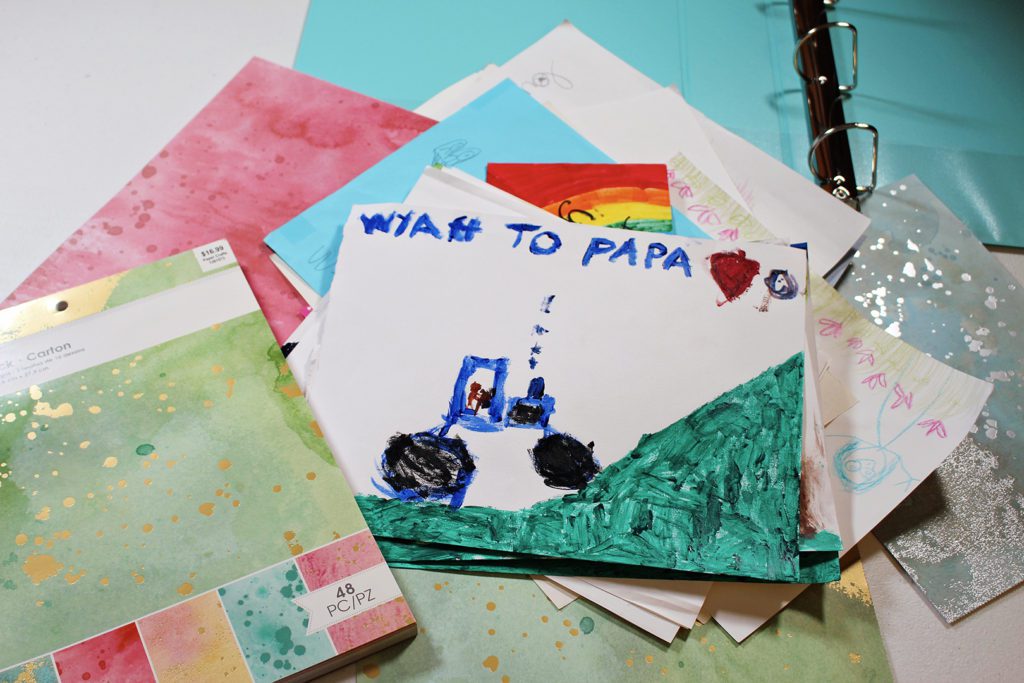
Some artworks may be too petite to fit within the plastic sleeves. Have fun and position them atop other artistic creations or on decorative paper that will act as a backdrop matting. I utilized some vibrant card stock with a speckled pattern in various colors. This made it effortless to locate a matching hue and accomplish the project in a single session.
Some artworks may be excessively large for the plastic sleeves. Fold them so the most appealing part of the artwork is visible or trim them to the 8.5 by 11 inches dimension.
Certain artworks are perfectly suited for the plastic sleeves. I just had to include that because it made me think of Goldilocks and the Three Bears! Ha.
Capture images of 3-D artworks
Photograph the 3D artworks. Position the 3D items on a table where the background is uniform and highlights the piece as effectively as possible. Natural daylight streaming through a window works exceptionally well. Once more, do your utmost, and don’t overthink it. Print the photographs in color as 8.5 by 11 inches on your home printer or a local store. Slip them into the plastic sleeves as well.
Organize an Art Exhibition!
Once you have finished, ensure to display the DIY Art Portfolio designed to Preserve and Showcase Children’s Artwork. Allow dad or mom to examine it upon their return home or take it to Nana’s or a neighbor’s residence. The experience of browsing through the stunning artworks is immensely rewarding. It’s a splendid chance for the child to express what they adore about each picture and the process behind its creation. How meaningful is this for a young artist?
Interested in collecting artwork to assemble the art portfolio later?
Planning to tackle this project down the line when you possess a more substantial collection of artwork? That sounds fantastic! What do you think about crafting one at the close of each academic year as summer approaches or at the year’s end during the holiday break? What joyful moments for a reflective endeavor like this.
Establish several art display locations
Here are some recommendations.
To begin, designate one or two areas in your home for showcasing new artwork. The front of the refrigerator and a bulletin board are unbeatable options. You could string a cord between two nails to serve as a “clothes line” for attaching art in a corridor as well. If you desire more inventive options, Pinterest boasts a vast array of ideas. However, it’s essential to keep it simple initially.
Store the artwork for future use
As new artwork is produced, remove older pieces and store them in a tub, box, or bag labelled with the child’s name. Naturally, there are certain items that may not even require storage if you catch my drift, but the objective is to have a designated place for their collection.
At the conclusion of the academic year or the close of the calendar year, adhere to the same guidance as mentioned previously.
As a child matures, it becomes simpler to part with some of the creations, allowing you to preserve fewer items or eliminate certain ones from older collections to streamline slightly.
What can be done with the surplus artwork?
Let’s be candid. You are not obligated to do anything with it. It can be discarded with plenty of affection for the artistic journey that it represented. Done.
However, if you wish, you can utilize it for:
Gift wrapping
Creating a card
Giving to a neighbor or friend
Framing and displaying in the child’s room
Sending to Nana or Papa
Deconstructing and using in a journal or mosaic
Alternative methods to preserve children’s art
For those who prefer not to engage in a hands-on project like this, other alternatives exist to archive artwork.
You can photograph the artwork throughout the year and then compile a book through a photo service like Shutterfly. In this scenario, the physical artwork need not be retained. This requires effort on your part to organize them digitally into the specified layout for printing. However, it results in a beautiful book to cherish.
Alternatively, you can utilize a service such as Artkive or Plumprint, which permits you to send the artwork to them in a container. They will capture professional images and provide you with a photo book. Quite impressive but obviously at a higher cost.
Materials required for the DIY Art Portfolio to Preserve and Share Kids Artwork
DIY Art Portfolio to Preserve and Exhibit Kids’ Artwork
Shelly
This straightforward DIY Art Portfolio serves as an excellent method to showcase some of the incredible creations made by your young artists!
Preparation Time 10 minutesmins
Cooking Time 30 minutesmins
Total Duration 40 minutesmins
Instructions
Allow your child to assist in selecting their preferred 20 art creations, then you can pick your top 20 as well. You may opt to use a marker to label the pieces if desired, though they are equally lovely as a simple art book.
Insert some plastic sheets sized 8.5 by 11 inches into the binder and start placing the artwork into the pockets.
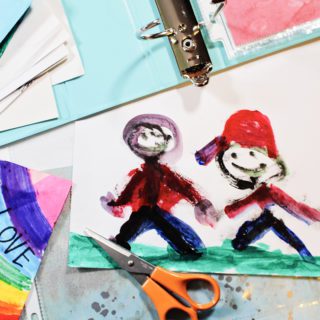
Select the absolute favorite piece to slide into the front cover.
Layer smaller artworks over other pieces or on top of decorative paper that will act as a backdrop matting.
Fold larger artworks so that the most attractive part is displayed, or trim them to fit the 8.5 by 11 inch dimensions.
Capture images of three-dimensional art, print the images in color as 8.5 by 11 inch copies using your home printer or through a print service. Place these into the plastic sheets too.
Once completed, ensure to showcase the DIY Art Portfolio to Preserve and Exhibit Kids Artwork. It provides a wonderful chance for the child to share their thoughts on the art and the process behind its creation!
Keywords Art Project, Children’s Artwork, DIY Art Portfolio, Grandparenting
Have Fun!
Welcome to Nana’s! Where there are enjoyable activities to do with your “grand” children!
A navy blue residence possesses a striking, timeless sophistication, yet selecting the appropriate flowers to enhance it can be unexpectedly challengi [...]
Utilize the Iron-On I'm utilizing the Cricut Autopress, yet any heat press is suitable for this endeavor. Prior to pressing, I consulted the Cricut He [...]
Apply the Vinyl Decal Prior to applying the decal, ensure the surface is thoroughly cleaned. I prefer utilizing a bit of isopropyl alcohol as it elimi [...]
Transform an ordinary clipboard with textile, paint, and Mod Podge! A delightful and straightforward craft to customize your office or educational sup [...]
Mod Podge Dimensional Magic versus resin – which one ought you to select? Discover the distinctions and what undertakings we suggest crafting with eac [...]
Avoid commercial items and create heartfelt, handmade presents. This compilation of 40 handmade gift concepts for the family rejuvenates the art of gi [...]
We use cookies on our website to give you the most relevant experience by remembering your preferences and repeat visits. By clicking “Accept”, you consent to the use of ALL the cookies.
This website uses cookies to improve your experience while you navigate through the website. Out of these, the cookies that are categorized as necessary are stored on your browser as they are essential for the working of basic functionalities of the website. We also use third-party cookies that help us analyze and understand how you use this website. These cookies will be stored in your browser only with your consent. You also have the option to opt-out of these cookies. But opting out of some of these cookies may affect your browsing experience.
Necessary cookies are absolutely essential for the website to function properly. These cookies ensure basic functionalities and security features of the website, anonymously.
Cookie
Duration
Description
cookielawinfo-checbox-analytics
11 months
This cookie is set by GDPR Cookie Consent plugin. The cookie is used to store the user consent for the cookies in the category "Analytics".
cookielawinfo-checbox-functional
11 months
The cookie is set by GDPR cookie consent to record the user consent for the cookies in the category "Functional".
cookielawinfo-checbox-others
11 months
This cookie is set by GDPR Cookie Consent plugin. The cookie is used to store the user consent for the cookies in the category "Other.
cookielawinfo-checkbox-necessary
11 months
This cookie is set by GDPR Cookie Consent plugin. The cookies is used to store the user consent for the cookies in the category "Necessary".
cookielawinfo-checkbox-performance
11 months
This cookie is set by GDPR Cookie Consent plugin. The cookie is used to store the user consent for the cookies in the category "Performance".
viewed_cookie_policy
11 months
The cookie is set by the GDPR Cookie Consent plugin and is used to store whether or not user has consented to the use of cookies. It does not store any personal data.
Functional cookies help to perform certain functionalities like sharing the content of the website on social media platforms, collect feedbacks, and other third-party features.
Performance cookies are used to understand and analyze the key performance indexes of the website which helps in delivering a better user experience for the visitors.
Analytical cookies are used to understand how visitors interact with the website. These cookies help provide information on metrics the number of visitors, bounce rate, traffic source, etc.
Advertisement cookies are used to provide visitors with relevant ads and marketing campaigns. These cookies track visitors across websites and collect information to provide customized ads.