If you’re fond of salads, nothing you cultivate will be as essential as leafy greens—the foundation of every fresh, crunchy morsel. However, with supermarket prices rising, why not take charge? Gaining knowledge about starting leafy greens indoors ensures that you’ll always have a consistent supply, prepared to be planted in the garden or harvested directly from your kitchen. These greens are inexpensive, simple to cultivate, and incredibly adaptable, flourishing in every season—from cool-season lettuces in spring to heat-resistant greens in summer, and even fresh yields indoors during winter. With the proper arrangement, you’ll never be without homegrown leafy greens again.
The most exciting aspect? There’s a leafy green for every season. Delicate lettuces prosper in cooler conditions, heat-resistant greens such as Swiss chard and Malabar spinach thrive in summer, while sturdy kale and collards can endure chilly nights. With our reliable indoor seed-starting guide, you’ll always have a fresh batch ready to go—no more urgent grocery trips for limp lettuce.
This article may include affiliate links. If you click one and make a purchase, I may earn a commission at no extra cost to you. You can read our disclosure policy here.
Reasons to Start Leafy Greens Indoors
Starting leafy greens indoors provides various advantages:
Quicker & Earlier Harvests – Gain an advantage in early spring or cultivate greens year-round.
Improved Germination – Regulated temperatures and moisture increase success rates.
Shielding from Pests – No slugs, aphids, or unforeseen frosts ruining your harvest.
Stronger Plants – Seedlings grown indoors typically exhibit greater health when transplanted outdoors.
Tip: If you reside in a colder area, indoor seed-starting prolongs your growing season, providing you fresh greens even during winter.
Selecting the Appropriate Leafy Greens
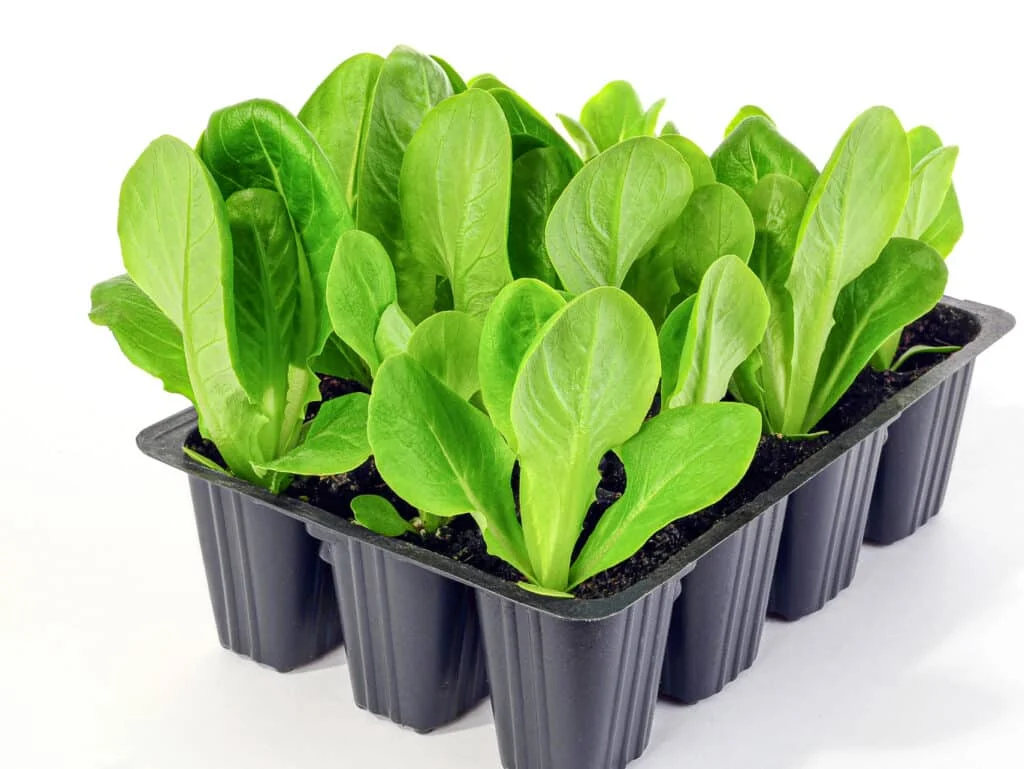
Leafy greens proliferate and can be harvested multiple times, rendering them perfect for indoor seed starting.
Fast-Growing Greens: Leaf lettuce, young spinach, arugula.
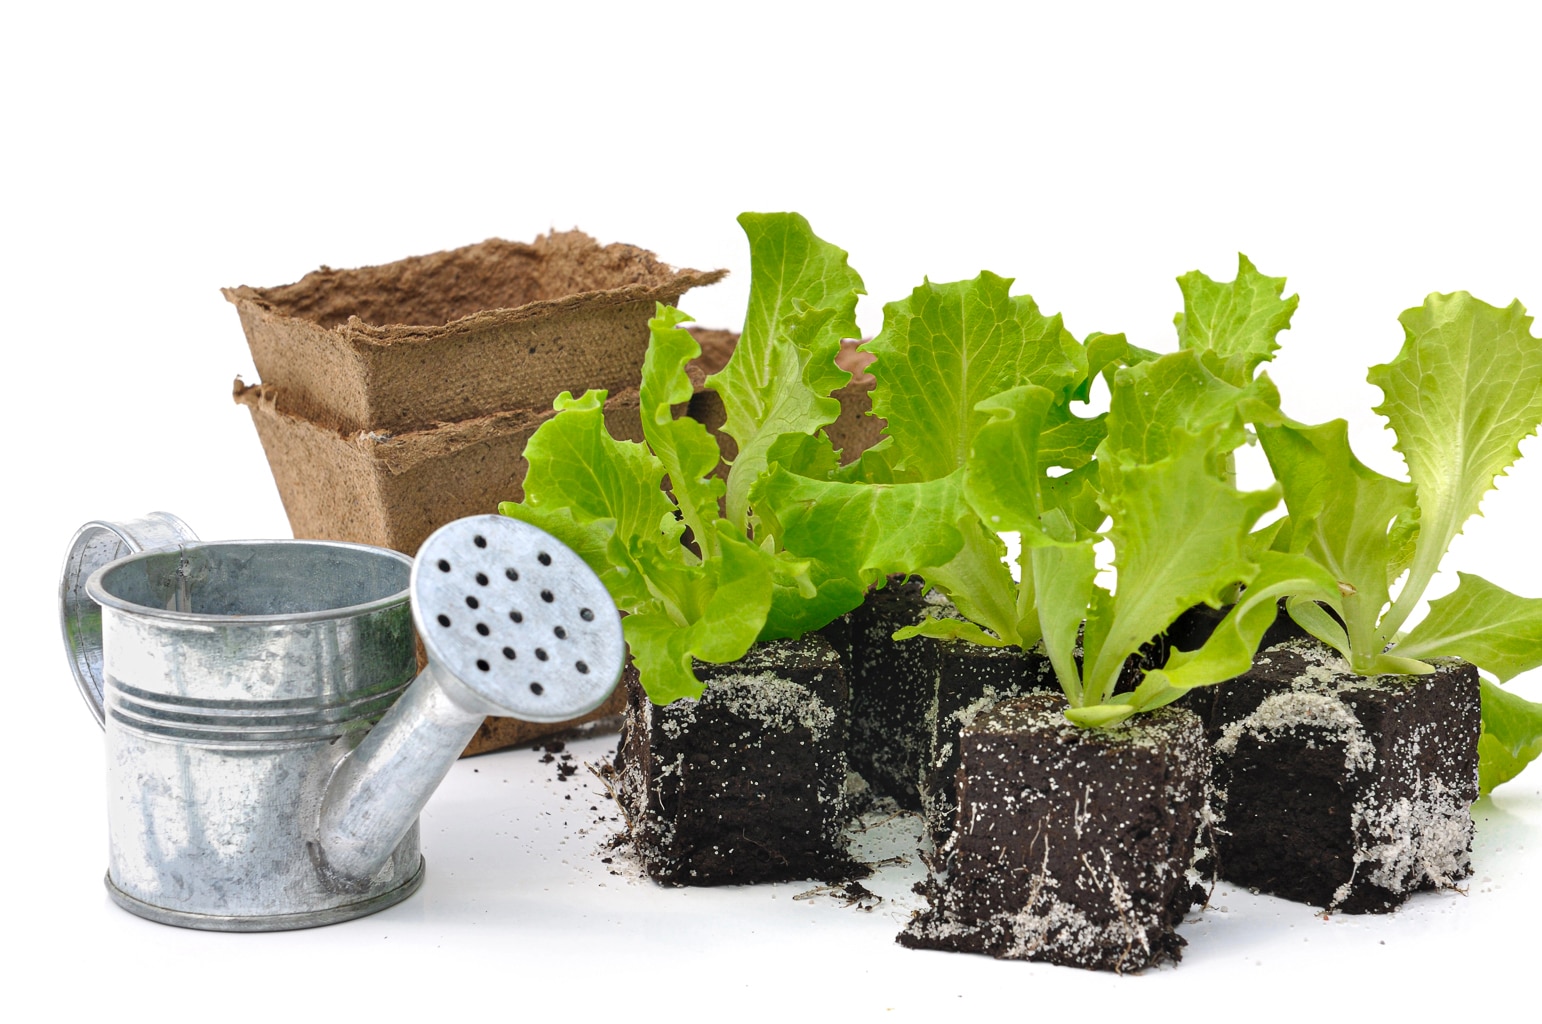
Grow lights or a very bright window (refer to the next section for details).
Spray bottle or gentle watering can.
Plastic wrap or humidity dome (optional for germination).
Tip: You can purchase seed-starting kits that include seed trays, watering trays, seed-starting mix (typically the compressed pods), and a humidity dome. Buying them together ensures they fit together properly!
Establishing Proper Lighting
Illumination is one of the primary obstacles for indoor seed germination. Insufficient light will cause seedlings to grow leggy and frail. If you wish to cultivate leafy greens inside, you will necessitate a robust light source.
Selecting Grow Lights
LED or Fluorescent Lights?
LED grow lights are more advantageous to your electricity expenses compared to fluorescent. LEDs are significantly more energy-efficient and will deliver full-spectrum light.
Fluorescent tubes (T5 or T8) function effectively but need to be positioned closer to plants.
Light Strength & Duration
Optimal light strength:2,000–3,000 lumens per square foot.
Maintain grow lights 1-2 inches above seedlings and elevate them as they mature.
Light timetable: 12-16 hours daily (employ a timer for uniformity).
Getting Ready to Plant
Prepare the Containers: Fill seed trays or shallow containers with pre-moistened seed-starting mix, leaving around ½ inch of space at the top.
Mark Rows: Utilize a pencil or ruler to establish shallow rows approximately ¼ inch deep for uniform planting.
Pro Tip: Tag rows or containers with the type of greenery you’re planting to prevent mix-ups.
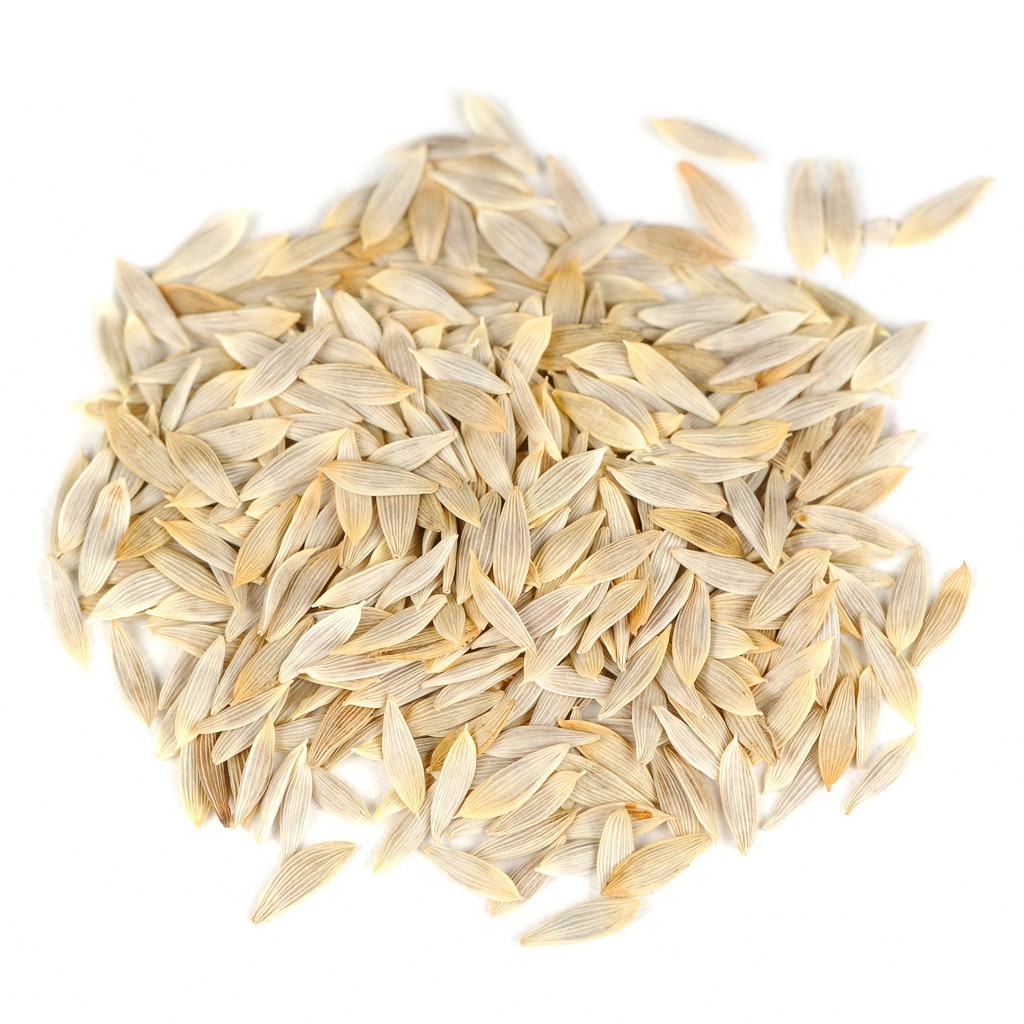
Planting the Seeds
Sprinkle seeds sparingly along each row or distribute them lightly across the surface for a diverse harvest.
Lightly cover seeds with a thin layer of soil and gently press down.
Moisten the soil surface with water to ensure effective seed-to-soil contact.
Pro Tip: Combining small seeds such as lettuce with a bit of sand can assist in sowing them more evenly.
Irrigation & Fertilizing Plan
Germination Period (Days 1-7)
Moisten daily with a spray bottle—maintain the surface damp but not waterlogged.
Prevent overwatering, as it may lead to damping-off disease (a fungal issue).
Seedling Development (Week 2+)
Water every 2-3 days, ensuring the soil remains slightly moist but never saturated.
Once seedlings showcase true leaves, initiate feeding them with diluted organic liquid fertilizer every two weeks (at half-strength to avoid harming delicate roots).
Pro Tip: Bottom-watering (placing trays in a shallow dish of water) prevents fungal problems and promotes root growth.
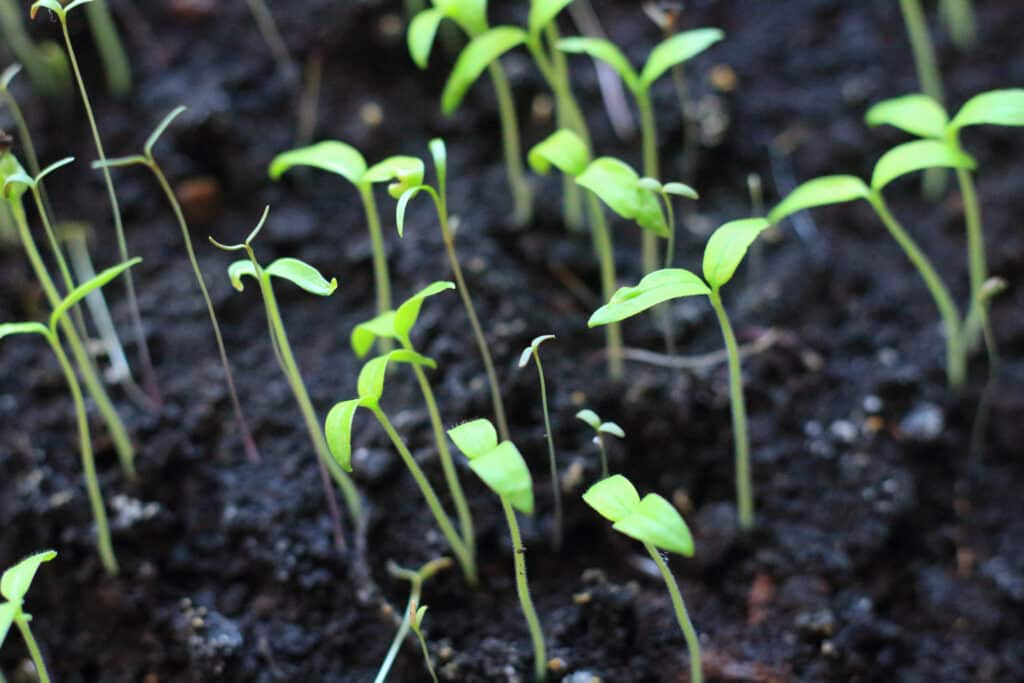
Ensuring Suitable Conditions for Germination
Light: While seeds don’t necessitate light for germination, positioning them under grow lights or in a sunny area aids in retaining warmth.
Temperature: Optimal germination temperatures lie between 65–75°F.
Humidity: Cover trays with plastic
Covering: Use a wrap or a moisture dome to maintain humidity.
Duration: The majority of leafy greens sprout swiftly within 3-7 days.
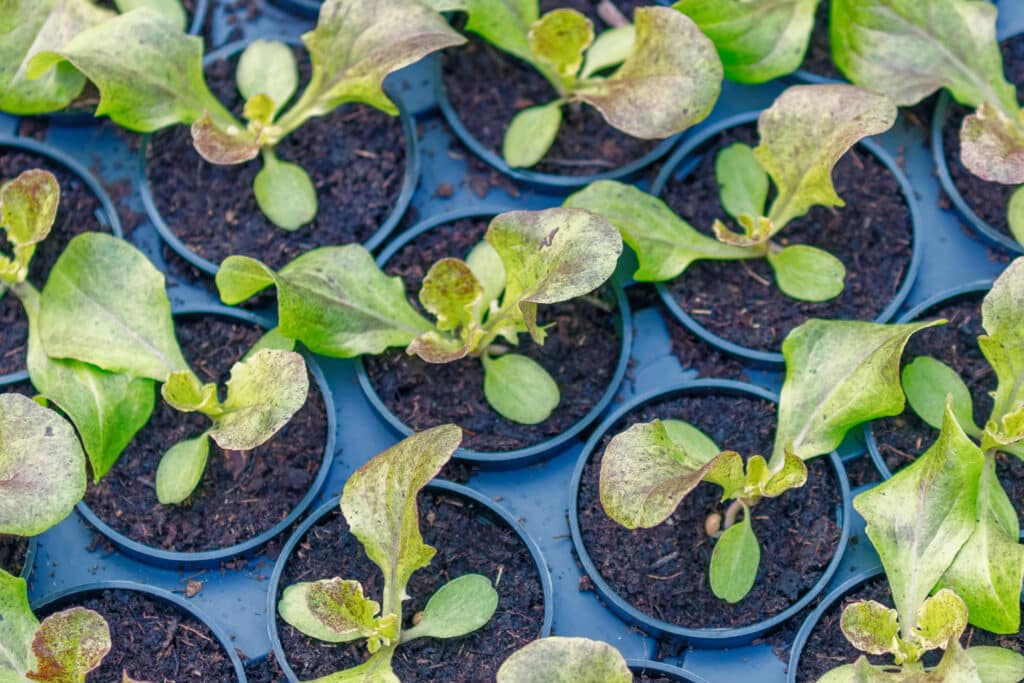
Maintaining Leafy Green Seedlings
Illumination: After germination, provide seedlings with 12-16 hours of light daily to deter legginess.
Moisture: Ensure the soil remains consistently damp but not waterlogged. Water gently to prevent displacing seeds or harming seedlings.
Spacing: Space seedlings approximately 1-2 inches apart once they show their initial true leaves.
Expert Tip: Don’t throw away thinned seedlings—enjoy them as microgreens in your salads! They offer remarkable nutritional benefits.
Transplanting (Optional)
For larger greens like kale or Swiss chard, relocate seedlings to bigger pots:
Gently lift seedlings by the leaves (avoid stems) to minimize root injury.
Place in 3-4 inch containers filled with rich potting soil.
Water thoroughly and keep them under grow lights or by a sunny window.
Acclimatizing and Transplanting
When relocating your greens outdoors, acclimatize them to minimize transplant shock:
Commence 5-7 days prior to planting by taking seedlings outside for a few hours daily, gradually increasing their exposure to sunlight and wind.
Transfer to garden beds or containers when night temperatures are reliably above 40°F.
Based on the variety, arrange plants 4-6 inches apart for lettuce and 12-18 inches for kale and chard.
Expert Tip: Utilize a row cover to safeguard young greens from pests such as slugs and aphids.
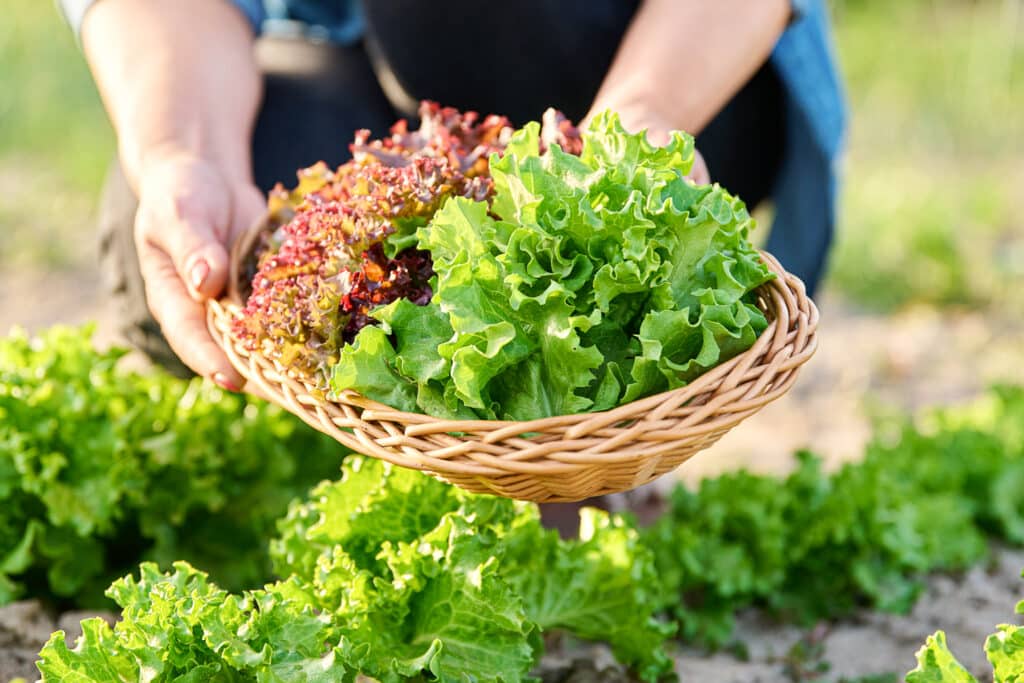
Harvesting Advice
Start gathering baby greens when the leaves are 4-6 inches tall.
For cut-and-come-again varieties such as lettuce, snip the outer leaves, keeping the inner rosette intact for continuous growth.
Gather leafy greens early in the morning for optimal flavor and texture.
Expert Tip:Plant in succession every 2-3 weeks to guarantee a stable supply of fresh greens throughout the growing season.
Examine for excessive watering or nutrient deficiency. Start fertilization once true leaves form.
Infestation Issues?
Apply neem oil or insecticidal soap for aphids. Introduce beneficial insects like ladybugs (if cultivating in a greenhouse).
Fungal Infections?
Ensure proper air flow (utilize a small fan if necessary). Refrain from wetting leaves—bottom-watering aids in preventing mold.
Related Articles
Summary
Beginning leafy green seedlings indoors is a simple yet gratifying method to relish fresh, nourishing greens throughout the year. With a few materials and some fundamental care, you’ll cultivate vibrant plants that are ready for harvesting or transplanting in no time.
What leafy greens are you cultivating this season? Share your inquiries or suggestions in the comments below!
Author: Laura Kennedy
Writer & Proprietor of Little Yellow Wheelbarrow
Laura is a proficient gardener and passionate flower lover. Despite her whimsical tussle with plant spacing rules, Laura’s work motivates gardeners to establish flourishing, beautiful environments that embody both creativity and sustainability.
Discover how to craft an adorable spider with this beaded spider guide, utilizing simple steps suitable for novices. I am somewhat astonished with mys [...]
Learn how to transform ordinary mason jars into glowing faux sea glass lanterns with simple glass paint, spouncers, and budget‑friendly tricks for a c [...]
Here's the text with synonyms and altered sentence structure, while maintaining the HTML tags and format: Cricut Design Space In the subsequent steps, [...]
Craft stunning, customizable DIY paperweights from dollar store glass candle holders with no mold. This straightforward project serves as an excellent [...]
Ollie's Test Outcomes I chose the Premium assessment, which provides comprehensive insights, and I found it to be highly enlightening. When Ollie ente [...]
Learn how to make wood Christmas crafts that you can use for holiday decorating, gifting, or even to sell! Get over 45 EASY and unique ideas. Skills R [...]
We use cookies on our website to give you the most relevant experience by remembering your preferences and repeat visits. By clicking “Accept”, you consent to the use of ALL the cookies.
This website uses cookies to improve your experience while you navigate through the website. Out of these, the cookies that are categorized as necessary are stored on your browser as they are essential for the working of basic functionalities of the website. We also use third-party cookies that help us analyze and understand how you use this website. These cookies will be stored in your browser only with your consent. You also have the option to opt-out of these cookies. But opting out of some of these cookies may affect your browsing experience.
Necessary cookies are absolutely essential for the website to function properly. These cookies ensure basic functionalities and security features of the website, anonymously.
Cookie
Duration
Description
cookielawinfo-checbox-analytics
11 months
This cookie is set by GDPR Cookie Consent plugin. The cookie is used to store the user consent for the cookies in the category "Analytics".
cookielawinfo-checbox-functional
11 months
The cookie is set by GDPR cookie consent to record the user consent for the cookies in the category "Functional".
cookielawinfo-checbox-others
11 months
This cookie is set by GDPR Cookie Consent plugin. The cookie is used to store the user consent for the cookies in the category "Other.
cookielawinfo-checkbox-necessary
11 months
This cookie is set by GDPR Cookie Consent plugin. The cookies is used to store the user consent for the cookies in the category "Necessary".
cookielawinfo-checkbox-performance
11 months
This cookie is set by GDPR Cookie Consent plugin. The cookie is used to store the user consent for the cookies in the category "Performance".
viewed_cookie_policy
11 months
The cookie is set by the GDPR Cookie Consent plugin and is used to store whether or not user has consented to the use of cookies. It does not store any personal data.
Functional cookies help to perform certain functionalities like sharing the content of the website on social media platforms, collect feedbacks, and other third-party features.
Performance cookies are used to understand and analyze the key performance indexes of the website which helps in delivering a better user experience for the visitors.
Analytical cookies are used to understand how visitors interact with the website. These cookies help provide information on metrics the number of visitors, bounce rate, traffic source, etc.
Advertisement cookies are used to provide visitors with relevant ads and marketing campaigns. These cookies track visitors across websites and collect information to provide customized ads.