Apply the Vinyl Decal
Prior to applying the decal, ensure the surface is thoroughly cleaned. I prefer utilizing a bit of isopropyl alcohol as it eliminates grease and dries rapidly.
Remove a small portion of the paper liner to position the decal in your desired location.
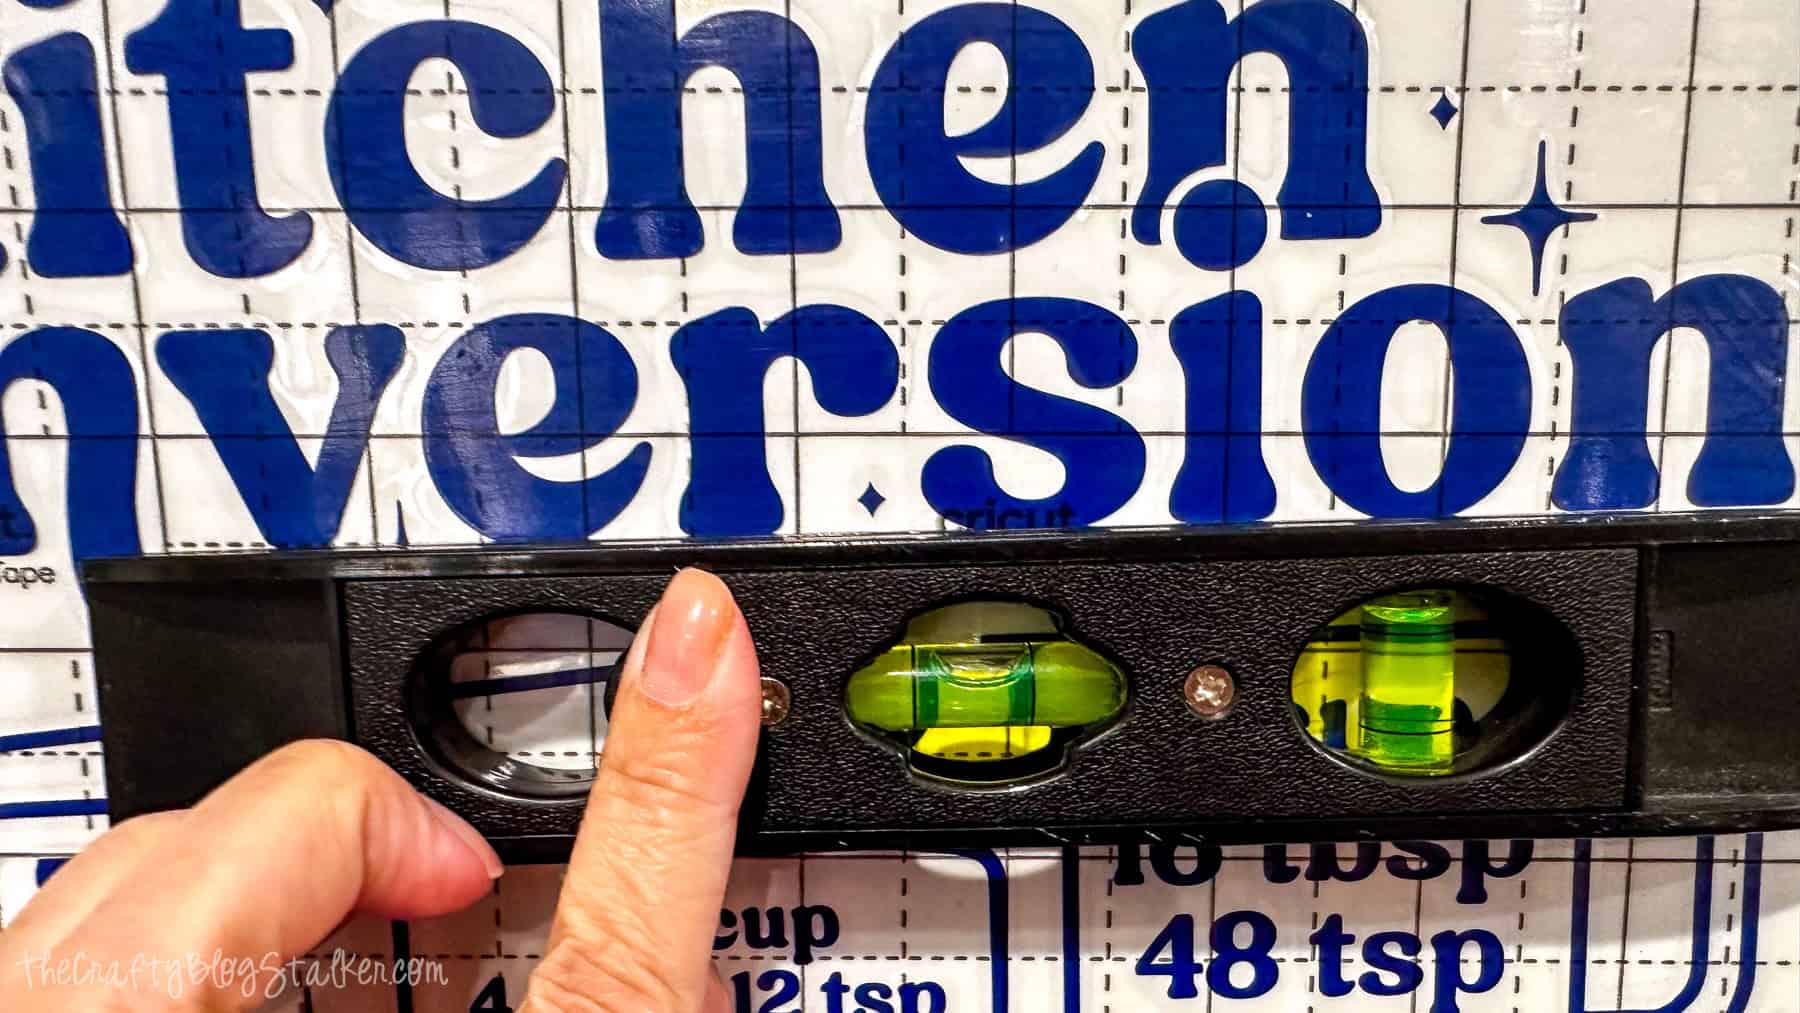
If you wish to be particularly accurate, a level can be employed to confirm it’s straight. I used the lower part of the letters as my reference since my transfer tape wasn’t completely aligned.
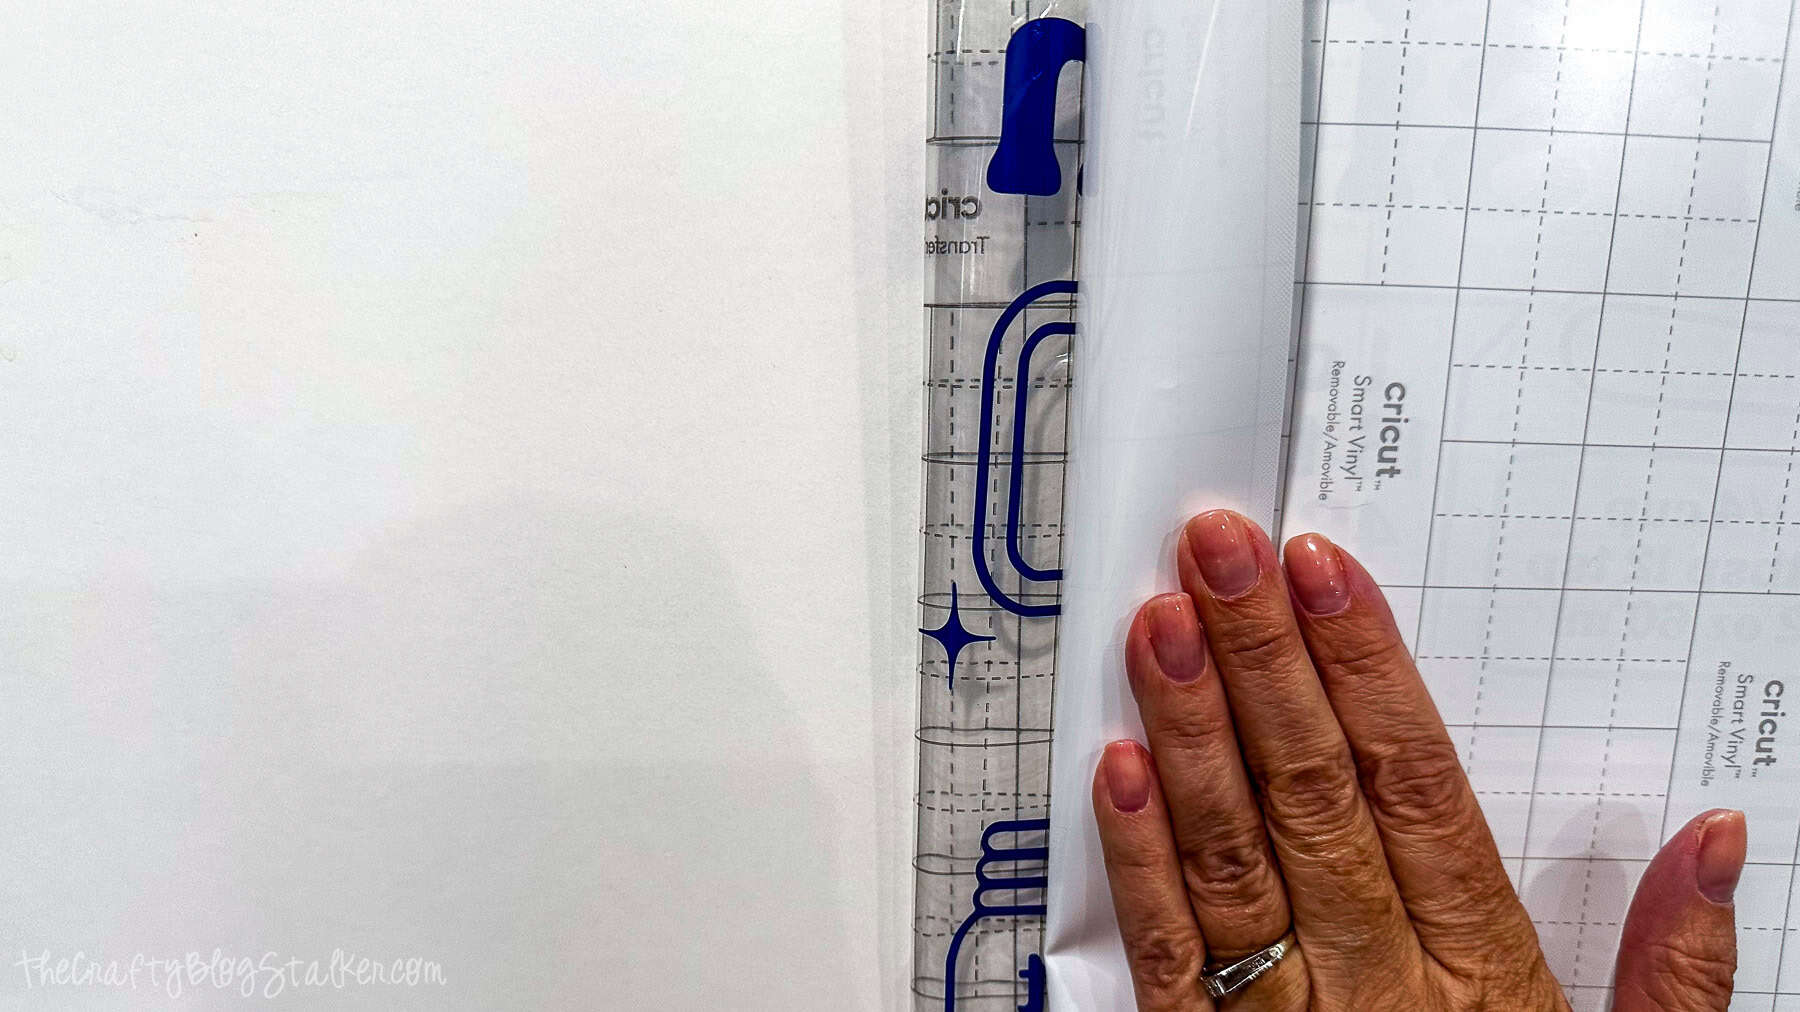
Commencing on one side, gradually pull the paper liner away while using a scraper tool to smooth the vinyl onto the cabinet door.
Proceed gradually so the decal adheres to the surface rather than remaining on the liner.
Once the complete design is positioned, go over it again with the scraper tool to assist in ensuring everything sticks.
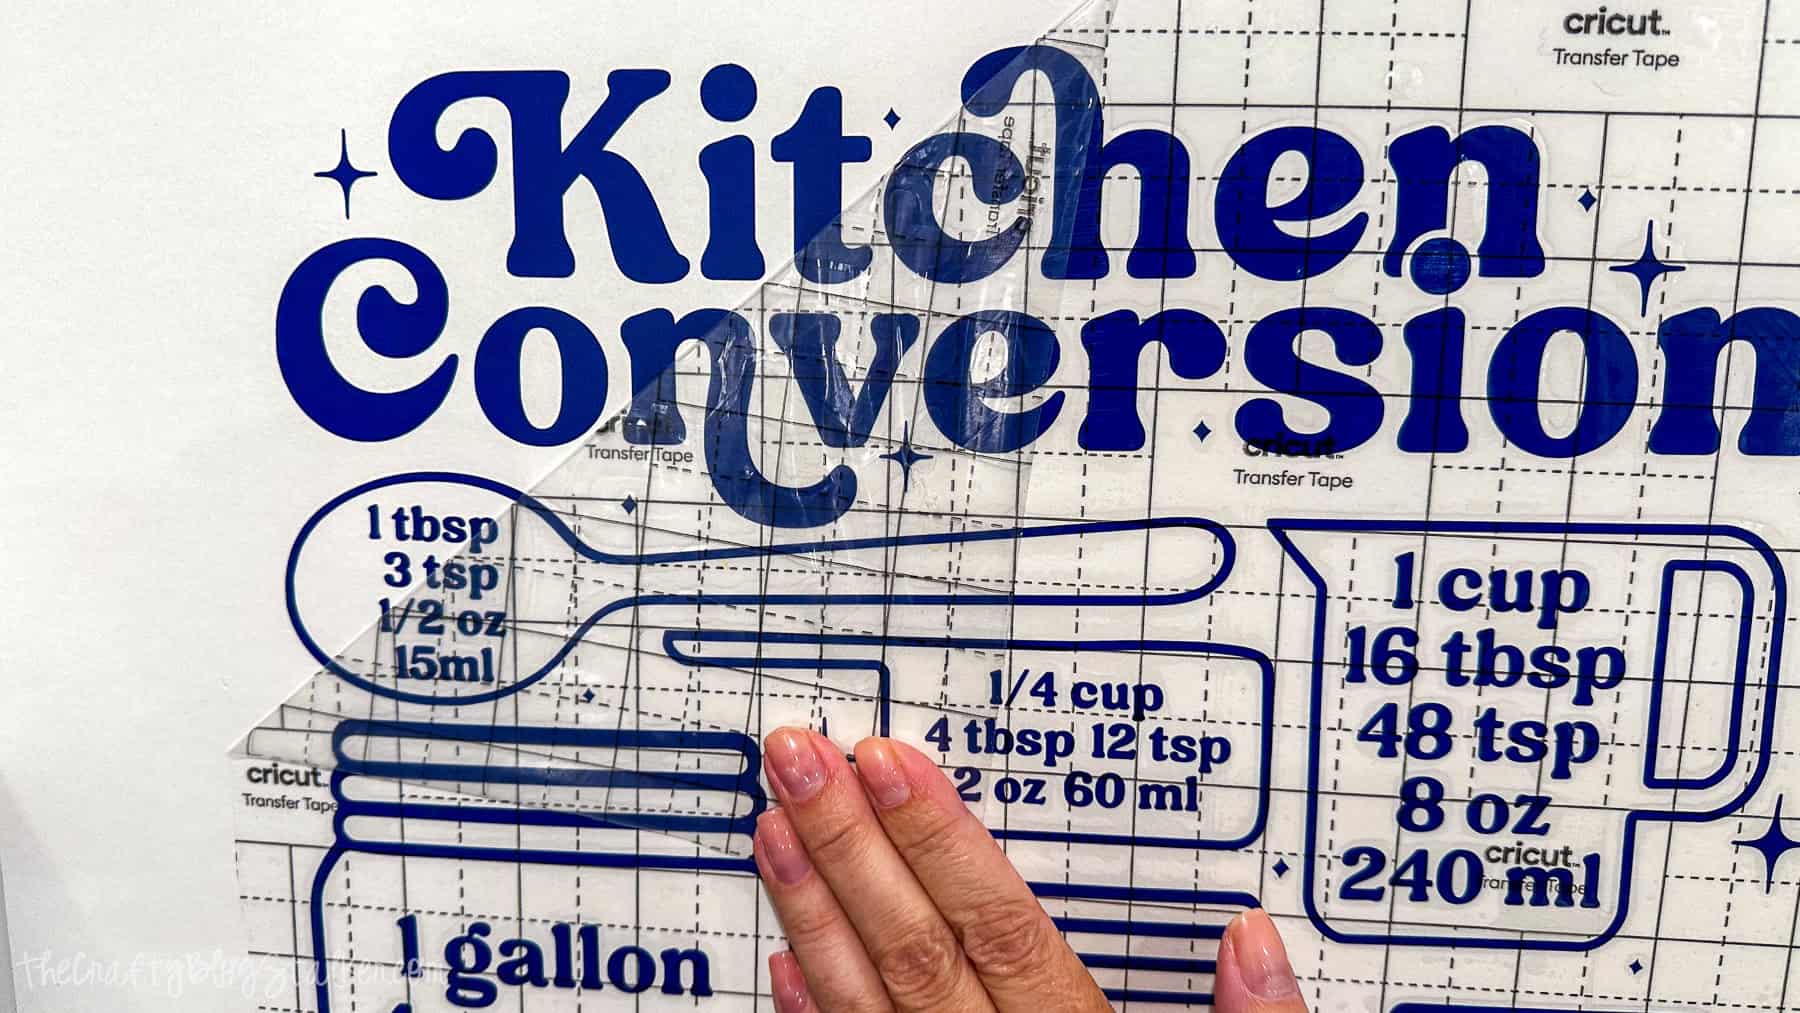
Then gently remove the transfer tape, starting from one end and pulling it straight back. Pay close attention to ensure all elements of the decal stay on the cabinet and not on the tape.
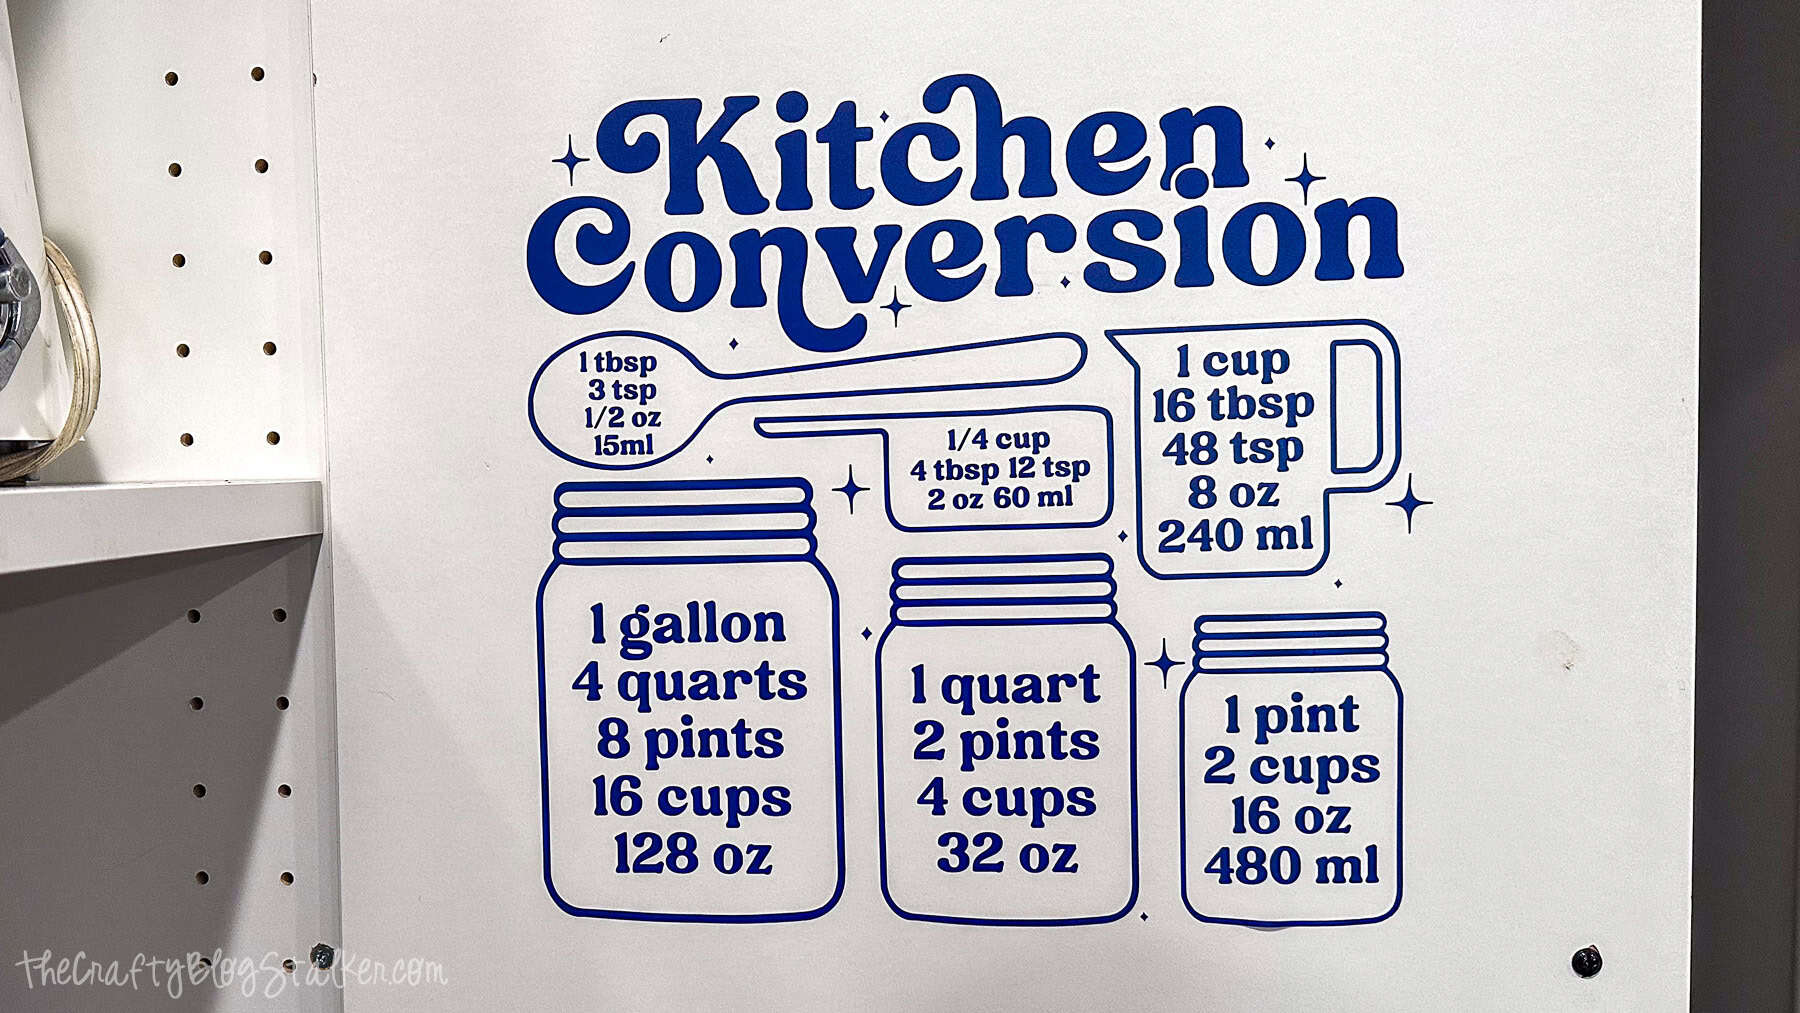
And that’s all!
Now you possess a remarkably useful cooking measurement chart right in your kitchen.
It’s ideal for quick conversions of ingredients when you’re dealing with tablespoons, teaspoons, grams, or other recipe measurements.