Utilize the Iron-On
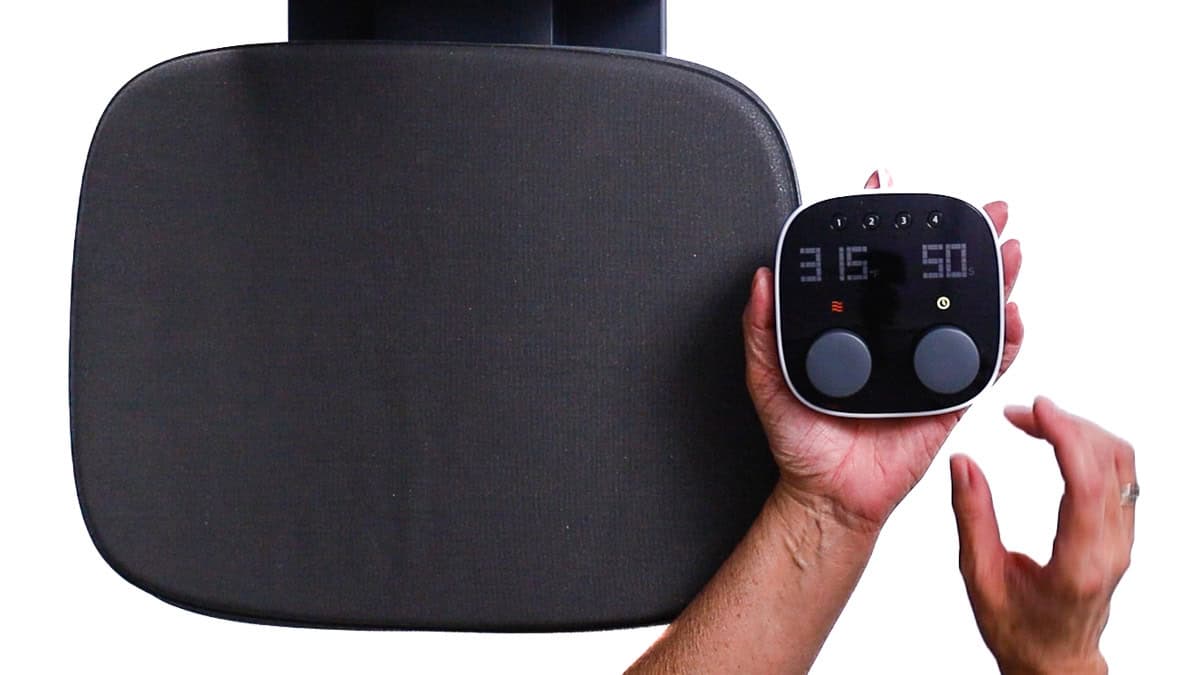
I’m utilizing the Cricut Autopress, yet any heat press is suitable for this endeavor.
Prior to pressing, I consulted the Cricut Heat Guide to verify the accurate temperature and duration.
Simply choose your heat press, transfer material, and base material, and it provides you with all necessary details.
I preheated my press to 315°F and adjusted the timer for 50 seconds. These configurations were effective for both the Smart Iron-On and the glitter iron-on.
As the press warmed up, I prepared my shirt by rolling a lint remover over the front to eliminate any fluff or stray hairs.
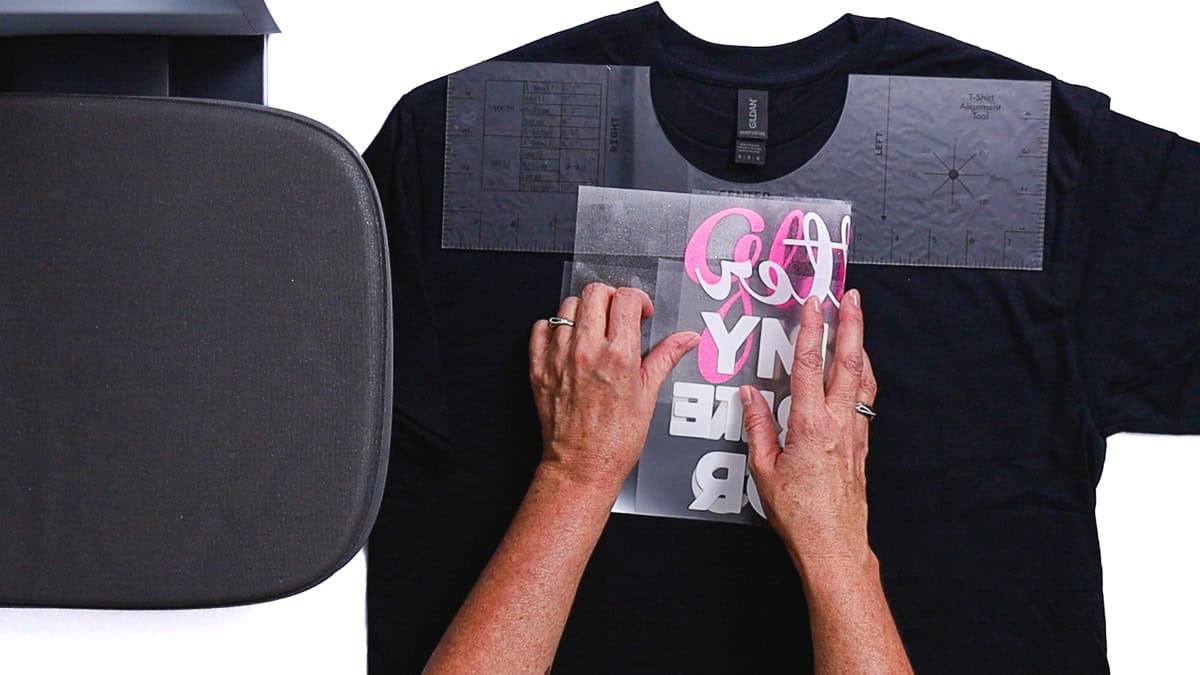
I positioned the glitter atop the white iron-on with the spacing I desired.
To determine the center, I folded the design in half horizontally and then gently pinched the edges.
These pinch marks significantly ease the process of aligning everything.
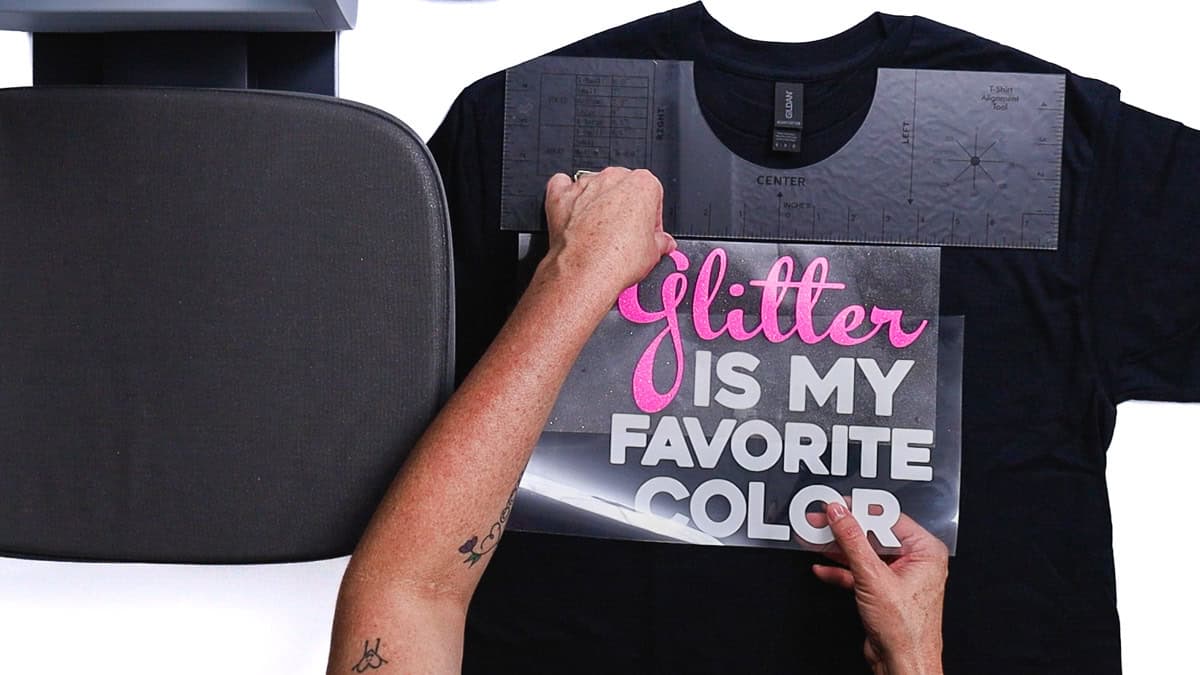
A T-shirt ruler assists with positioning, though it is not necessary.
I positioned the design roughly 3 inches beneath the collar.
The iron-on liner possesses a slight stickiness, thus once the design was set, I lifted the glitter layer and shifted the shirt to the heat press.