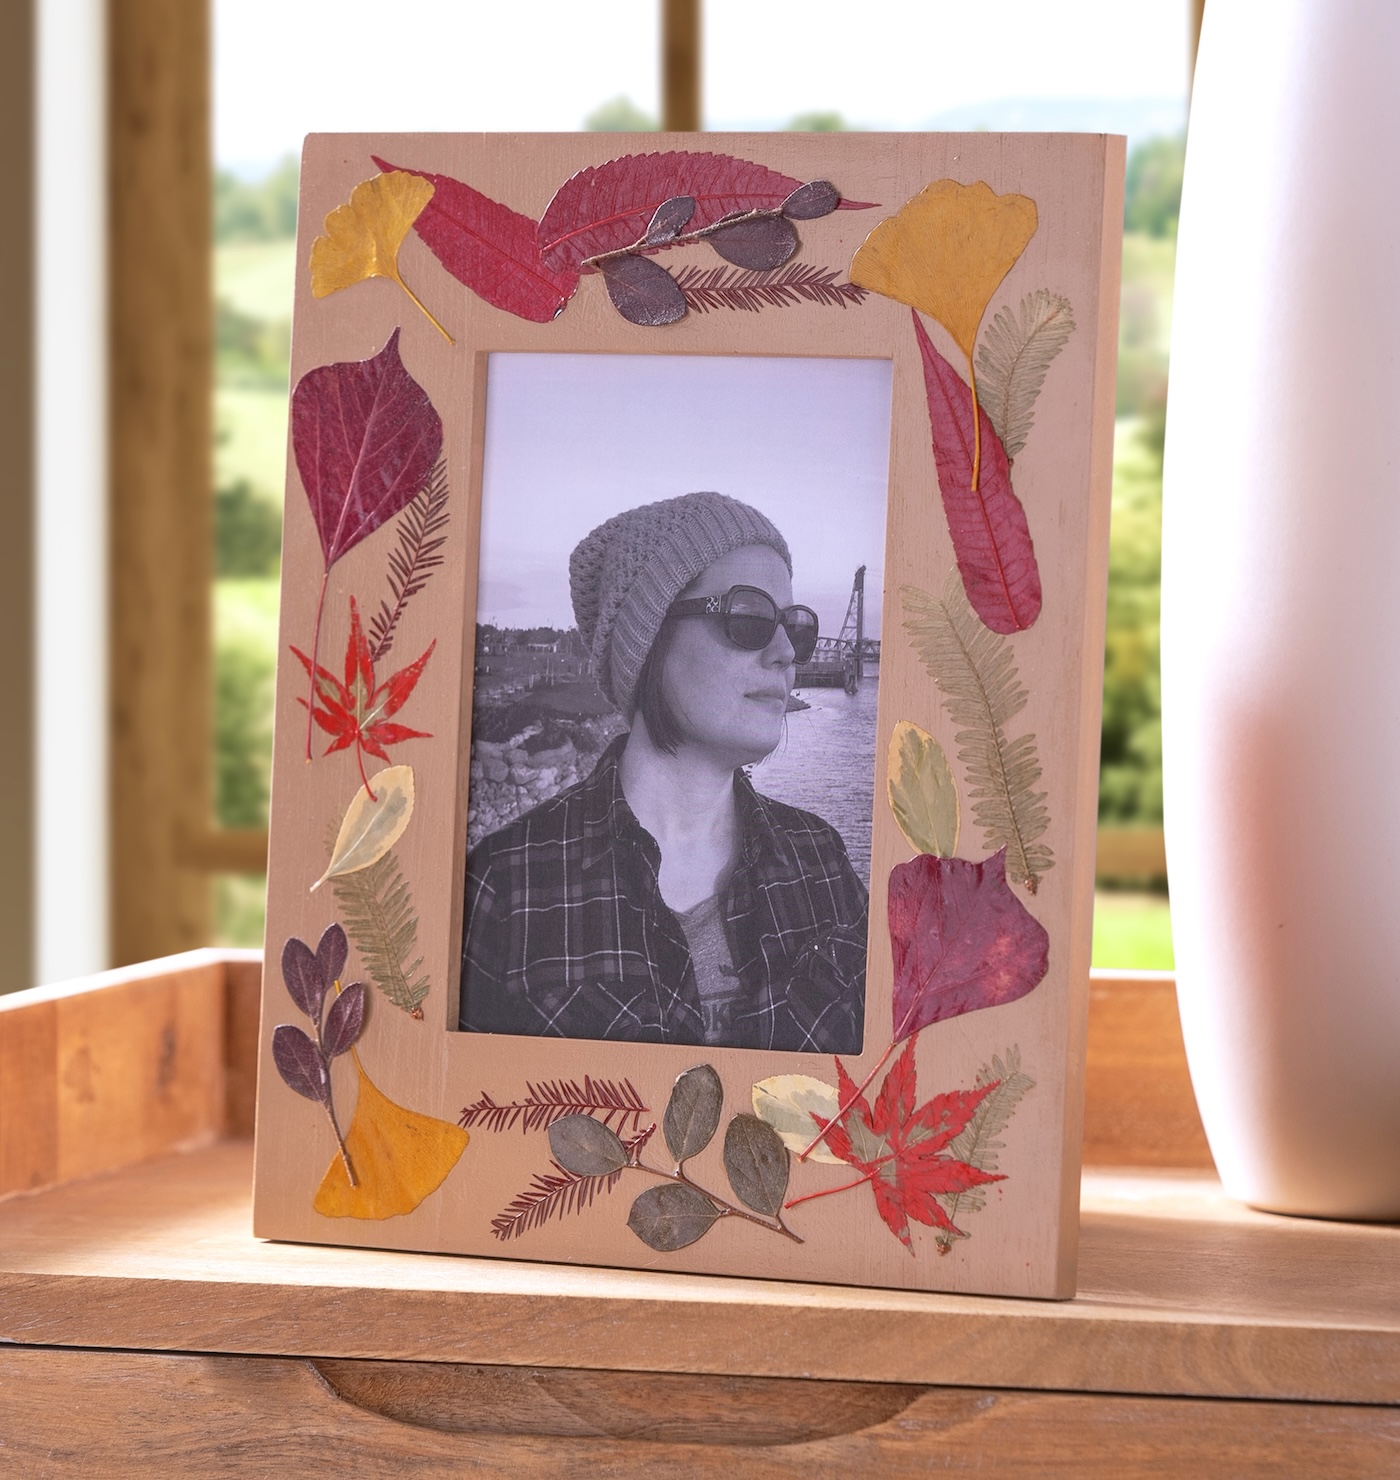
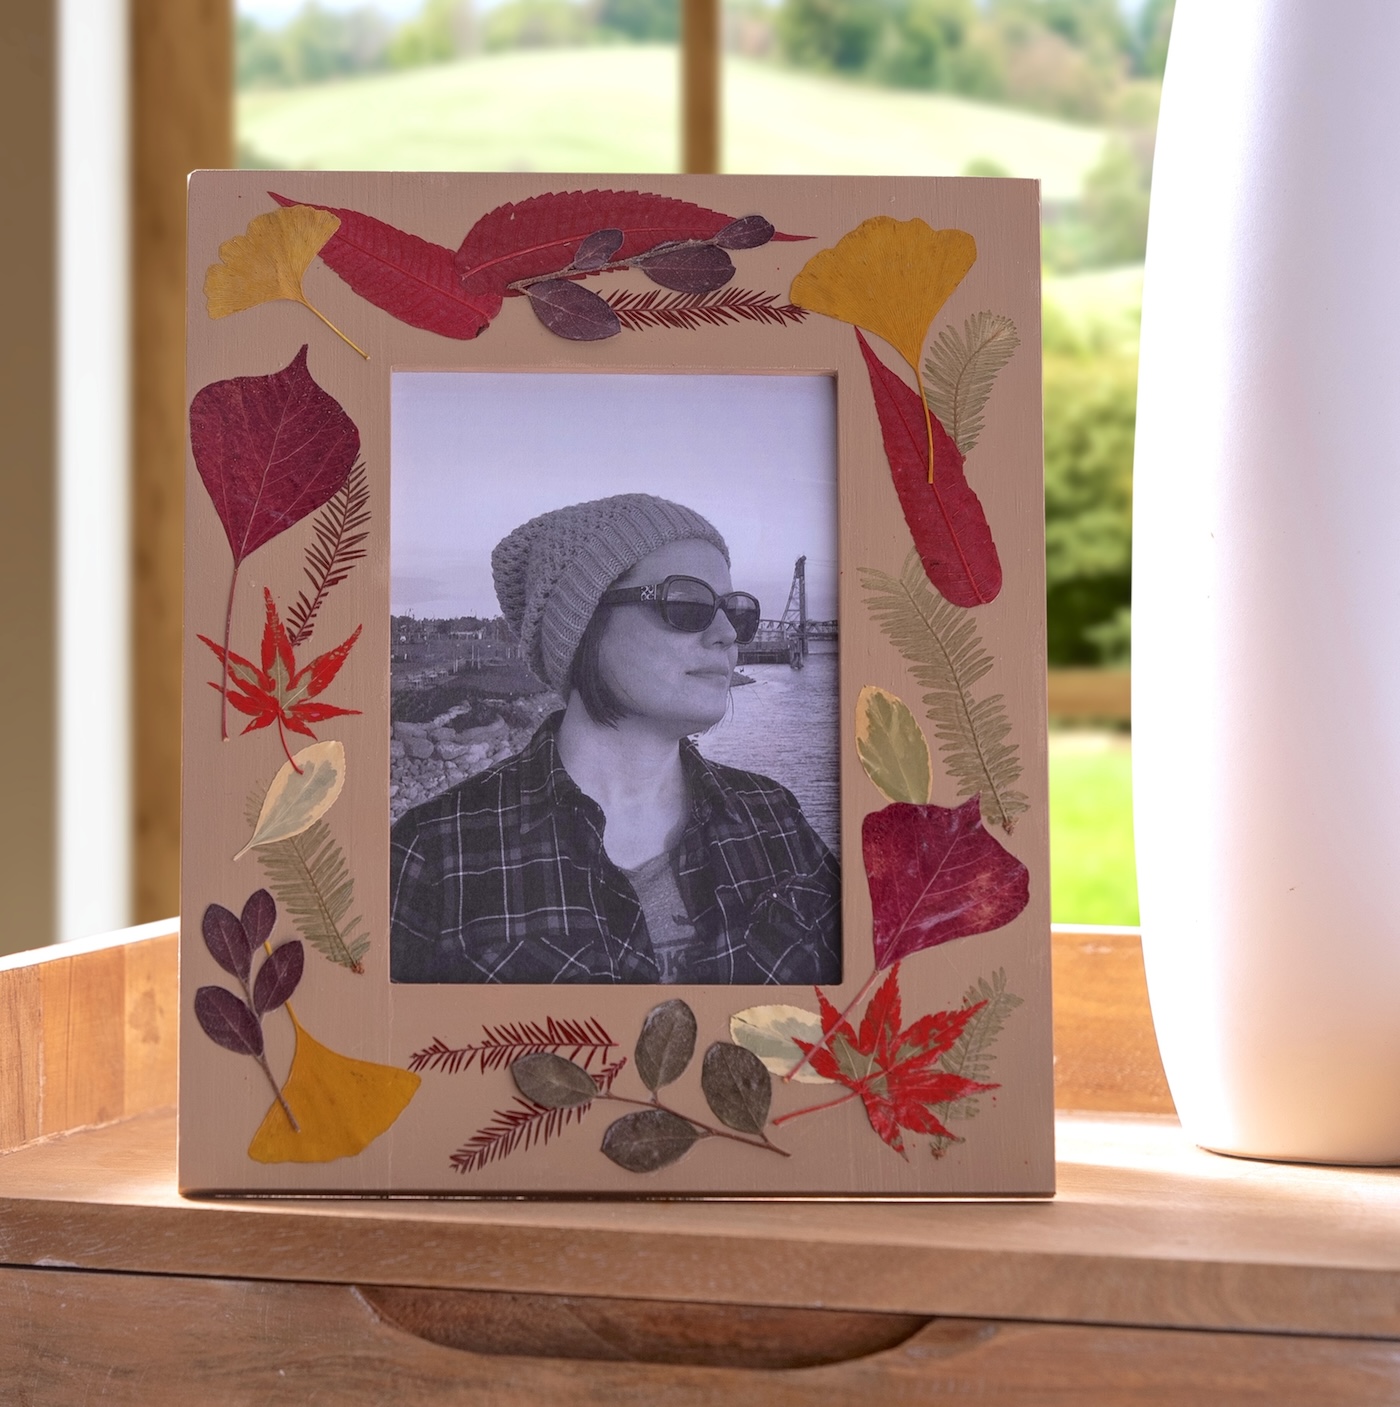
Create a stunning autumn decoration with this DIY fall leaves frame! Simple to assemble with Mod Podge and preserved leaves – perfect for presents or seasonal showcases.
Autumn is undoubtedly my preferred season for crafting: cooler weather, cozy atmospheres, and nature displaying its most beautiful hues.
If you’re anything like me, you might have gathered a few lovely leaves on your strolls (or perhaps your children presented you with a delightful crunchy bouquet). Well, it’s time to make those treasures shine with this easy yet elegant DIY autumn leaves frame!
This project perfectly combines simplicity and sophistication. You only need a basic wooden frame, some Mod Podge, dried leaves, and a tad of patience. The final outcome is something you’ll genuinely want to showcase year after year.
You’ll apply the leaves using Mod Podge (I opted for Matte, but Gloss or Satin are equally effective!), sealing them in to create a charming, textured frame that genuinely embodies the essence of autumn.
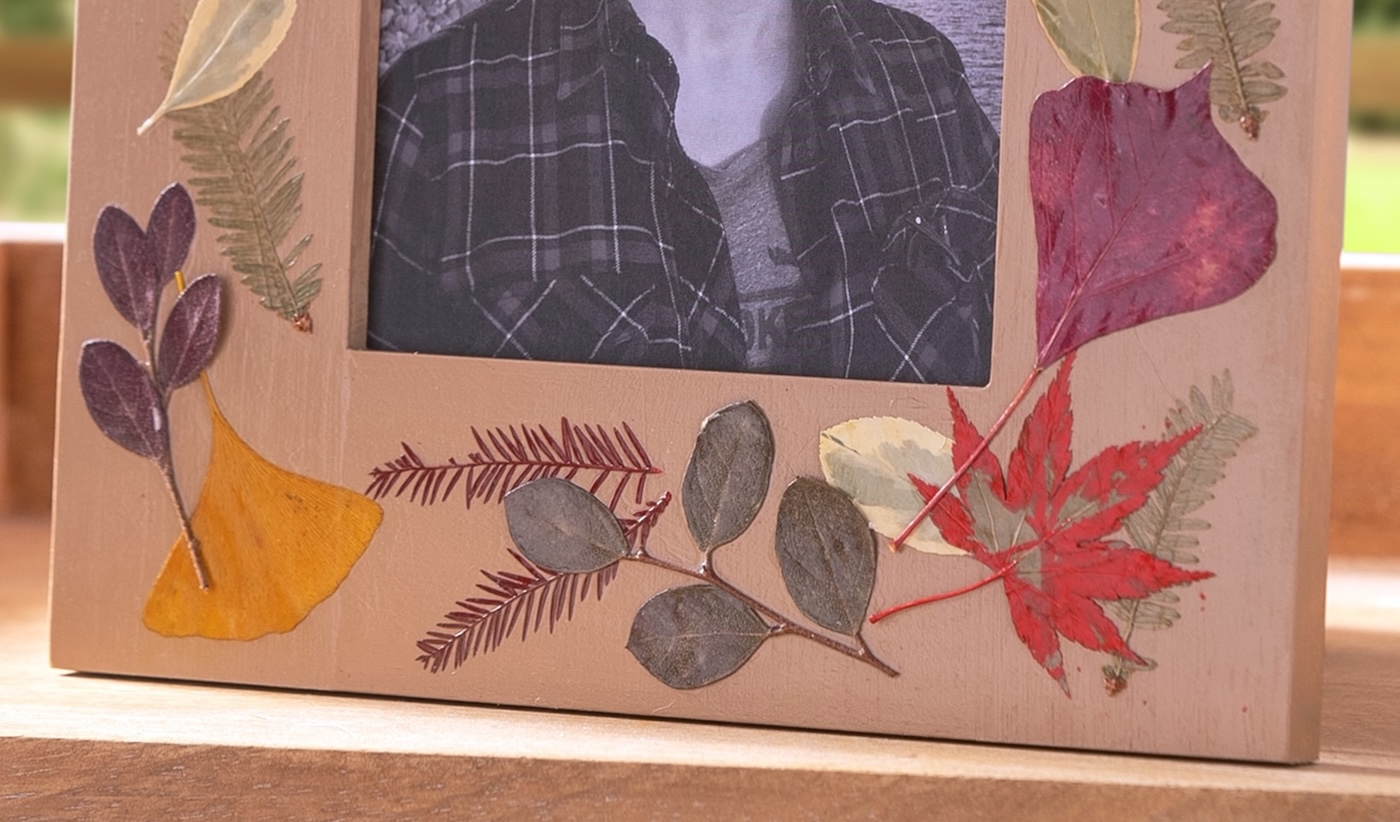
A tip? Don’t forget the tweezers. Dried leaves can be fragile, and utilizing tweezers allows precise placement without tearing or crumbling.
If you’re curious about how to dry leaves for this craft, I have you covered. Check out my complete guide on how to press and preserve leaves effortlessly!
This is such an enjoyable project to undertake on your own or with older children, and it makes a delightful homemade present as well. Ready to create something that feels a bit like autumn magic? Let’s get going!
Grab the printable guide below:
Fall Leaves Frame
Discover how to adorn an unfinished wooden frame with dried leaves. It’s simple using Mod Podge!
Prep Time15 minutes mins
Active Time1 hour hr 30 minutes mins
Dry Time2 hours hrs 30 minutes mins
Total Time4 hours hrs 15 minutes mins
Yield: 1 frameCost: $10
- Color the wooden frame using the hue of your preference. Allow it to dry. Apply a second layer and let it dry.
- Prior to applying any Mod Podge, arrange the design initially. Utilize tweezers to position the dried leaves on your frame. Continue adjusting until satisfied with the layout, then capture a cell phone image for reference. Extract the leaves from the frame using the tweezers and carefully set them aside.
- Focusing on one section at a time and beginning with the first layer of leaves, apply Mod Podge to the frame. Use tweezers to place the leaves and gently press them into the Mod Podge. Lightly brush away any excess and repeat the process. Allow to dry.
- Now proceed with the second layer. Apply additional Mod Podge to the frame and incorporate the leaves as you did previously. Brush away the leftover Mod Podge and permit it to dry.
- Add a third layer of leaves just as you accomplished with the prior two. Step back and check for any areas needing coverage. Do this for your final layer and allow to dry.
- Seal the frame once more – thoroughly, including the edges – and let it dry. To eliminate the excess around some edges of the leaves, use a smaller paintbrush. Let dry completely before inserting a picture.
Step 1: Some less expensive frames may feel a bit more coarse, and this project yields the best results with a smoother frame. You should sand and eliminate any excess dust prior to painting if necessary.
What are your thoughts on this project? Share with me in the comments! I would also love for you to explore the following posts:
Confetti Pumpkins • DIY Fall Napkin Rings • DIY Fall Sign • DIY Glitter Pumpkins • DIY Leaf Bowl • DIY Nautical Pumpkin • DIY Pumpkin Seed Art • Wood Block Pumpkins • Dollar Tree Fall Crafts • Glitter Acorn Decor • How to Dry Acorns • How to Paint Acorns • Mod Podge Map Pumpkins • Paper Mache Pumpkins • Wood Pumpkin Decor