Create DIY baggage tags utilizing Mod Podge, cardboard, and textile! A delightful, simple method to customize your suitcase and recognize it quickly. No stitching needed.
Necessary Skills: None. Even if you’ve never crafted before, this project is within your reach! It’s one of the most straightforward crafts and just requires pasting and cutting.
If you seek to connect with someone who has encountered their share of luggage mishaps, I’m your girl. I’m perpetually the one standing when the carousel halts and all the bags have been distributed.
I cannot express how many instances required special trips to my residence for delivery (just nickname me Greg Focker). On one occasion, I was even fortunate enough to have an airline staff member gesture toward a massive pile of bags so I could unearth mine on my own.
I realize I might sound jaded, but I assure you, I’m not! It’s all part of the spectacle of journeying and flying.
One tip I’ve acquired over time? Crafting my own DIY baggage tags. They not only assist my suitcase in standing out (particularly if you, like me, possess the frequently seen black roller bag), but they’re also a straightforward and enjoyable craft that allows me to infuse a personal flair into my travel accessories.
These bag tags are ideal for novices and serve as an excellent means to utilize leftover fabric. All you require is some Mod Podge, cardboard, and material to assemble a tag that’s both sturdy and fashionable.
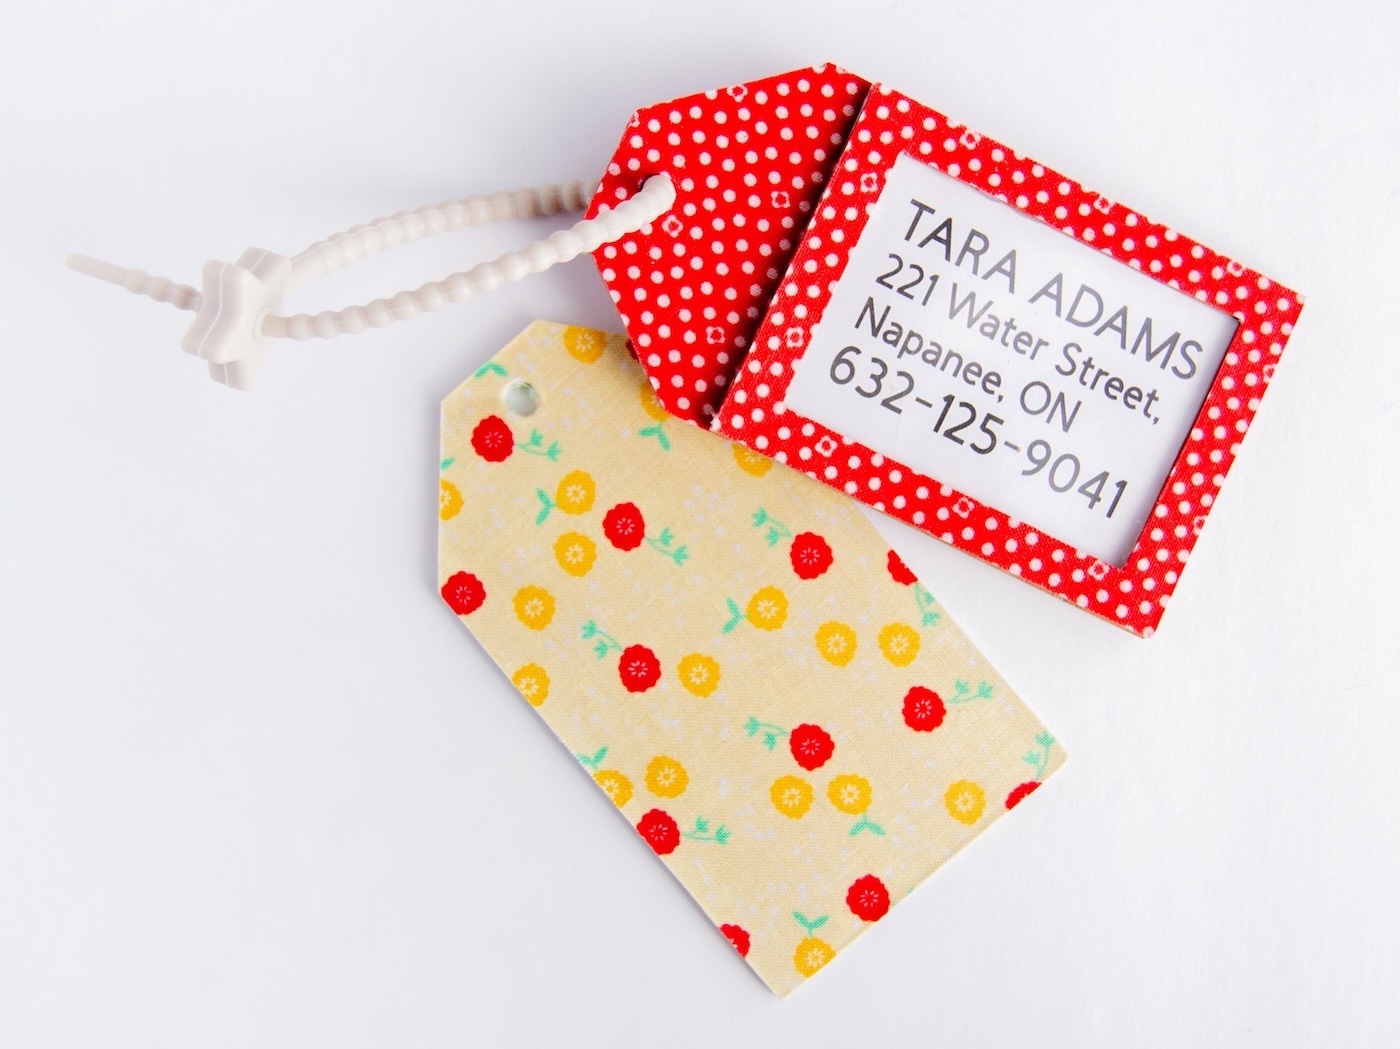
You can opt for simplicity with a Mod Podged fabric backing or elevate it further by including a transparent compartment for your contact details. Either way, these tags come together swiftly and ensure your bag is easily recognizable on the carousel.
Allow me to demonstrate how to create them in two different methods so you can personalize your travel aesthetic. Prepare to never misplace your luggage again (well, perhaps just to identify it more swiftly!).
Here’s the downloadable guide:
DIY Bag Tags
Handmade baggage tags are straightforward with fabric and Mod Podge! Quick and cost-effective bag identification.
Preparation Time10 minutes mins
Active Time45 minutes mins
Drying Time2 hours hrs
Total Time2 hours hrs 55 minutes mins
Yield:
2 tags
Expense: $0
-
Snip a base (2.75 x 4 inches) for your tag from cardboard or another sturdy cardstock. Cut two rectangles for the window feature if crafting that version.
-
Trace the cut cardboard tag onto your fabric piece and eliminate the excess.
-
Apply a coat of Mod Podge to the cardboard. Smooth the fabric evenly onto one side and allow to dry for a short while, then apply another coat of Mod Podge on top. Let it cure.
-
Once cured, trim the extra fabric. Use an awl to poke through the fabric for the hole. You’ll have one blank side remaining.
-
To create a basic tag, print and cut the same shape along with your details. Alternatively, you can inscribe it. Mod Podge the tag with the printed details on the reverse side of your tag. Allow it to dry.
-
Seal both sides with an additional coat of Mod Podge and let it cure.
-
To create one with a window: trace and cut another fabric piece for the back of the tag (which is blank from step 4). Mod Podge this fabric onto the back of the tag and let it dry. Once dried, trim the excess fabric and use an awl to poke through the fabric for the hole.
-
Retrieve the rectangle pieces from step 1. Trace and cut a fabric piece for one of the rectangles. Mod Podge the fabric onto the rectangle piece and let it cure.
-
After it cures, trim the excess fabric around and inside the rectangle piece(s) (I’m demonstrating two from two distinct tags here).
-
Cut a thin plastic sheet (like an acetate sheet) matching the size of the rectangle pieces. Attach the three pieces together (one fabric-covered window piece, acetate, followed by one blank window piece) with hot glue.
-
Use hot glue to affix the window piece to the tag, leaving one side open to insert the paper. Then, place a piece of paper with your address details inside.
I had all the materials available, implying my project was $0. You might need to buy some supplies.
Step 1: Utilize what you already possess such as cereal boxes or other items from the recycling bin.
Step 5: If you’re using an inkjet, ensure the ink doesn’t bleed by following the instructions here. Alternatively, you can handwrite the address and then apply Mod Podge over it – learn more about which inks smear here.
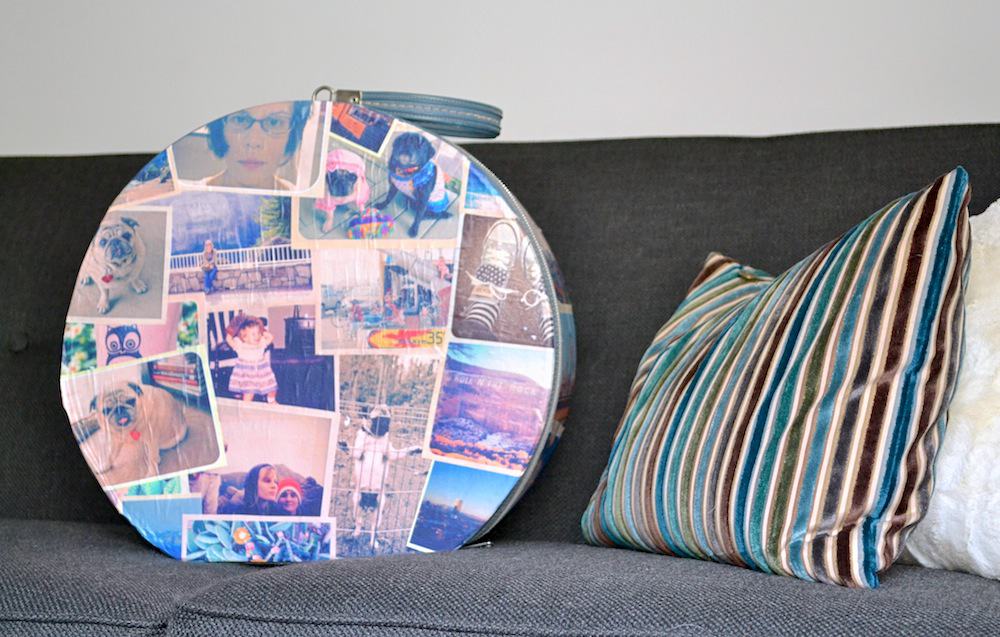
Oh, and if this luggage tag captures your interest, you might want to explore this DIY suitcase adorned with photos! You can go all out, and NO one will mistake your bag for someone else’s, I assure you.