DIY map magnets are the ideal customized craft. Preserve cherished locations with this straightforward guide — perfect for gifts, travel enthusiasts, or your own refrigerator.
Skills Needed: None. You do not require any previous crafting abilities to create these magnets. They are uncomplicated enough for anyone to execute, including kids.
If you’re in search of a craft that’s simple, economical, and incredibly poignant, you’re going to adore these DIY map magnets.
Not only do they look charming on your fridge (and significantly more delightful than that complimentary pizza-shop magnet you’ve possessed for years), but they’re also an excellent method to preserve special locations that hold significance for you.
Such places might include your birthplace, the city where you fell in love, that unforgettable road trip you experienced with your closest friend, or even your dream vacation spot.
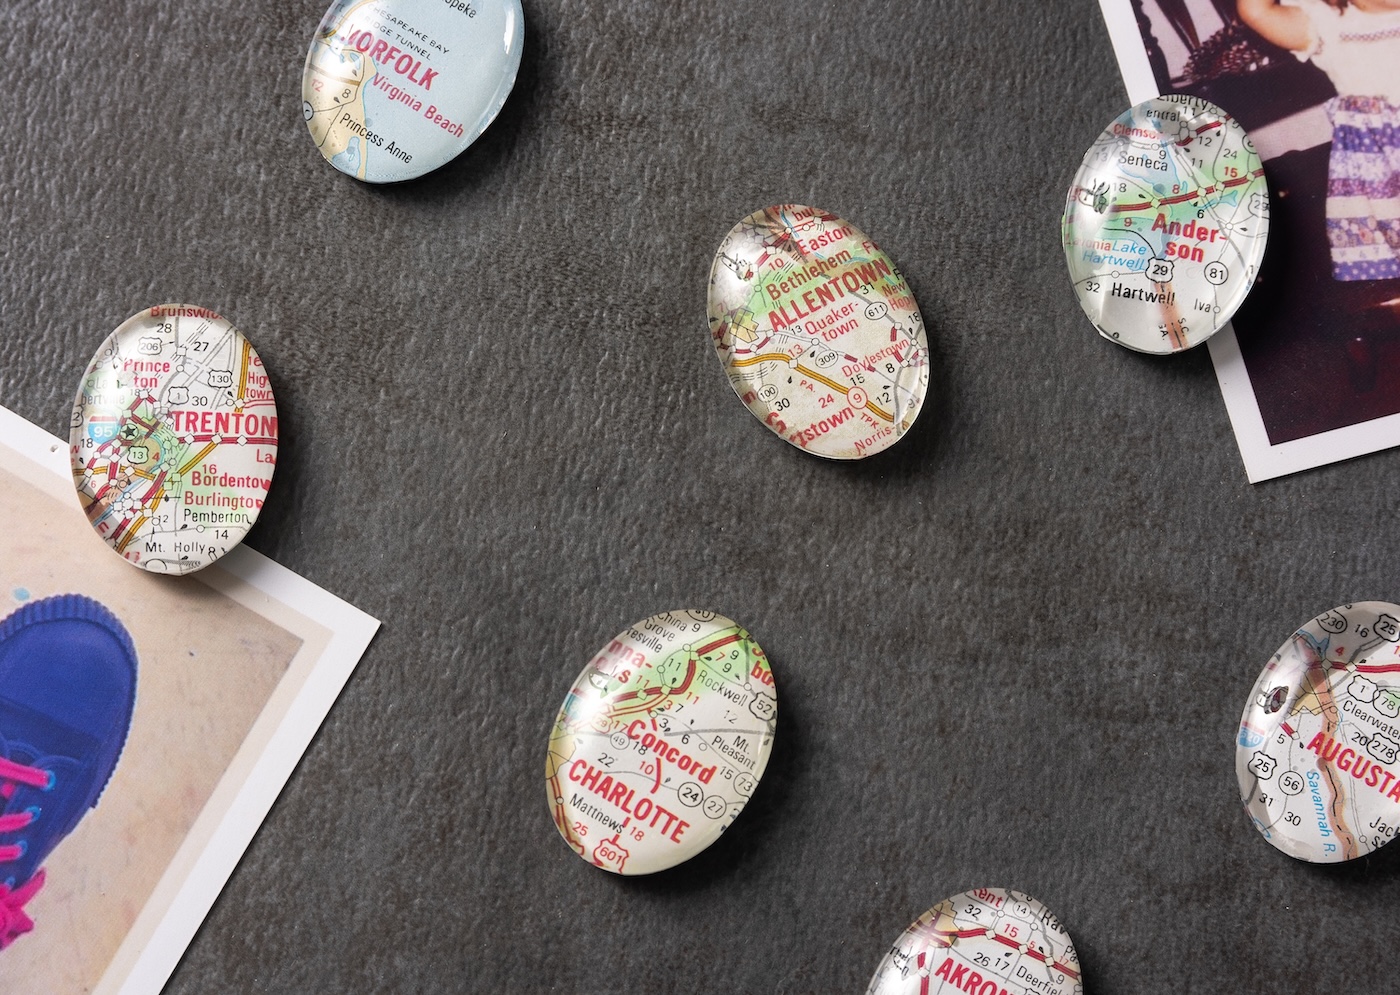
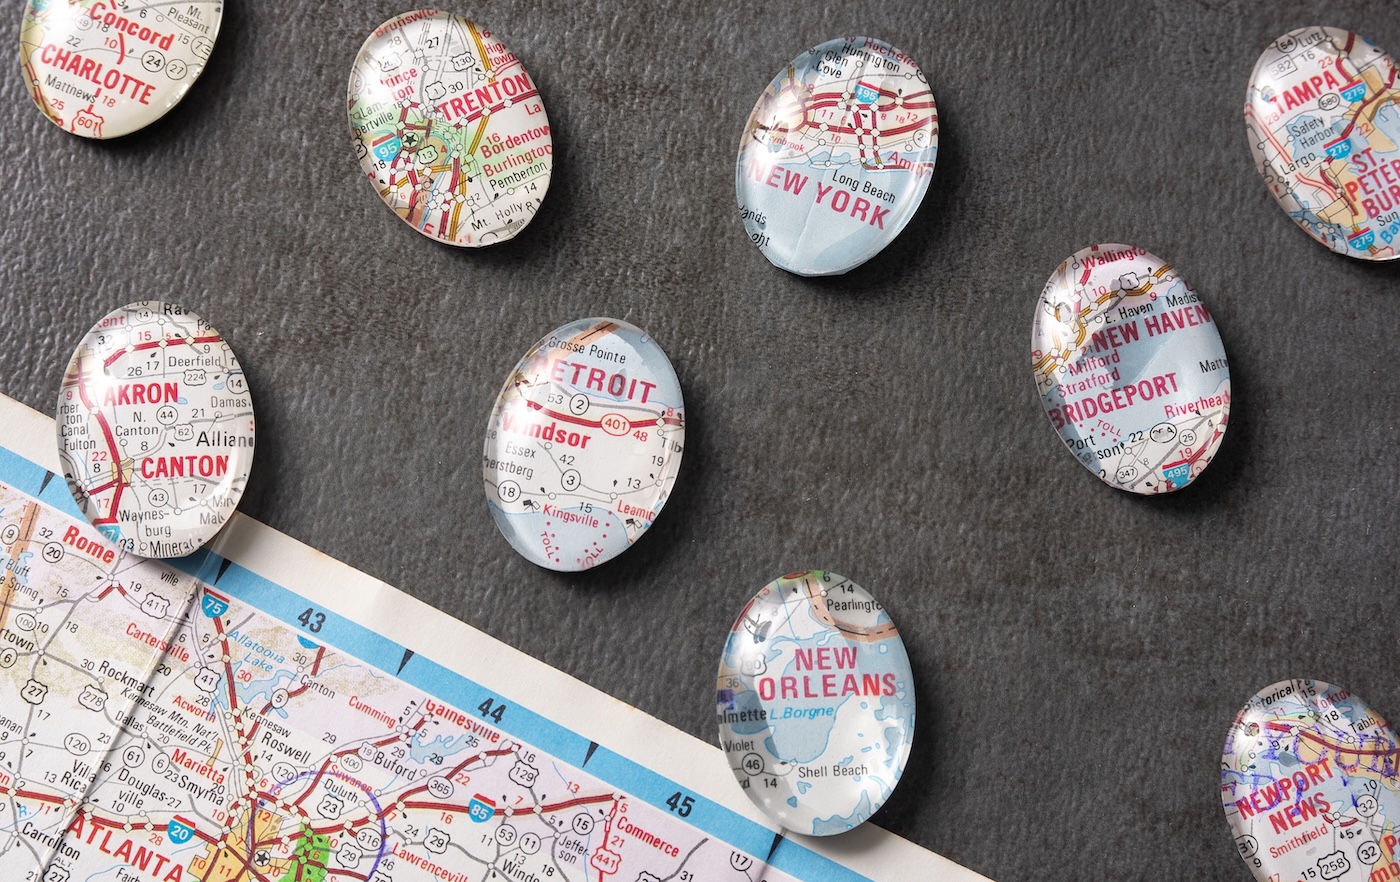
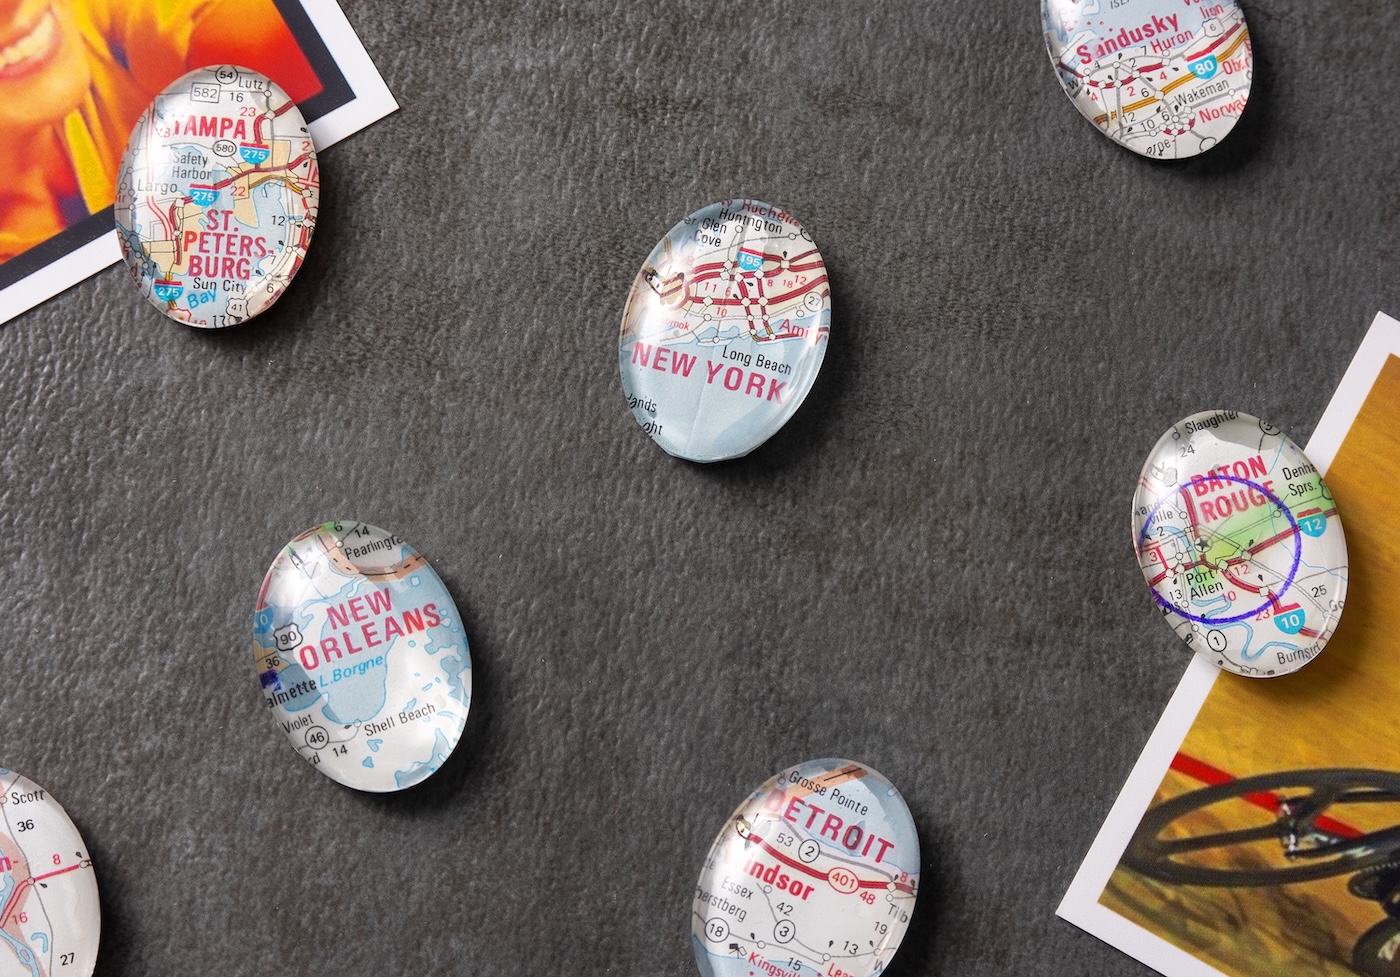
I created mine using some classic TripTiks I discovered on eBay (does anyone else recall those enchanting AAA maps with your itinerary highlighted?). Each magnet narrates a small story, and now they’re mini works of art displaying grocery lists and children’s creations on a fridge.
Even if you have never crafted before, you can easily create these. No expertise needed beyond knowing how to wield scissors and not glue your fingers together (although if that happens… we’ve all experienced it).
Why produce these map magnets? Because they are:
- Customized. They serve as fantastic gifts for weddings, housewarmings, or anniversaries.
- Cost-effective. Maps are inexpensive (or even free if you raid your parents’ glove compartment).
- Effortless. No elaborate tools or experience required.
- Nostalgic. Every magnet shares a narrative, and you control the narrative it conveys.
You can utilize maps of:
- The town where you encountered your partner.
- The national park where you camped every summer.
- The country you aspire to visit one day.
- A neighborhood you were raised in.
- A bucket-list location you wish to bring to fruition.
Obtain the printable instruction card below:
Map Magnets
Discover how to create magnets using maps! Excellent for preserving memories and giving as gifts.
Preparation Time5 minutes mins
Active Time1 hour hr 30 minutes mins
Drying Time2 hours hrs
Total Time3
hours hrs 35 minutes mins
Yield: 36 magnets
Cost: $18
-
Select the areas you wish to highlight.
-
Cut out small portions of the map that exceed the size of your glass domes.
-
Apply a thin coat of Mod Podge on the flat surface of the glass domes and then on the map. Press the dome down onto the adhesive so that the printed side is visible through the glass. Repeat this with the other domes and allow to dry.
-
After drying, use scissors to trim around each glass dome to eliminate the extra map.
-
Once all parts are dry, attach robust magnets to the backs of the domes. My kit included adhesive magnets. If yours does not, apply a dab of clear-drying glue. Allow to dry before usage.
Step 2: If you’re utilizing something vintage or of sentimental value and prefer not to cut the original, consider photocopying or printing it.
These handmade map magnets demonstrate that even the tiniest crafts can encapsulate significant memories. Each time you walk by the refrigerator, you’ll notice a small reminder of a place you’ve visited or one you aspire to.
So gather your maps, your Mod Podge, and your creativity . . . and prepare to transform your cherished locations into stunning, functional keepsakes.
If you liked this endeavor, I’d be thrilled for you to explore these additional map crafts:
Chair • DIY Clock • Letter Decor • Mod Podge Pumpkins • Quote Canvas • Wall Art