Discover how to craft beautiful marbled stones using acrylic paint and Mod Podge! This straightforward DIY endeavor is ideal for introducing a vibrant, artistic flair to your home or garden.
I’ve been passionate about rock painting for quite some time . . . it’s relaxing. If you seek a craft that maintains your focus and uplifts your mood – collect some stones from your yard along with a couple of paint bottles.
I assure you, it will transform your life.
Lately, I observed that marbling techniques in painting were gaining traction, and I pondered, “I wonder if I can achieve this with Mod Podge.” Rather than the typical pouring medium that’s usually employed.
I resolved to give it a shot. Instead of utilizing a wooden surface (which I usually rely on for trials), I opted for stones.
My rationale was if it didn’t succeed, I could simply toss the stones in the yard. At least they would be vibrant.
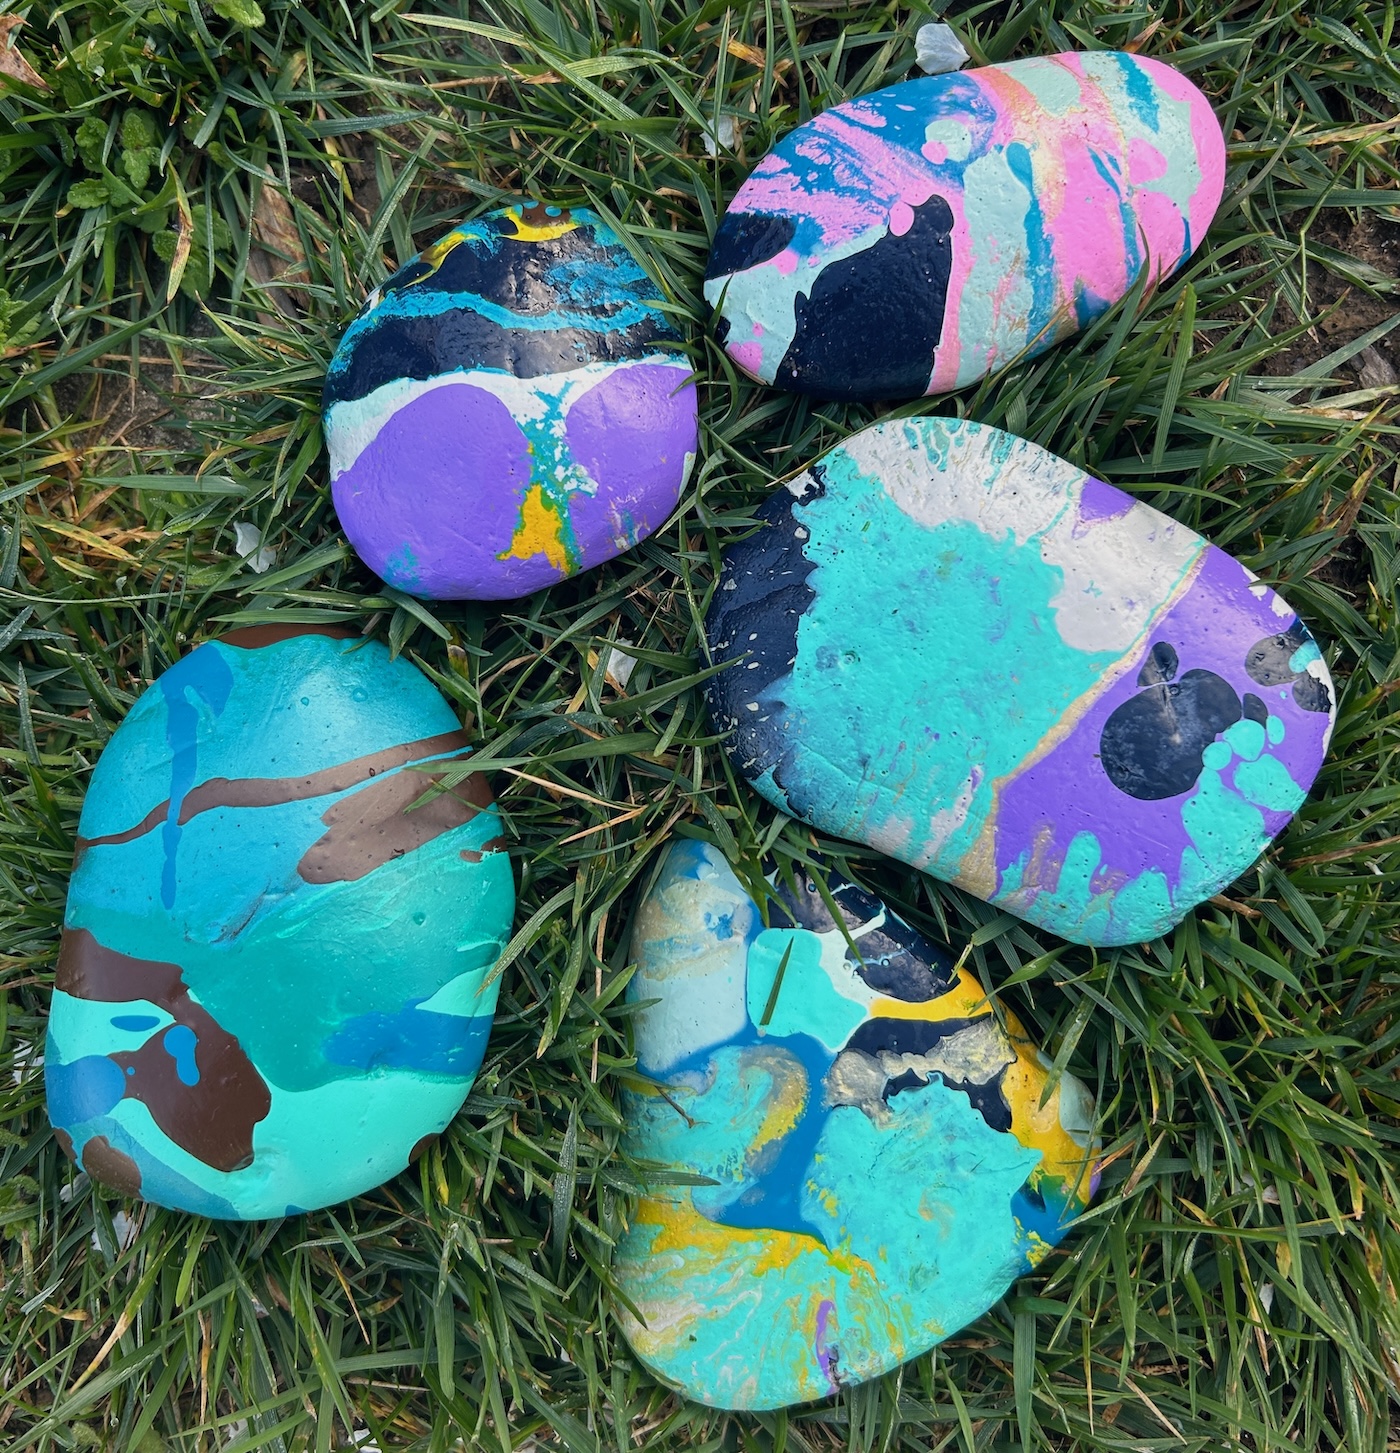
It turns out these marbled stones were significantly simpler to create than you might assume! Marbling appears impressive but is remarkably easy to execute. Plus, the Mod Podge FUNCTIONS admirably as a pouring medium!!!
If you enjoy experimenting with colors and textures, you’re in for a treat marbling stones with acrylic paint and Mod Podge.
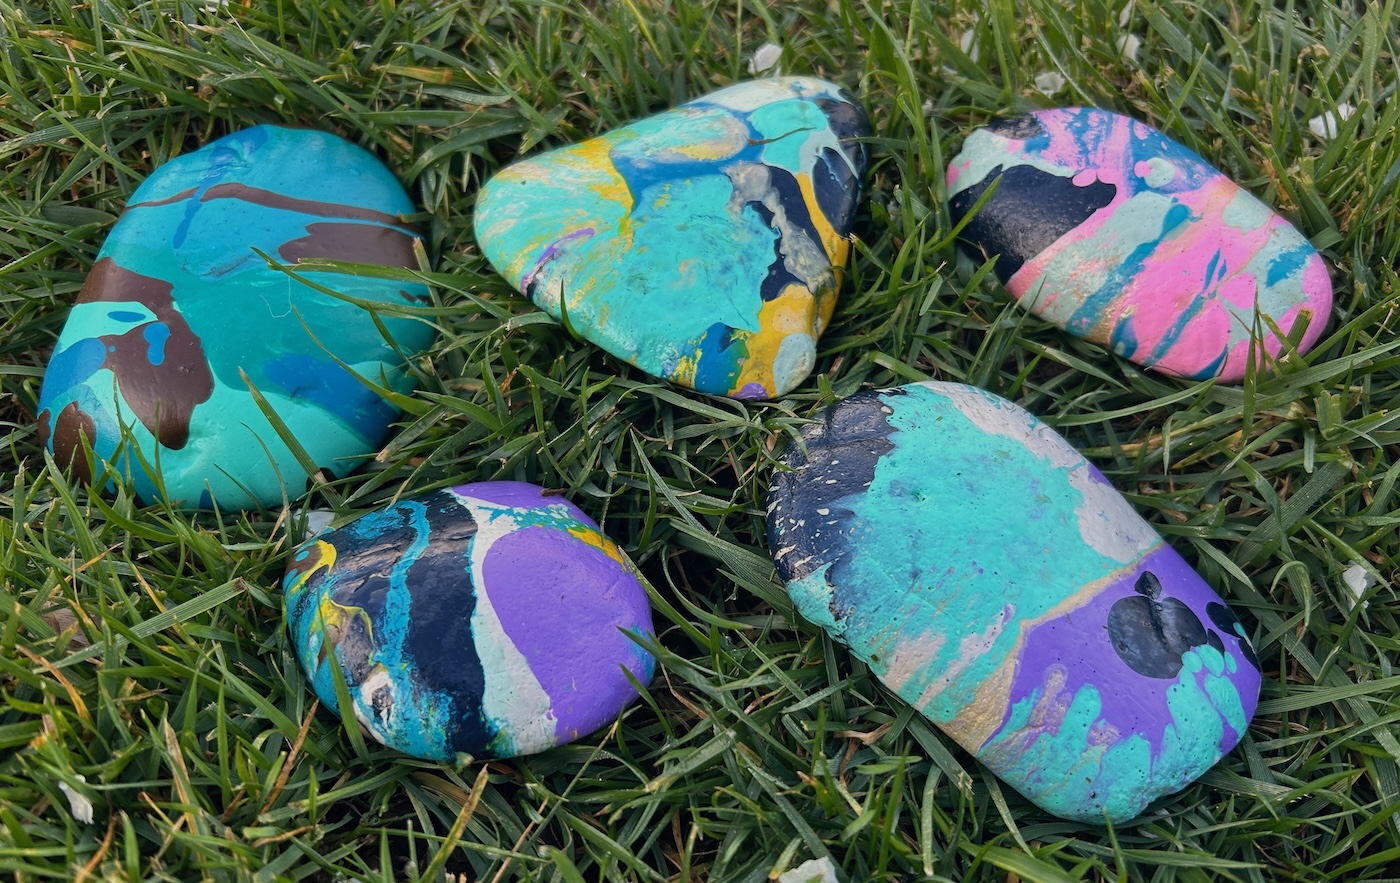
Regardless of whether you use them for home embellishment, garden features, or even as paperweights, these stones are certain to stand out. Gather your favored paint hues, and let’s embark on this delightful and imaginative DIY!
To begin, you’ll need stones. Seek larger, smooth stones with a surface suitable for pouring. You will notice how the shapes of the stones affect the outcomes as you proceed with this project.
Whether you reside in an urban area or rural landscape, you should be able to discover stones (though kindly ask before taking).
Along with the stones, you’ll require the following items:
- Mod Podge
- Acrylic paint (any shades) – multisurface paint can endure for a long duration outdoors
- Small containers for mixing (one for each color)
- Paintbrushes
- Dish soap
- Paper towels
- Wire rack or BBQ skewers and tin containers
You may be curious about the purpose of the wire rack/BBQ skewers. You need a rack for drying the stones, and it must have grates. A standard wire rack works effectively, or you can also insert BBQ skewers into tin bread containers from the store to create your own rack.
Access the complete, printable guide below:
Marble Painted Stones
Discover how to marble stones using paint and Mod Podge with this straightforward tutorial.
Prep Time15 minutes mins
Active Time30 minutes mins
Curing Time12 hours hrs
Comprehensive Time12 hours hrs 45 minutes mins
Output: 5 rocks
Expense: $2
-
Wire rack optional
-
BBQ skewers optional
-
Aluminum dishes optional
-
Prior to commencing, clean your rocks using warm water and dish detergent to eliminate any grime. Allow them to dry on paper towels.
-
Utilize a wire rack or fabricate your own pouring rack by positioning BBQ skewers lengthwise across a budget-friendly baking pan from the store. The BBQ skewers feature a pointed end, enabling you to easily drive them through the tin. Space them approximately ¾ inch to 1 inch apart along the top. Arrange your rocks flat atop the skewers.
-
Set up your small mixing containers on your workspace. In each container, add about 2 tablespoons of decoupage medium, a dash of water, and a squirt of paint. Aim for around 1 to 1.5 tablespoons of paint per container combined with the decoupage medium and water.
-
Shake or stir the container of decoupage medium, water, and paint until fully mixed. Repeat this with each of the colors you wish to employ.
-
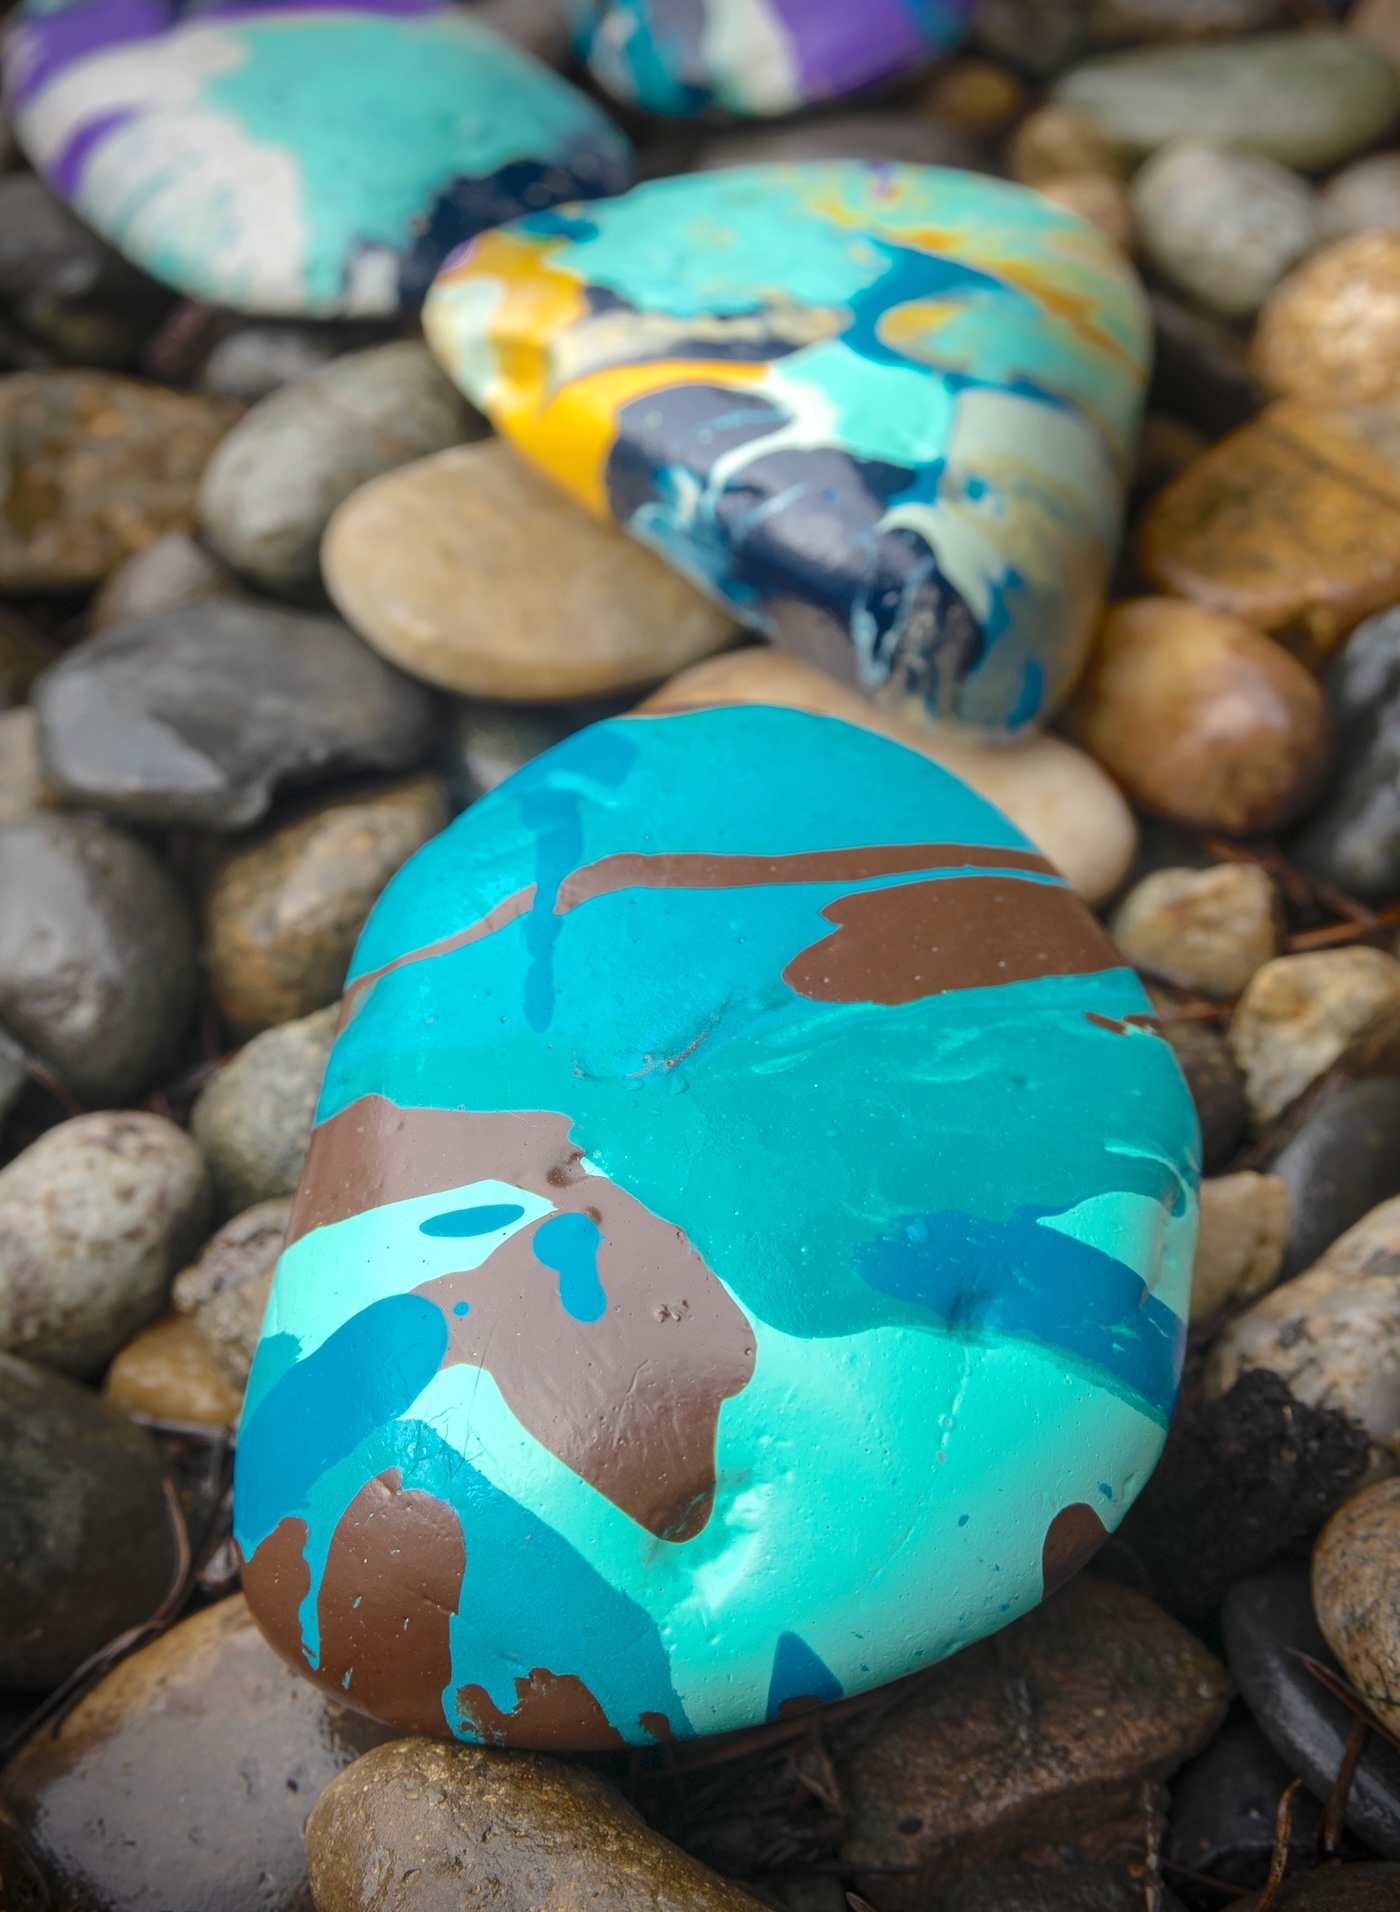
Begin by selecting a color and gently pouring it onto the rock. Avoid covering the entire rock, as you will be using additional colors. Just pour it on one section and allow it to flow over the sides.
-
Reiterate this same method with another color, permitting it to flow into the previously applied color.
-
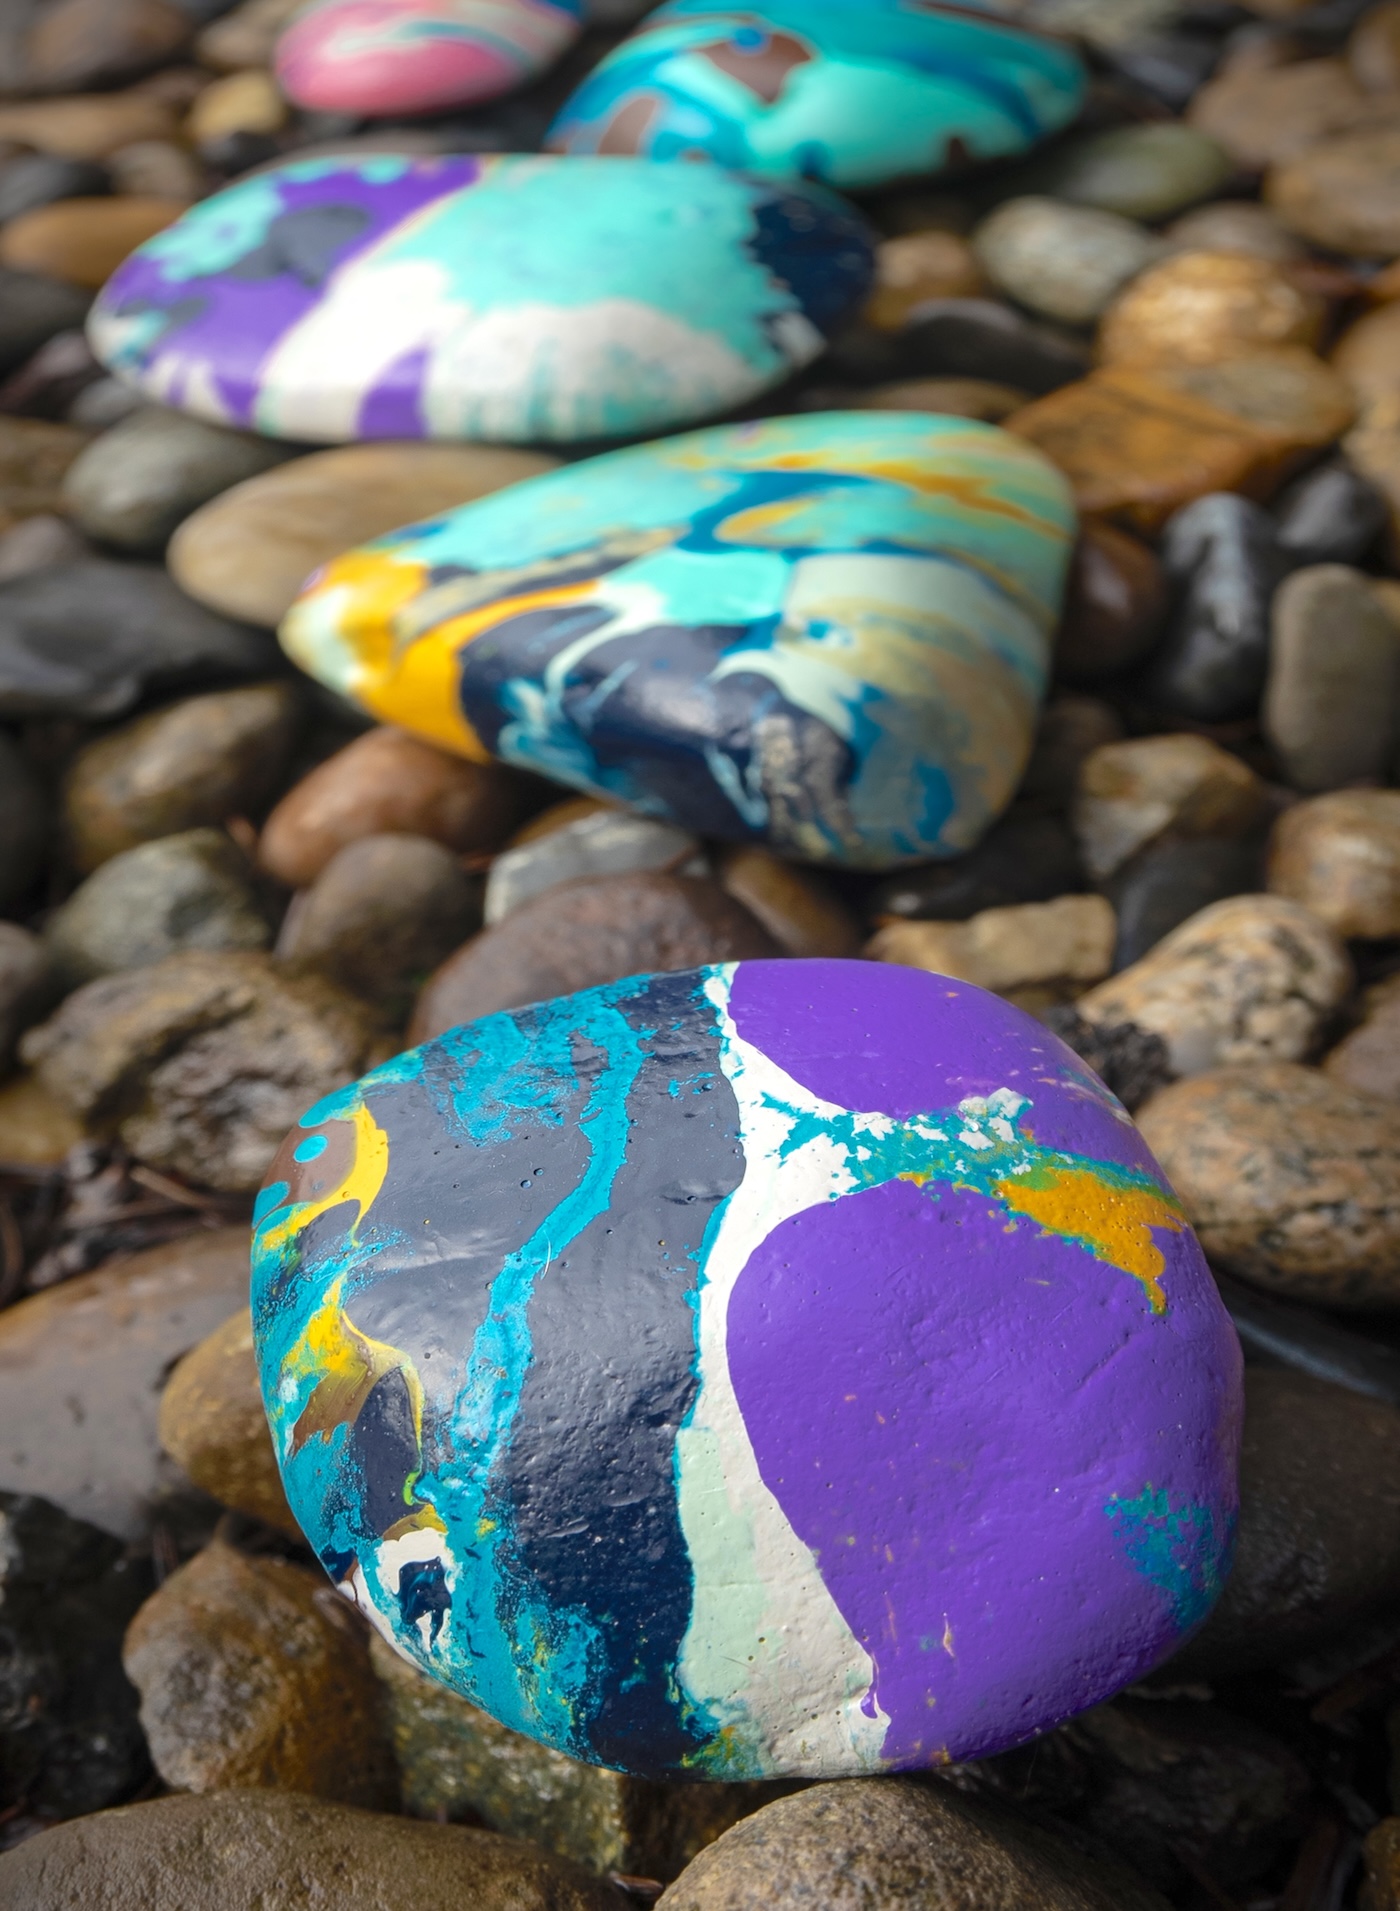
Keep adding colors in different areas on the top of the rock until it is fully covered. At the end, you can add drips and spots of color here and there.
-
Conclude by painting the bottom of the rock (optional, if you wish). Repeat with additional rocks. Allow to dry completely.
If the rocks will be exposed to direct sunlight, I strongly recommend applying extra coats of Mod Podge Outdoor (if available). Alternatively, you can buy an additional UV sealer. Regular Mod Podge is not resistant to UV.
After finishing painting the rocks, you can inscribe messages on top or underneath using Sharpies or oil-based markers. If placing them outdoors for others, it’s nice to write messages on the bottom. It’s delightful to bring a smile to someone’s face when they find your rock art!
Have you ever attempted marbling rocks? Share your experiences in the comments!