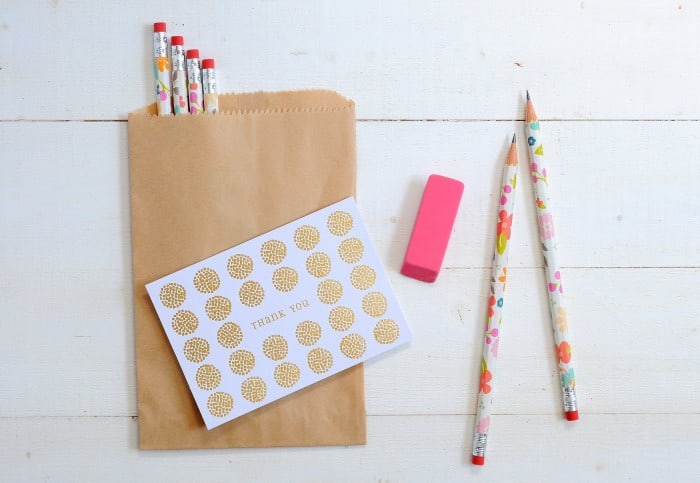
Who doesn’t desire a collection of charming DIY customized pencils to commence a new academic year? These also serve as wonderful presents – and are straightforward to create with Mod Podge.
Skills Required: None. Even if you’ve never engaged in Mod Podging previously, this will be a feasible endeavor for you. It’s uncomplicated enough for both children and adults.
Since my childhood, I’ve harbored an affection for fresh, completely new school supplies. The actual return to school part . . . not so much . . . but fresh No. 2 pencils and blank notebooks always make me swoon!
Who doesn’t crave a set of stylish pencils to kick off a new academic year? These pencils rank among my favorite crafts for teenagers or preteens. They also serve as delightful gifts – and are simple to create with Mod Podge.
Paper to Utilize
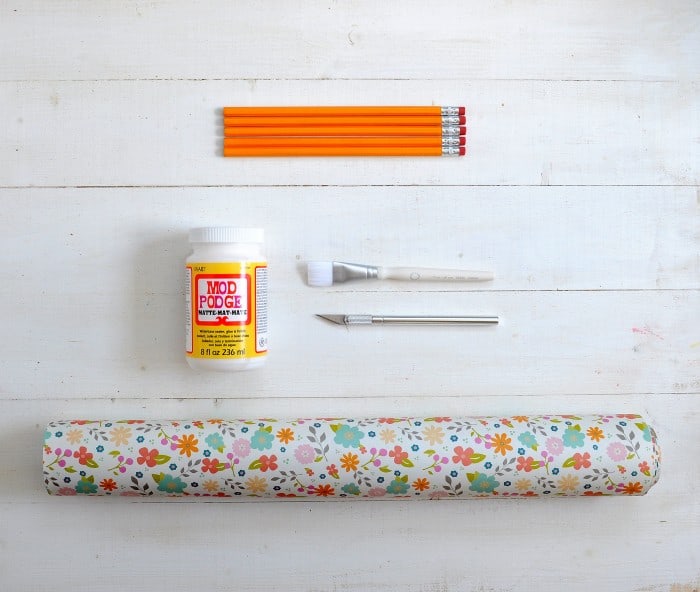
The sole condition I have is that you’ll want to choose a lighter paper. Standard scrapbook paper is undoubtedly too thick and won’t suffice – you need the pencil to fit into a sharpener!
Wrapping papers are generally thin enough, as are the lighter rolls of kraft paper. Napkins and tissue paper can also be utilized, but it may require practice to prevent them from wrinkling. I prefer to stick with the lighter wrapping papers.
You can effortlessly craft these at home. Continue reading to dive into the project!
How to Personalize Pencils
Discover how to create tailored pencils with beautiful paper and Mod Podge! These paper-wrapped pencils are a truly simple craft.
Prep Time20 minutes mins
Active Time30 minutes mins
Dry Time2 hours hrs
Total Time2 hours hrs 50 minutes mins
Yield: 6 pencils
Cost: $2
-
Commence by slicing the paper into strips, measuring 6 1/2 inches by 1 1/2 inches (or any measurement you require; utilize your ruler).
-
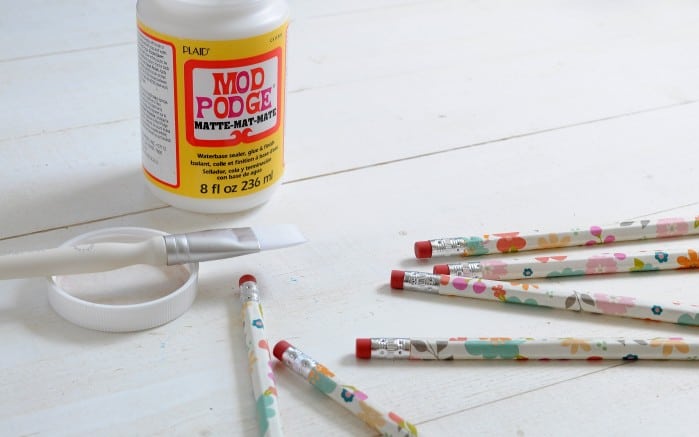
Apply a thin coat of Mod Podge onto the reverse side of the paper strips. Take care not to over-soak the paper.
-
Aligning the paper at the eraser end, tightly envelop the pencil with the paper by gradually rolling it around and smoothing out any bumps or air bubbles if necessary. Allow the pencils to dry thoroughly before sharpening.
Step 1: You’ll want to ensure the length is quite accurate. The circumference doesn’t need to be as precise, though you don’t want the paper to overlap too much. The paper-wrapped pencil still needs to fit in a sharpener.
If you appreciate these delightful customized pencils, I would love for you to explore these other related projects for school or office:
Backpack Charms • Adorable DIY Pencil Holders • Decoupage Postcard Desk • DIY Clipboard • DIY Desk Organizer • DIY iPad Case • DIY Paperweights • DIY Perpetual Calendar • Fabric Covered Bins • Glitter Phone Case • Create a Mousepad • Notebook Covers