Create delightful DIY pumpkin magnets using wood, paint, and Mod Podge! A rapid, enjoyable Halloween project, ideal for embellishing or presenting as gifts.
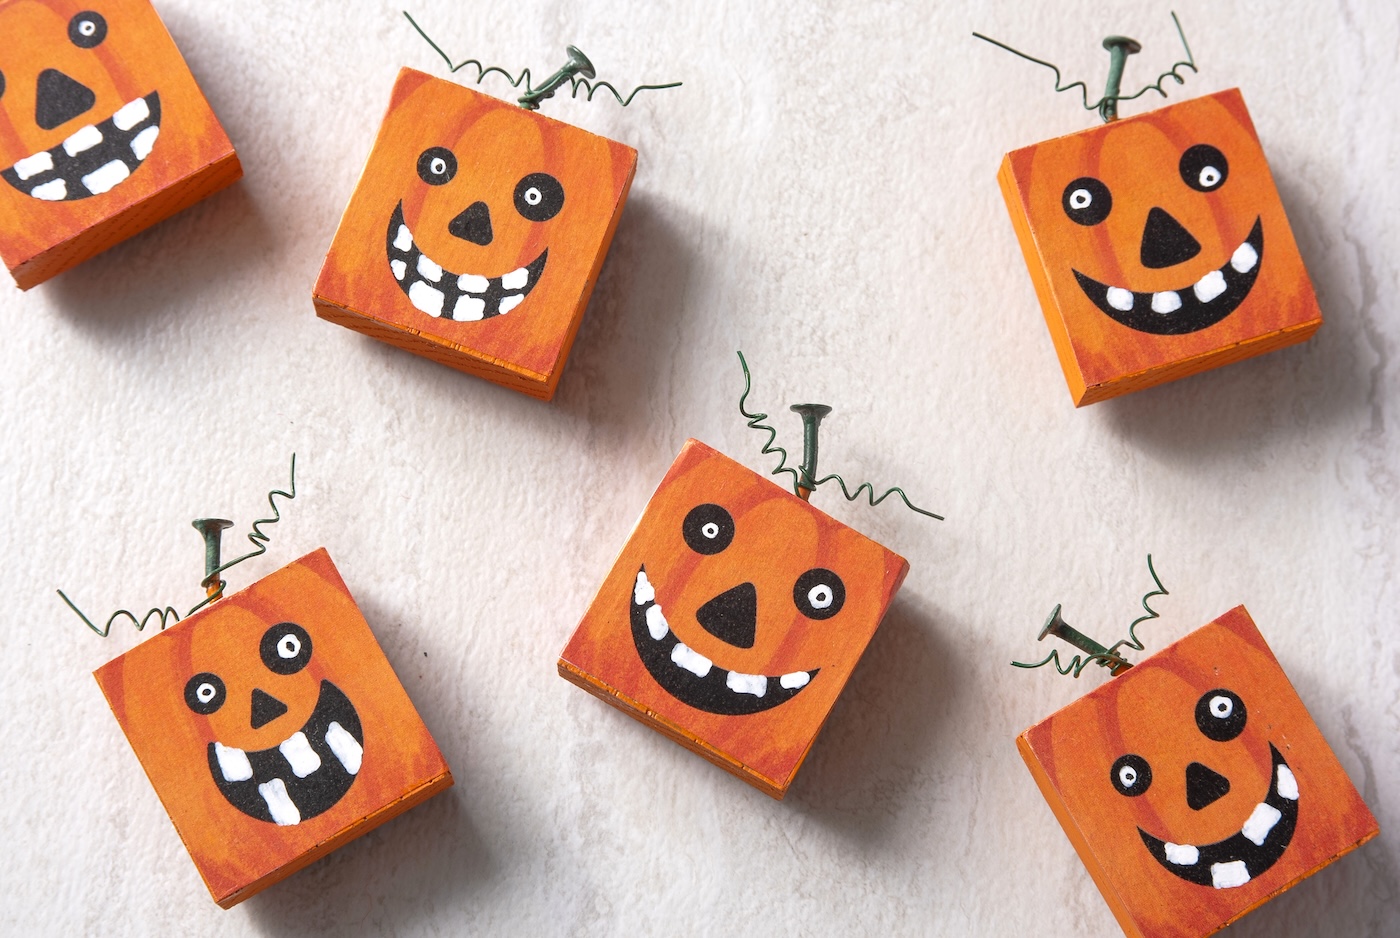
There’s just something about a small pumpkin with a humorous face that brings me immense joy. Perhaps it’s due to their adorable nature.
It might also be because they don’t involve cleaning out pumpkin insides. Regardless, these DIY pumpkin magnets have become my ultimate favorite craft for autumn!
Crafted from tiny wooden squares painted a vibrant orange, featuring nail “stems” (yes, actual nails!) and curly green wire vines.
Attach a printed pumpkin face on the front, secure it all with Mod Podge, and you’ve created a refrigerator ornament that conveys, “Yes, I take Halloween seriously… but I also enjoy a bit of fun.”
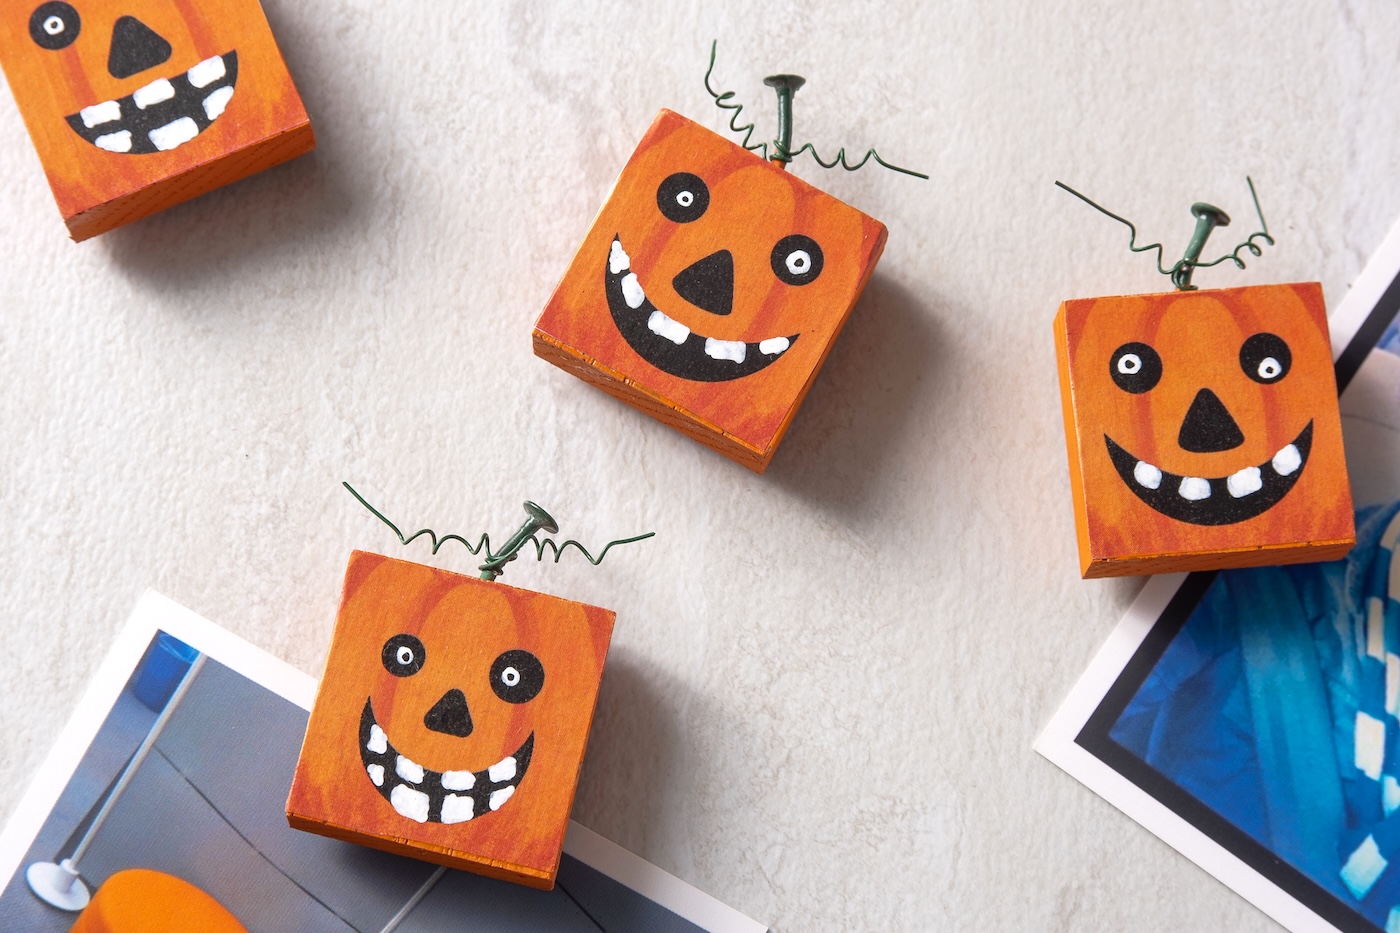
The most enjoyable aspect is their versatility. You have the option to create pumpkins that are sweet, eerie, or utterly silly – whatever brings a smile to your face when reaching for the milk.
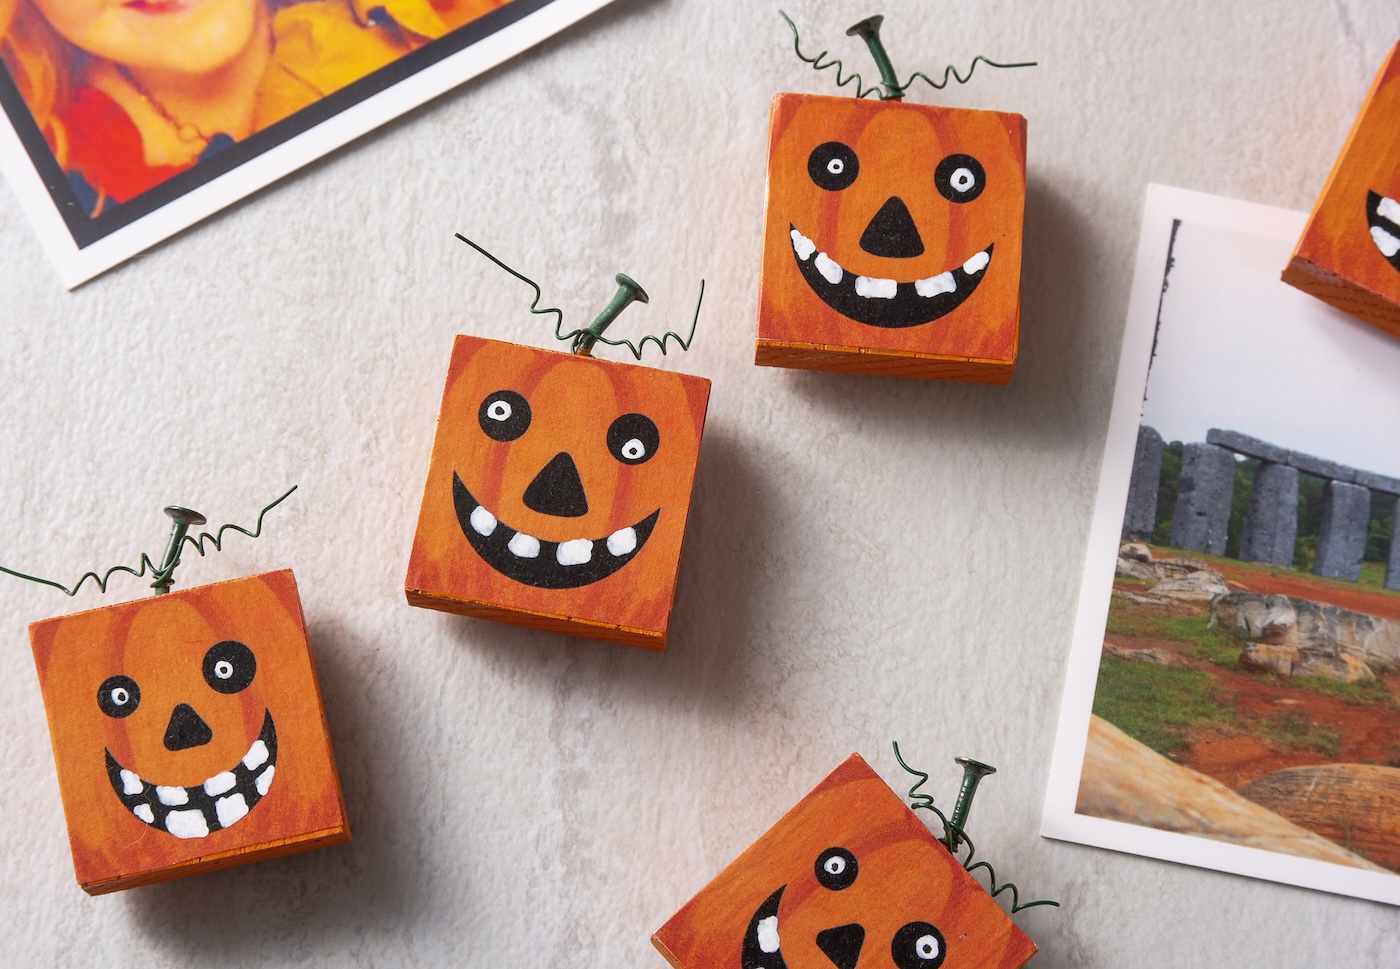
I’ve provided a free printable featuring pumpkin faces, but you could also use scrapbook paper, stickers, or your own artistic designs.
They’re quick to assemble, which is a little risky because you might find yourself with an entire pumpkin patch ready to adorn every magnetic surface in your home. They also serve as playful presents for friends, educators, or anyone in need of a bit of Halloween spirit.
So gather your Mod Podge, some paint, and your preferred pumpkin personality – these magnets are set to infuse a touch of autumn magic (and perhaps a few chuckles) into your kitchen.
Retrieve the printable instruction card below:
Pumpkin Magnets
Discover the method to create the most adorable jack o’ lantern magnets for Halloween! These make excellent gifts.
Preparation Time15 minutes mins
Active Time2 hours hrs
Drying Time2 hours hrs
Total Duration4 hours hrs 15 minutes mins
Yield: 10 magnets
Expense: $5
-
Utilize the table saw to reduce your wood trim to 1 ½” squares.
-
Employing the drill, create a hole at the top of each wood square for the nails.
-
With the hammer, carefully drive the nails into the drilled holes to form stems.
-
Using the pliers, slightly bend the nails to shape the stems.
-
Apply the orange paint to the edges of the wood. You may also coat one side (which will serve as the back). Allow to dry.
-
Paint the nails by either using a brush or submerging the nails into the green paint. Allow to dry. Attach the wire now by cutting a length of green jewelry wire, then wrapping it around the stem.
-
Print the pumpkin faces using a laser printer. Cut them out with scissors.
-
Spread Mod Podge on the front of a wood square. Carefully smooth down the pumpkin face. With a brush, remove any Mod Podge that spills over the edges.
-
Repeat the process with the pumpkins and set them aside to dry thoroughly.
-
Sealing the tops of the pumpkin faces with Mod Podge. Allow to dry.
-
Add features to the face – such as teeth and eyes – using a white paint pen. I also included a large white dot, a black dot, and a smaller white dot within some of the eyes. Allow to dry.
-
Seal over the top of the paint pens and pumpkin faces with Mod Podge. Let dry.
-
Attach magnets to the reverse side. Allow to dry completely before using.
Step 1: you can also opt for a hand saw. I merely used leftover pieces of wood trim I had stored in the garage.
Step 13: I used adhesive magnets – they work wonderfully!
Did you enjoy this adorable wooden Halloween project? Share your thoughts in the comments! Explore these additional projects and posts:
BOO Letters • Button Art • Cheesecloth Ghost • Coffin Tray • Decorating Wood Cutouts • Decorating Pumpkins • DIY Wreath • Dollar Tree Wood Pumpkin • Door Hangers • Halloween Rocks • Painted Pumpkins • Potion Bottles • Spooky Candle Holders • Spooky Pumpkins • Wall Decor • Witch Hat Garland