This article and images might comprise Amazon or other affiliate connections. If you acquire something via any link, I might earn a small commission at no additional cost to you. Any materials utilized may be provided to me at no charge, however, all projects and views are solely my own.
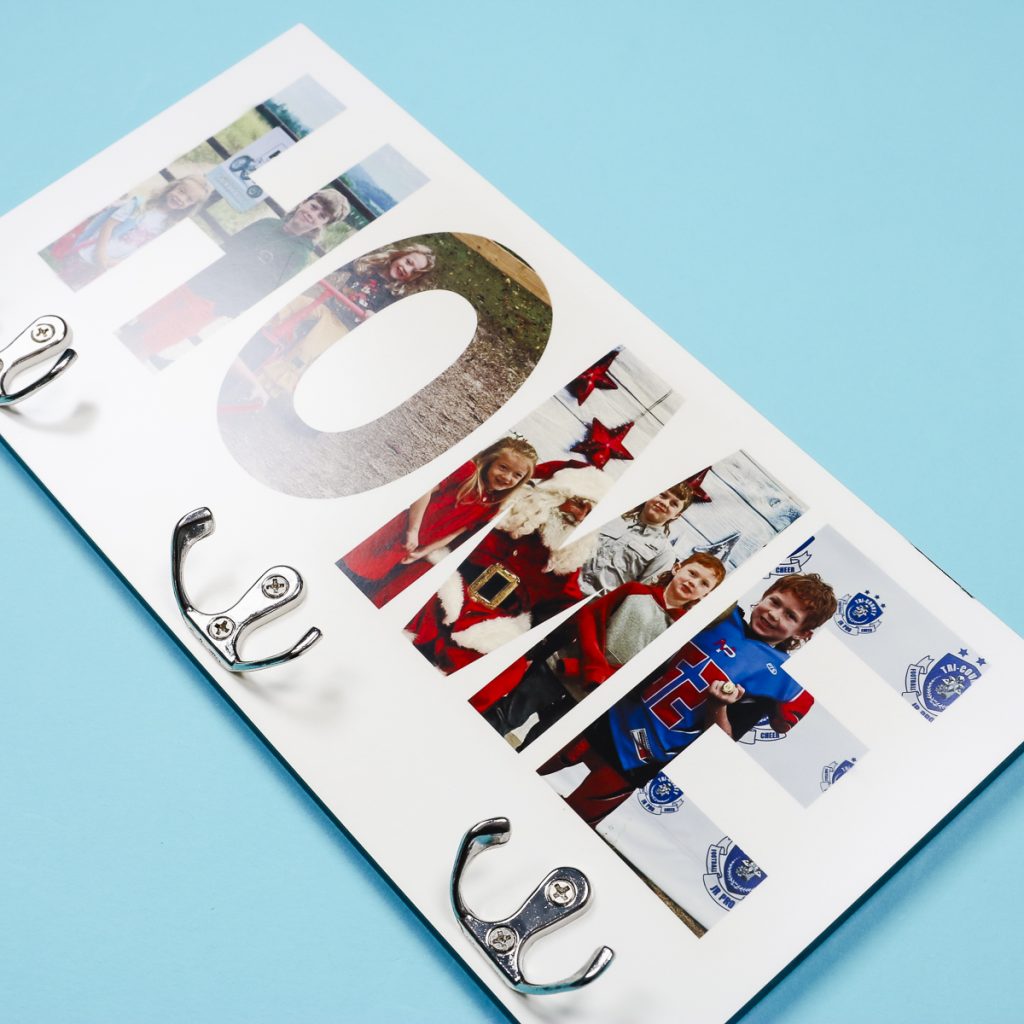
If you’re still in organizing mode, I believe you’ll adore this project. This sublimation hanging organizer is ideal for any room in your residence and can be tailored to complement any decor.
Whether you’re seeking a spot for your keys, towels, or dog leashes, this project meets the need.
Today, I’m utilizing my large EasyPress. If you’re on the lookout for the perfect heat press for your craft space, you can discover more about it in my EasyPress 3 review.
Pin
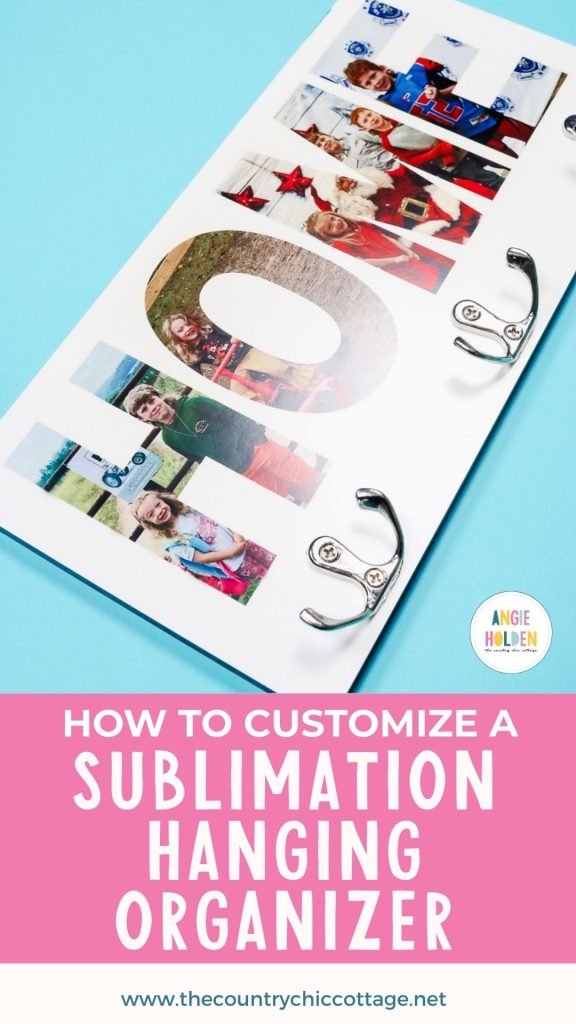
I used photographs and the term home for my sublimation hanging organizer, but you can craft this project with any design or term you desire. If you prefer not to use images, you might opt for an all-over design. You could also modify the term to something like Keys, or perhaps a pet’s name.
You can view me completing this project from beginning to end by pressing play on the video below.
How to Personalize a Sublimation Hanging Organizer
This ranks as one of the simplest sublimation and organization tasks I’ve put together this year. I appreciate how straightforward it is to customize, making it suitable for countless areas in your home.
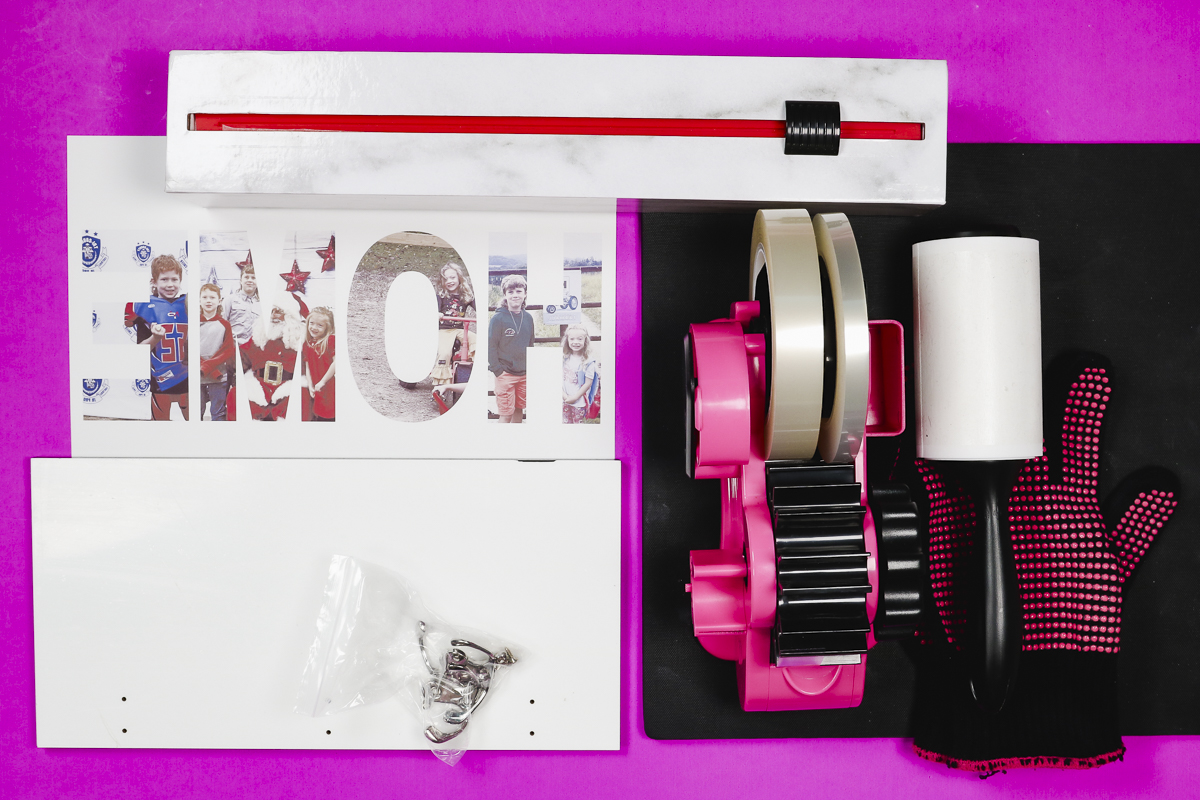
Materials Required
Pin
Step 1. Design Template in Canva
I am utilizing Canva to craft my design today, and the method is quite straightforward.
To start off, launch Canva and click Create, then select Custom Dimensions. My canvas is set to be the same dimensions as my sublimation paper, which measures 8.5 by 11 inches.
Note – should you wish to envelop the entire surface or have your term extend from edge
to edge, you will be required to utilize 8.5 by 14 sublimation paper.
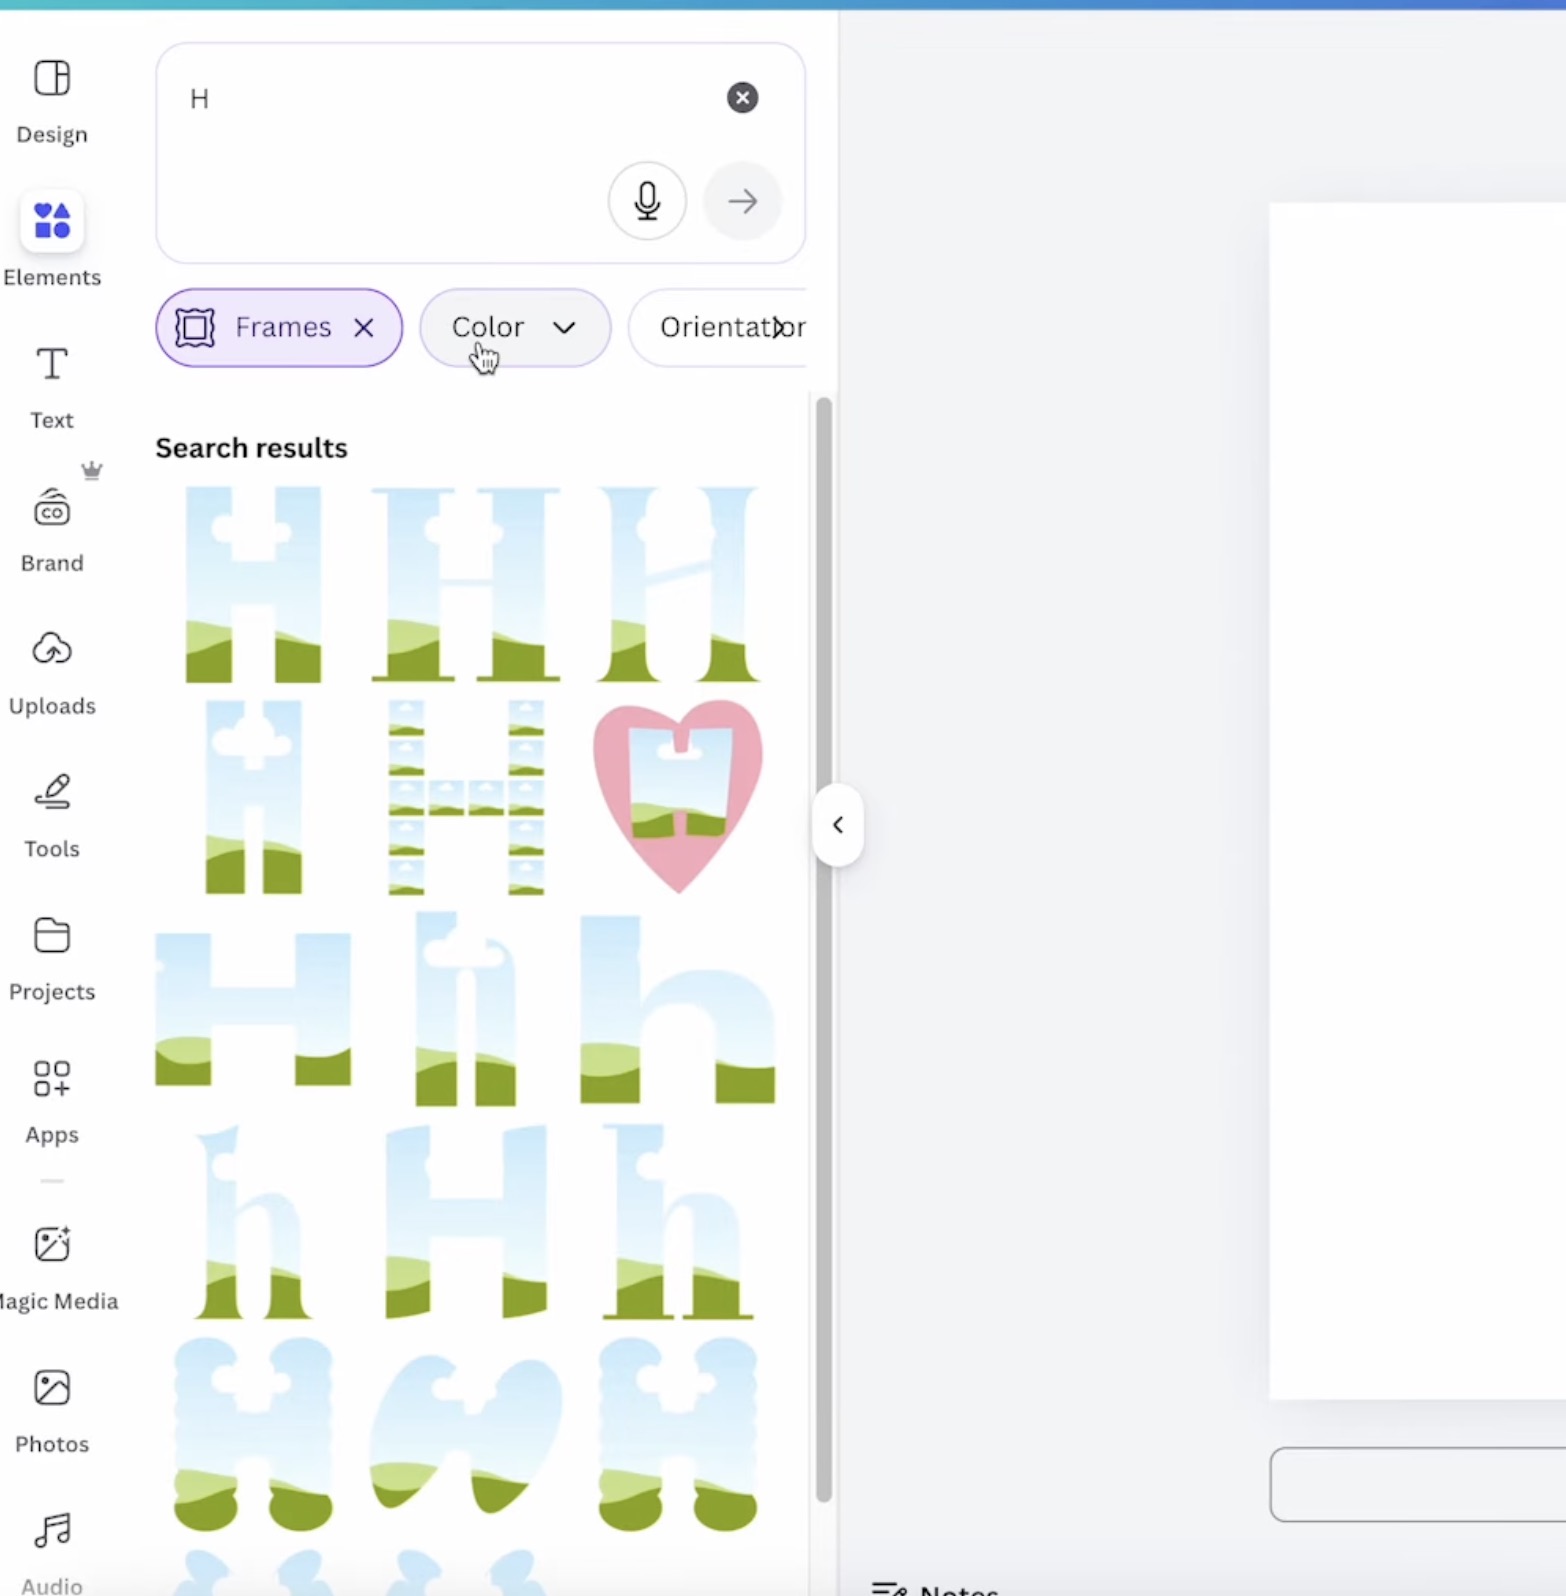
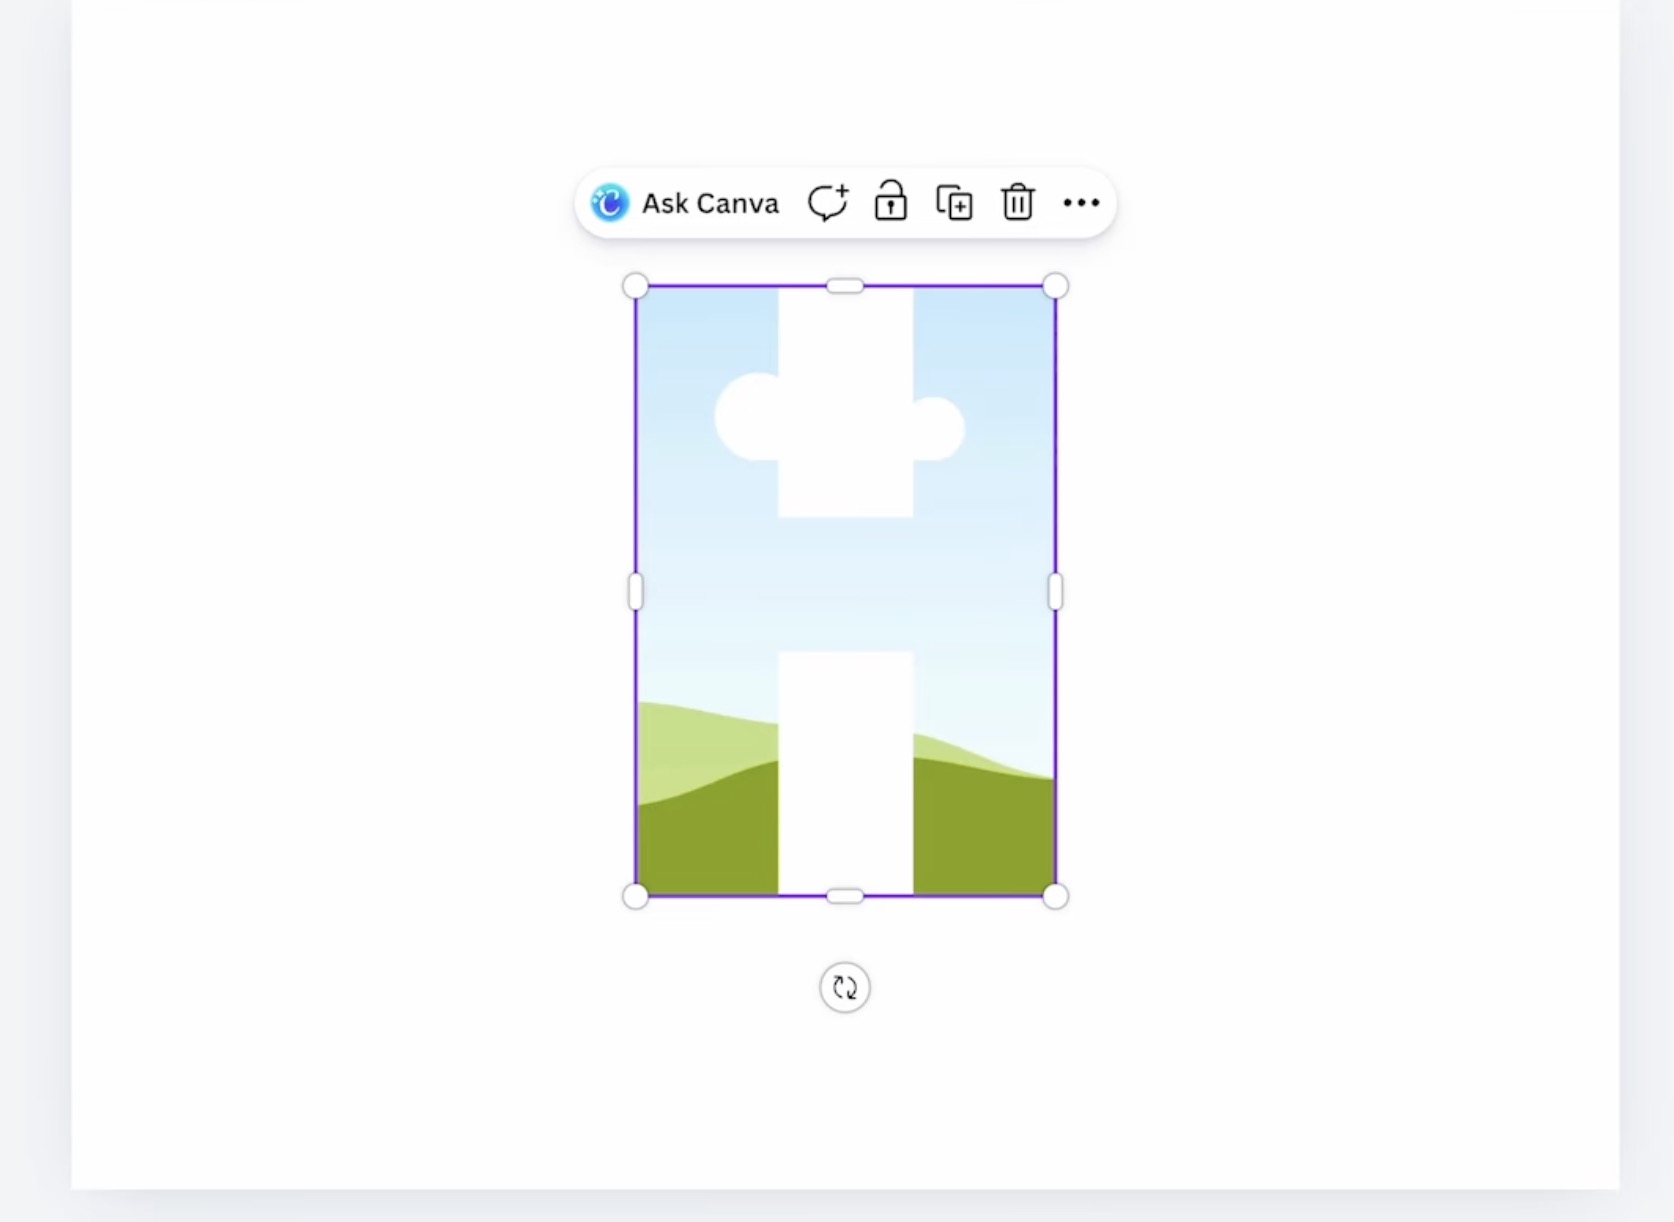
To create your design similar to mine, firstly, select Elements and then look for the character you wish to incorporate. I entered H, and afterward, clicked on Frame beneath it.
Pin
In this section, numerous diverse options will appear. Select the letter design that appeals to you the most, and it will be added to your canvas.
Pin
Continue to repeat this process for each additional letter.
Pin
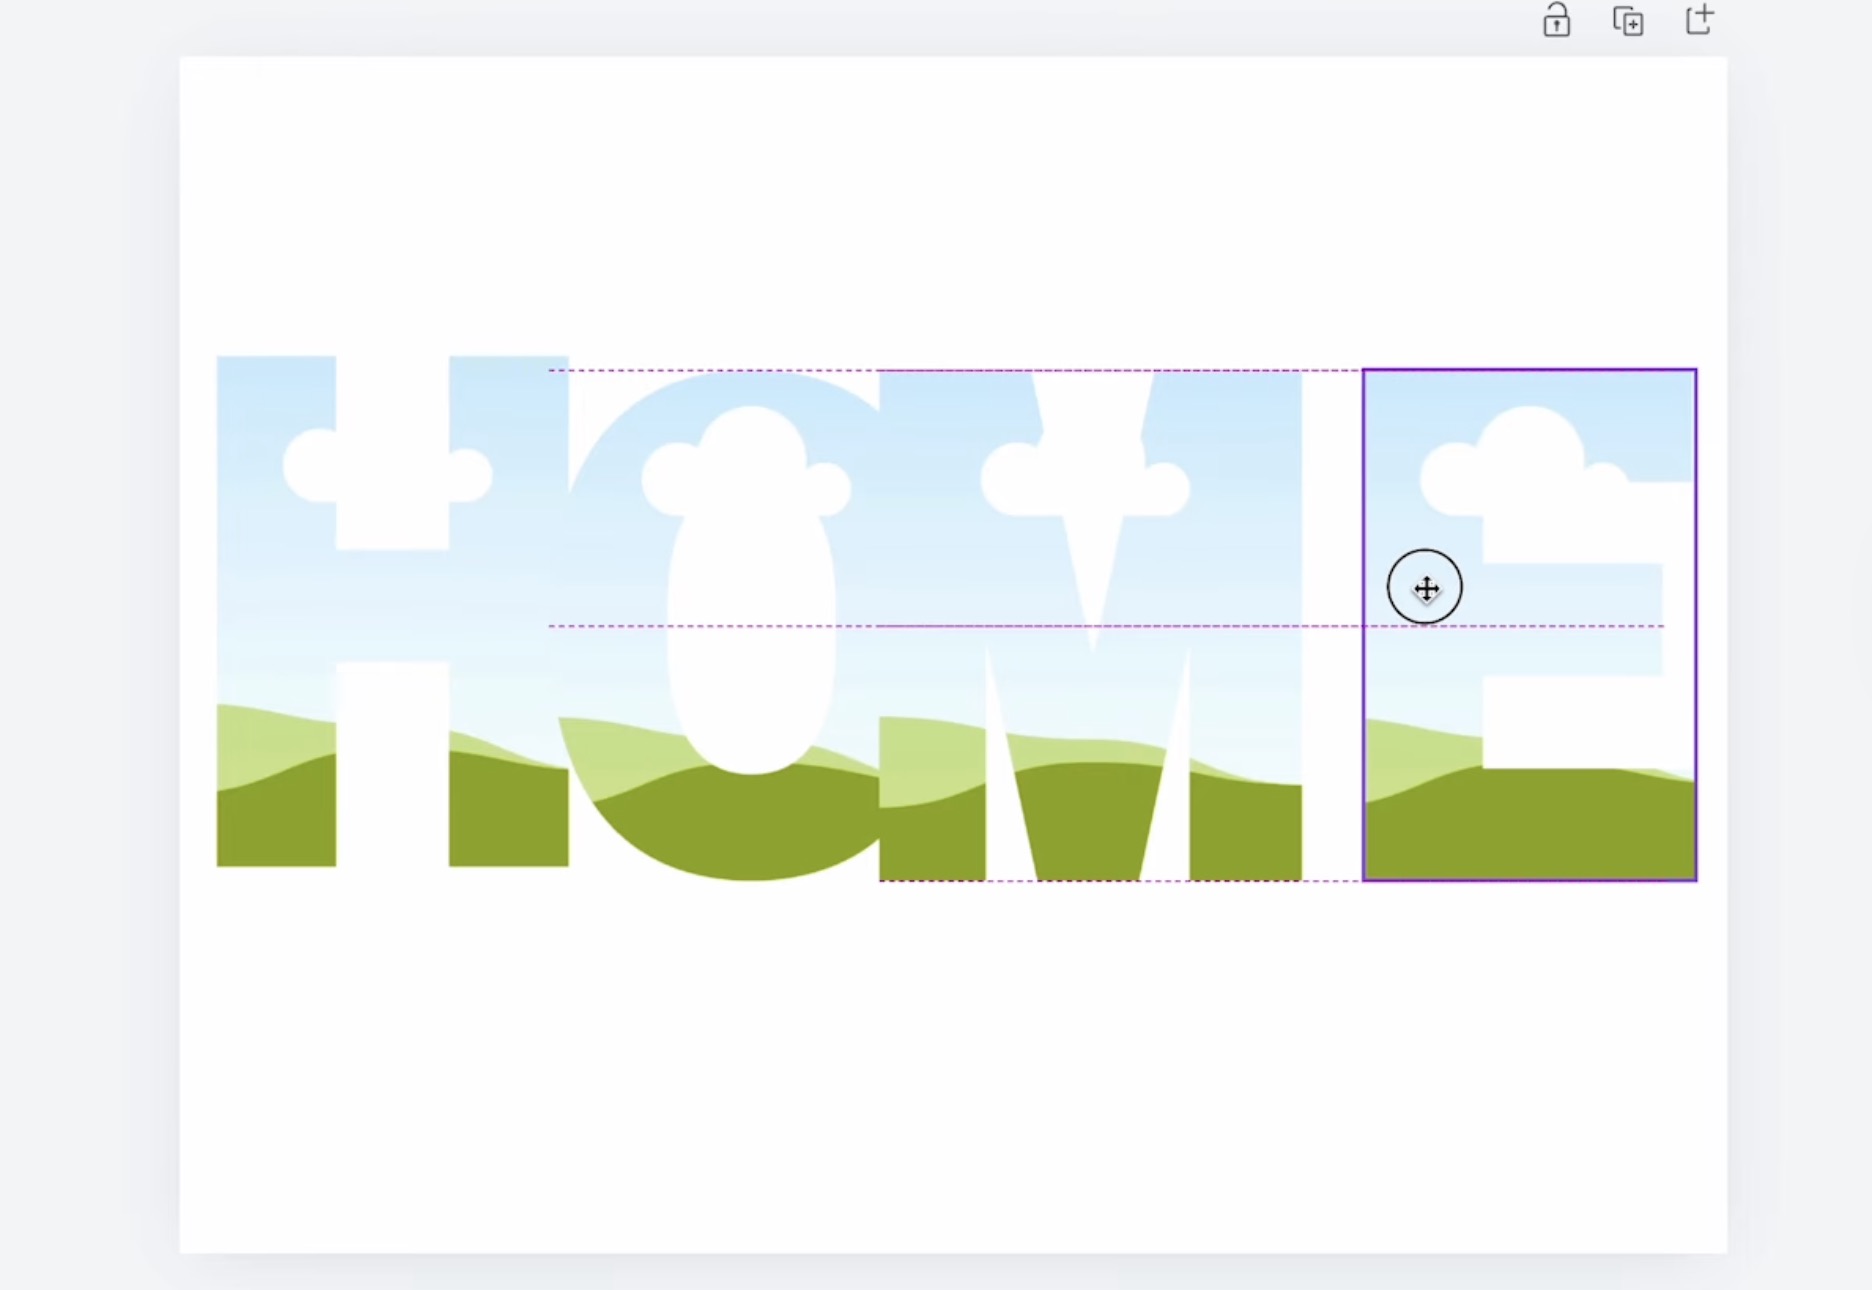
Arrange the letters to form the word, then adjust their sizes as required.
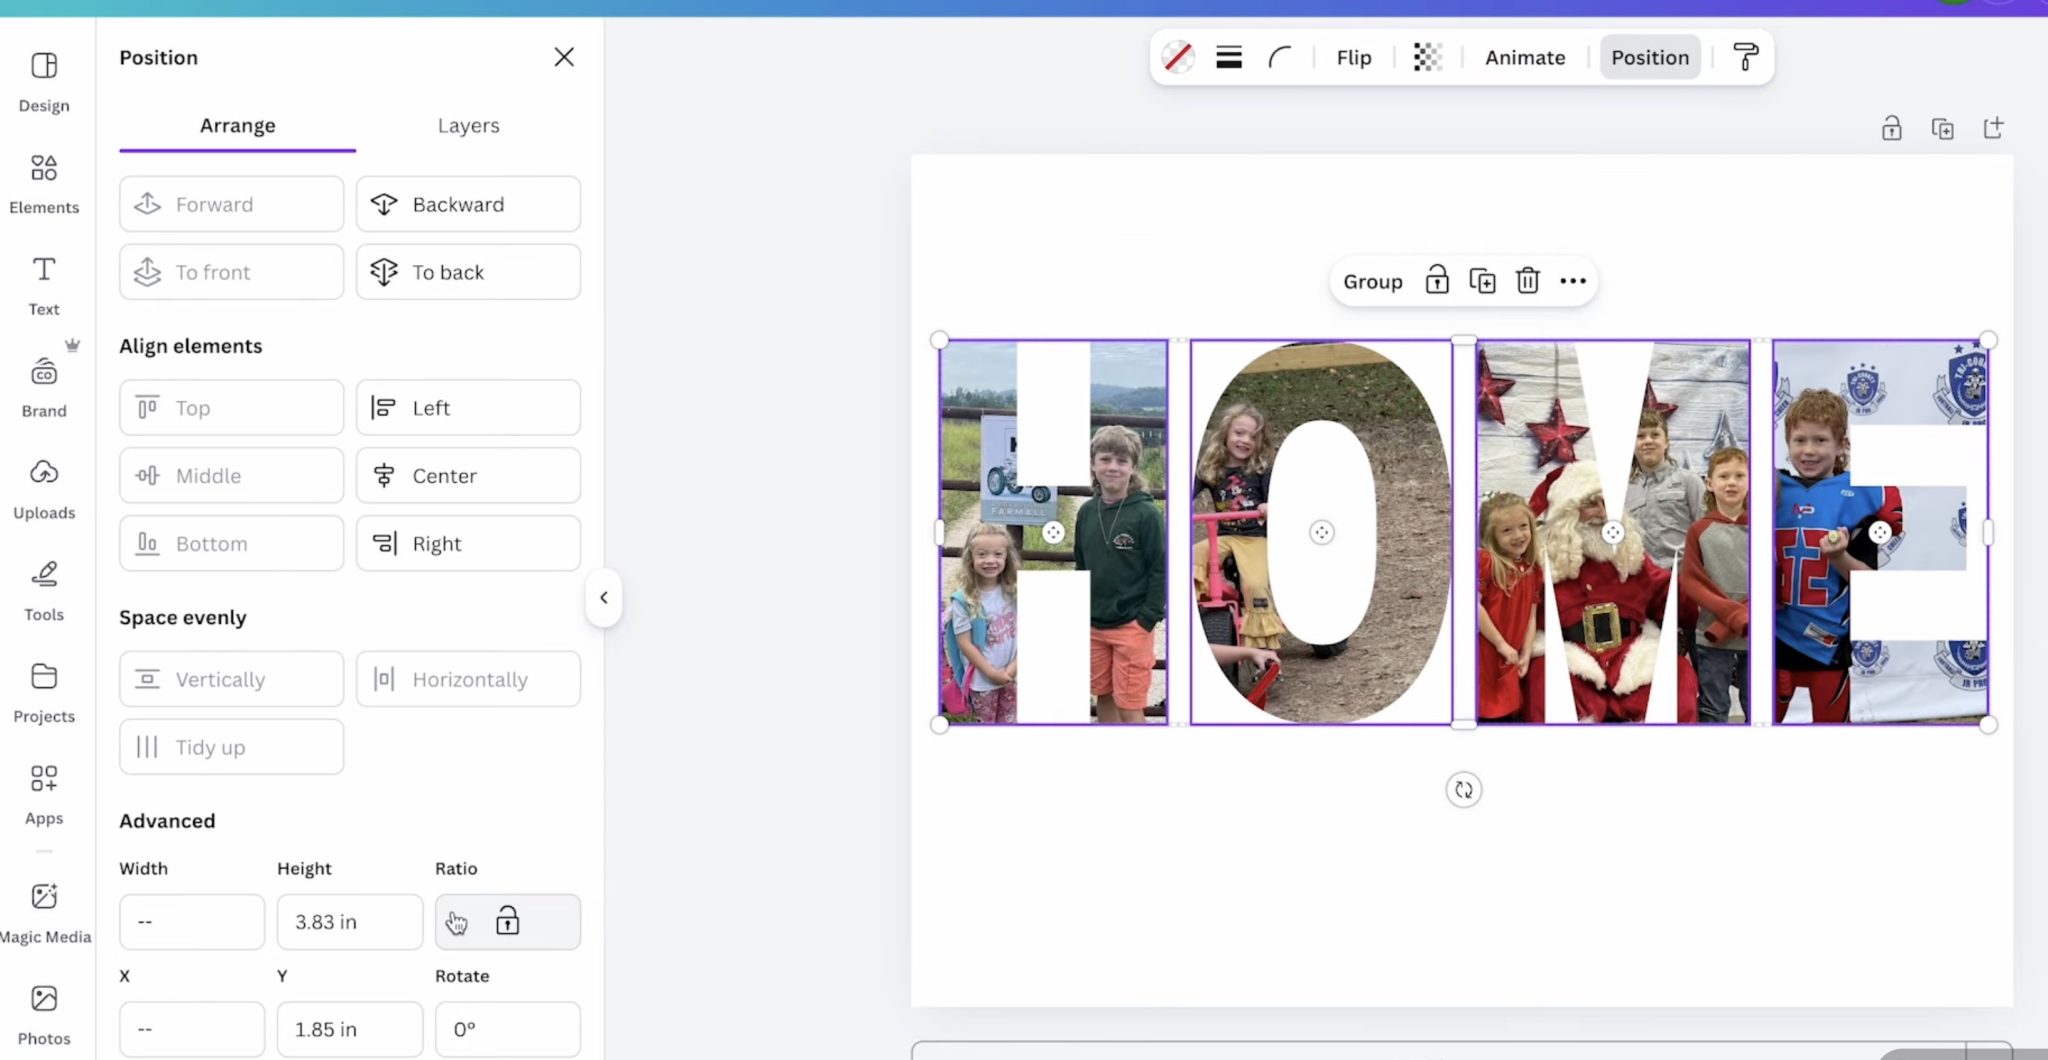
Select all the characters and then click Position to align the
top. Afterward, with all the characters chosen, select Position and Tidy Up. This will arrange the characters so they are all precisely the same distance apart.
Pin
At this moment, you can verify if the design is the dimension you desire. You may adjust the letters to be larger or smaller and repeat the Position process.
Step 2. Incorporate Photos of Your Preference
Subsequently, upload the images you intend to use.
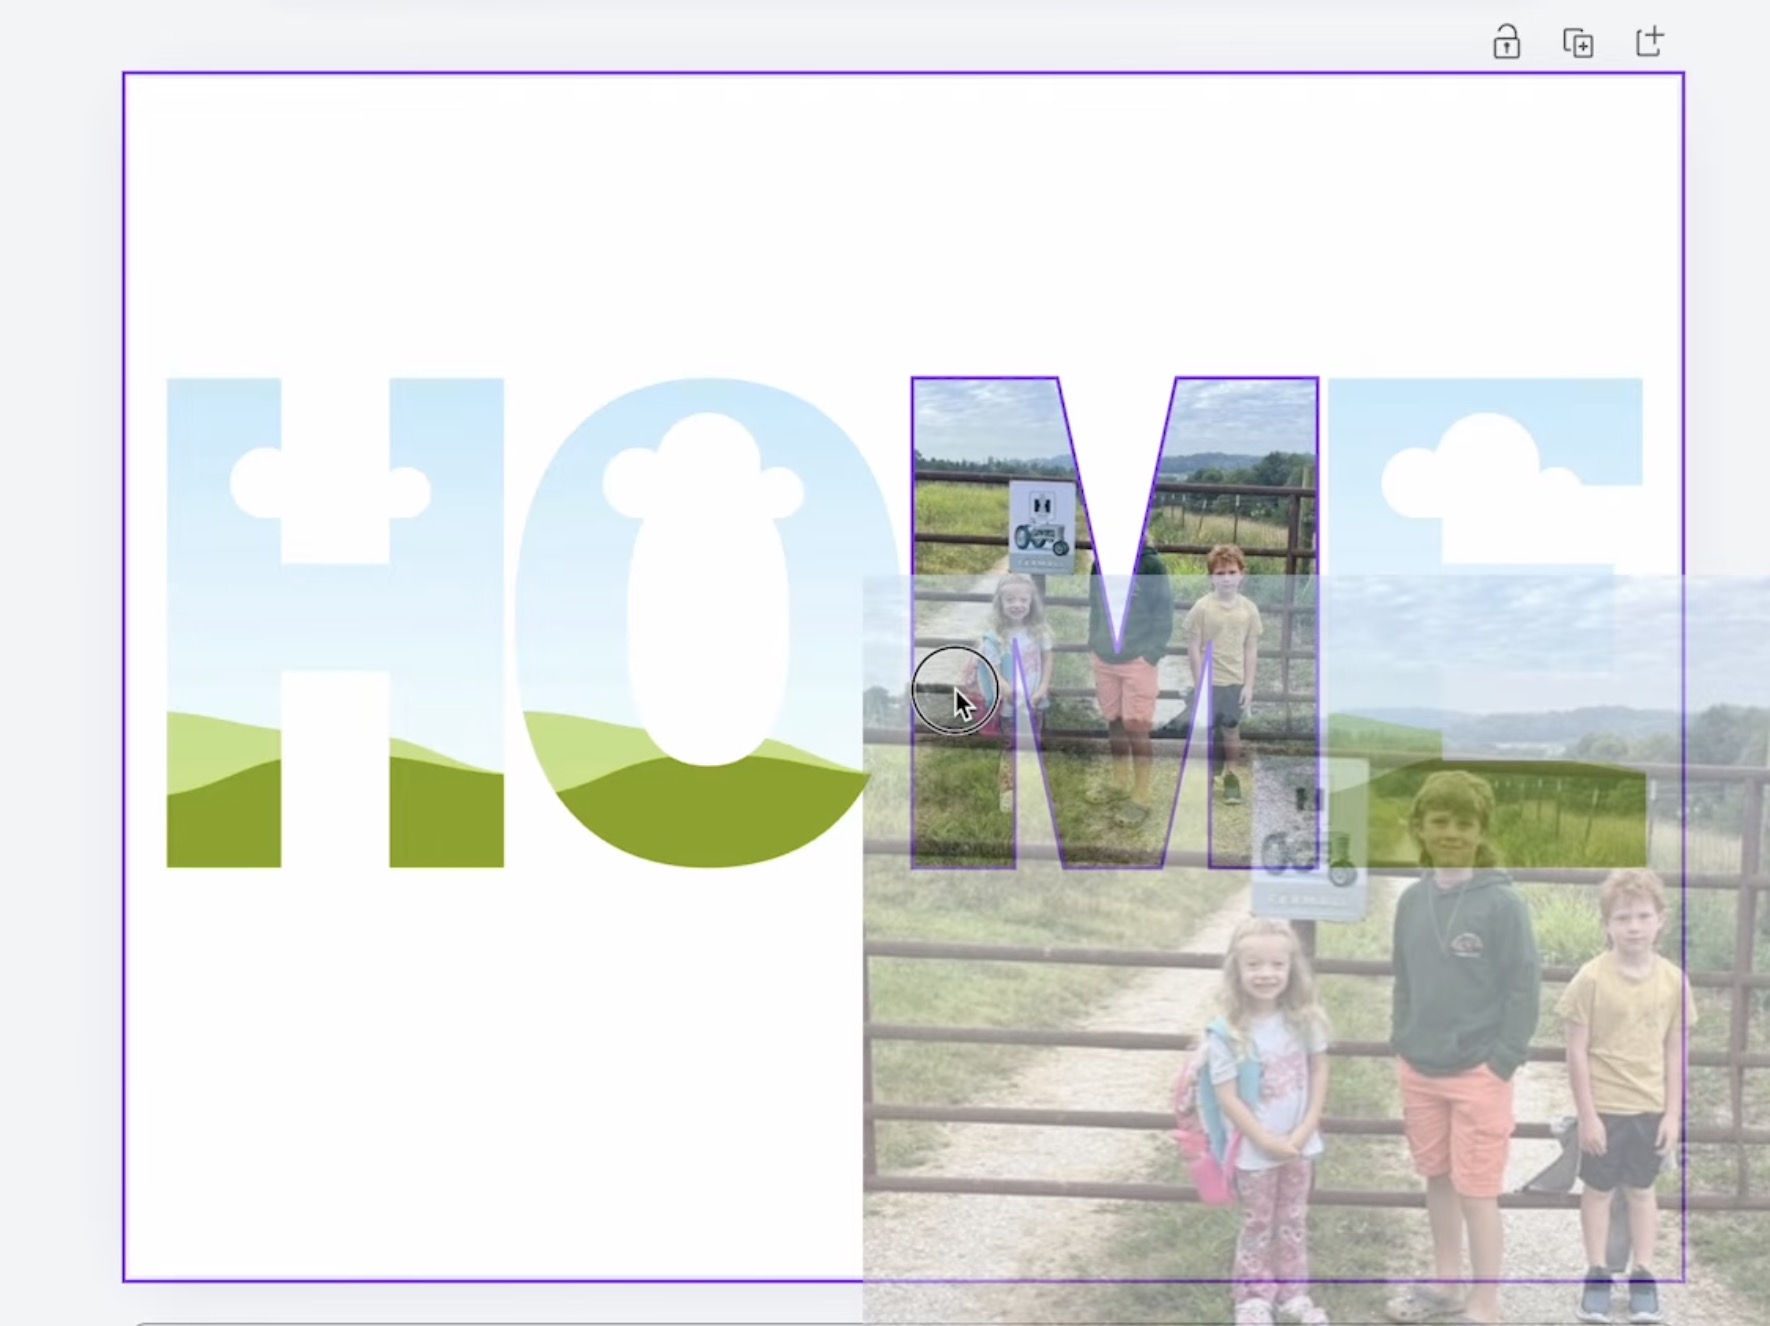
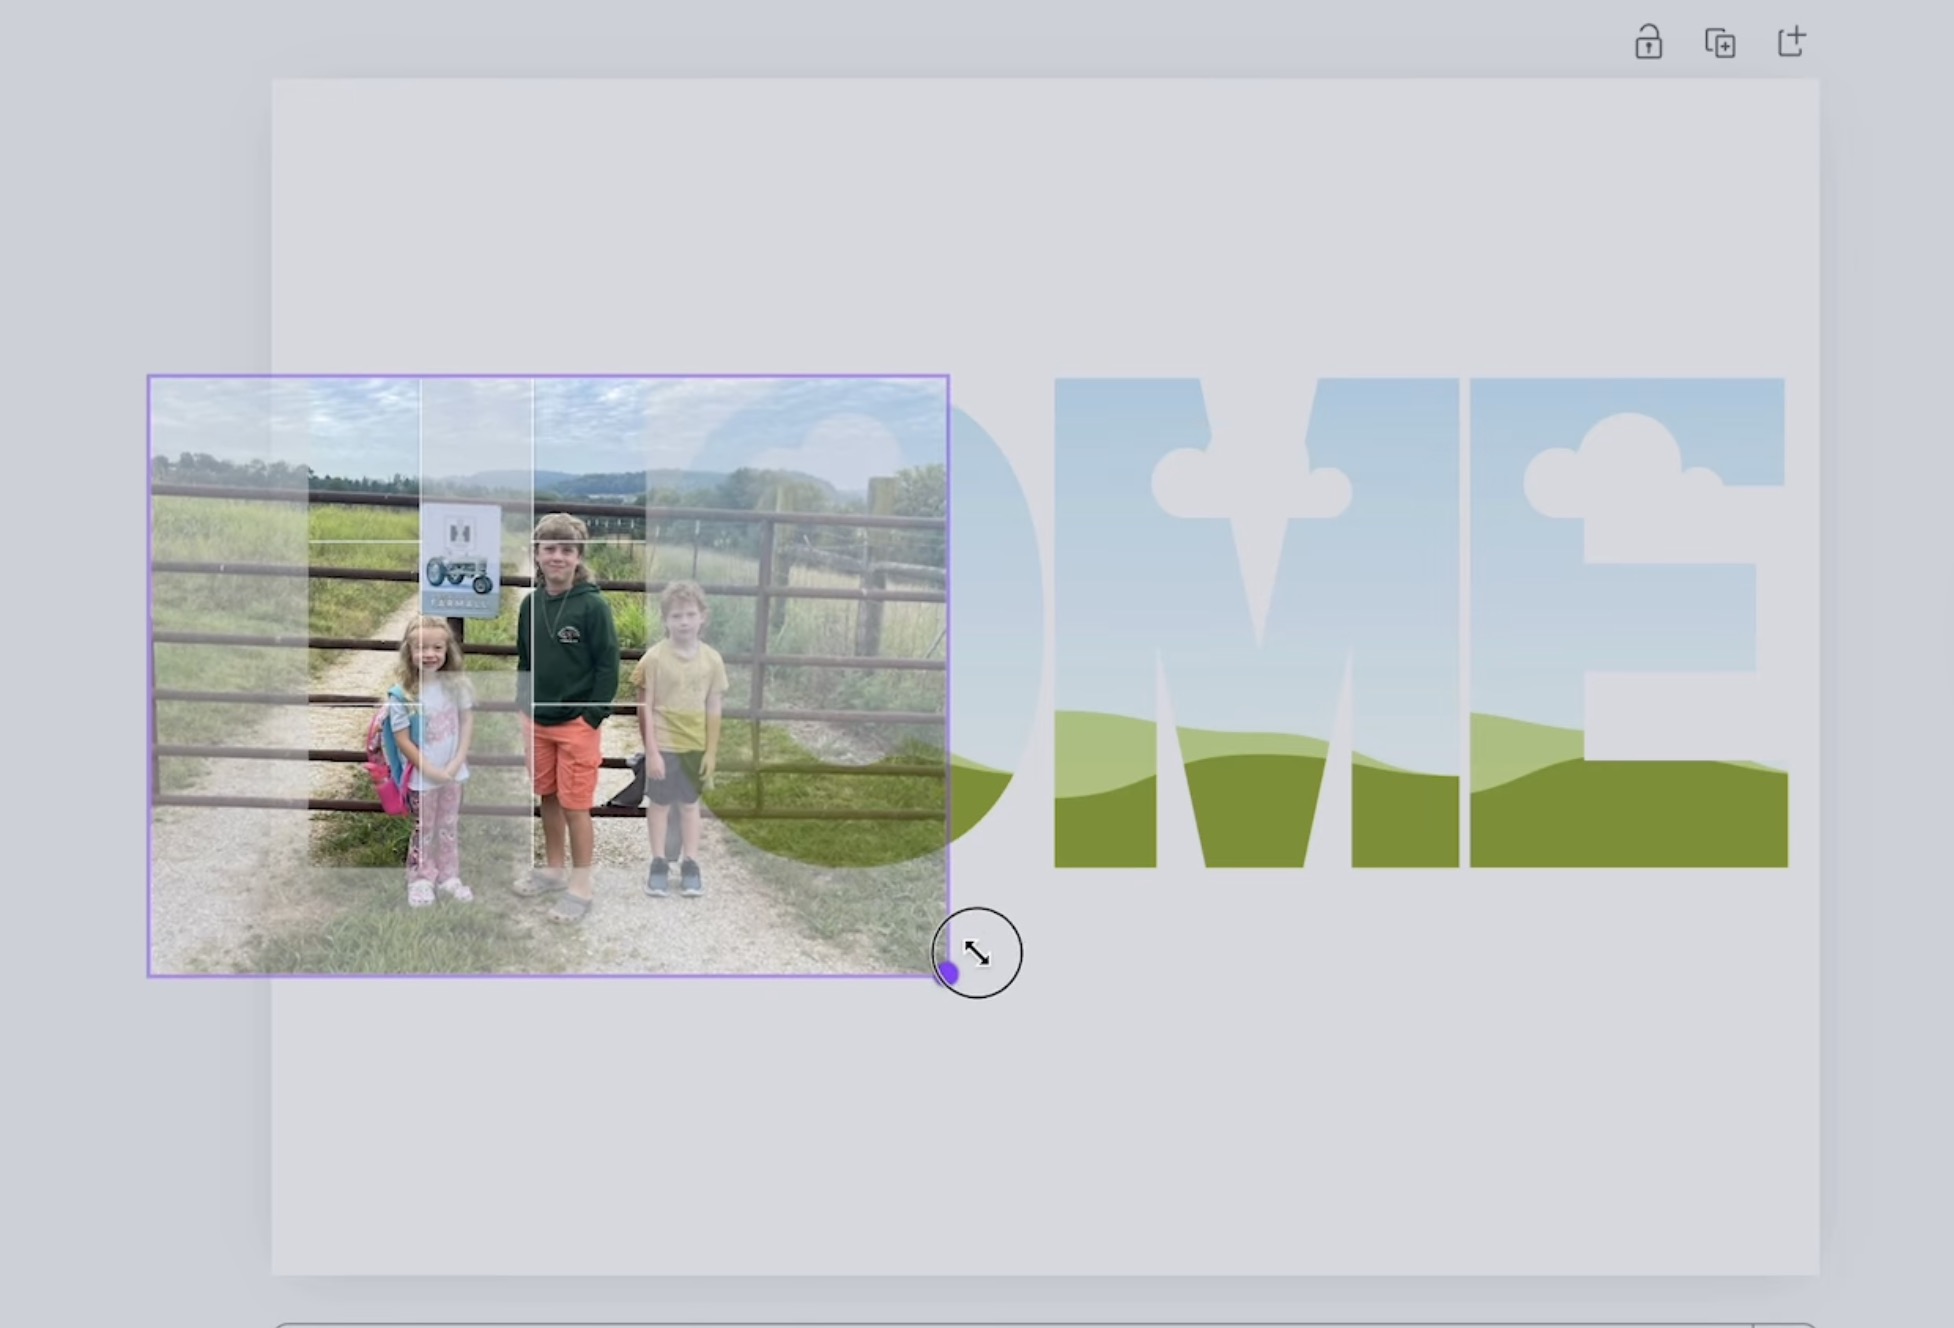
Once the images are uploaded, select a photo and drag it to the letter you wish to use and release it.
Pin
With the image placed on the letter, you can double-click the picture and adjust/resize it until it appears as desired.
Pin
Note – if you’re utilizing images, ensure to focus on faces or other vital aspects of the picture to avoid awkward cropping.
Carry out this task for each letter/image.
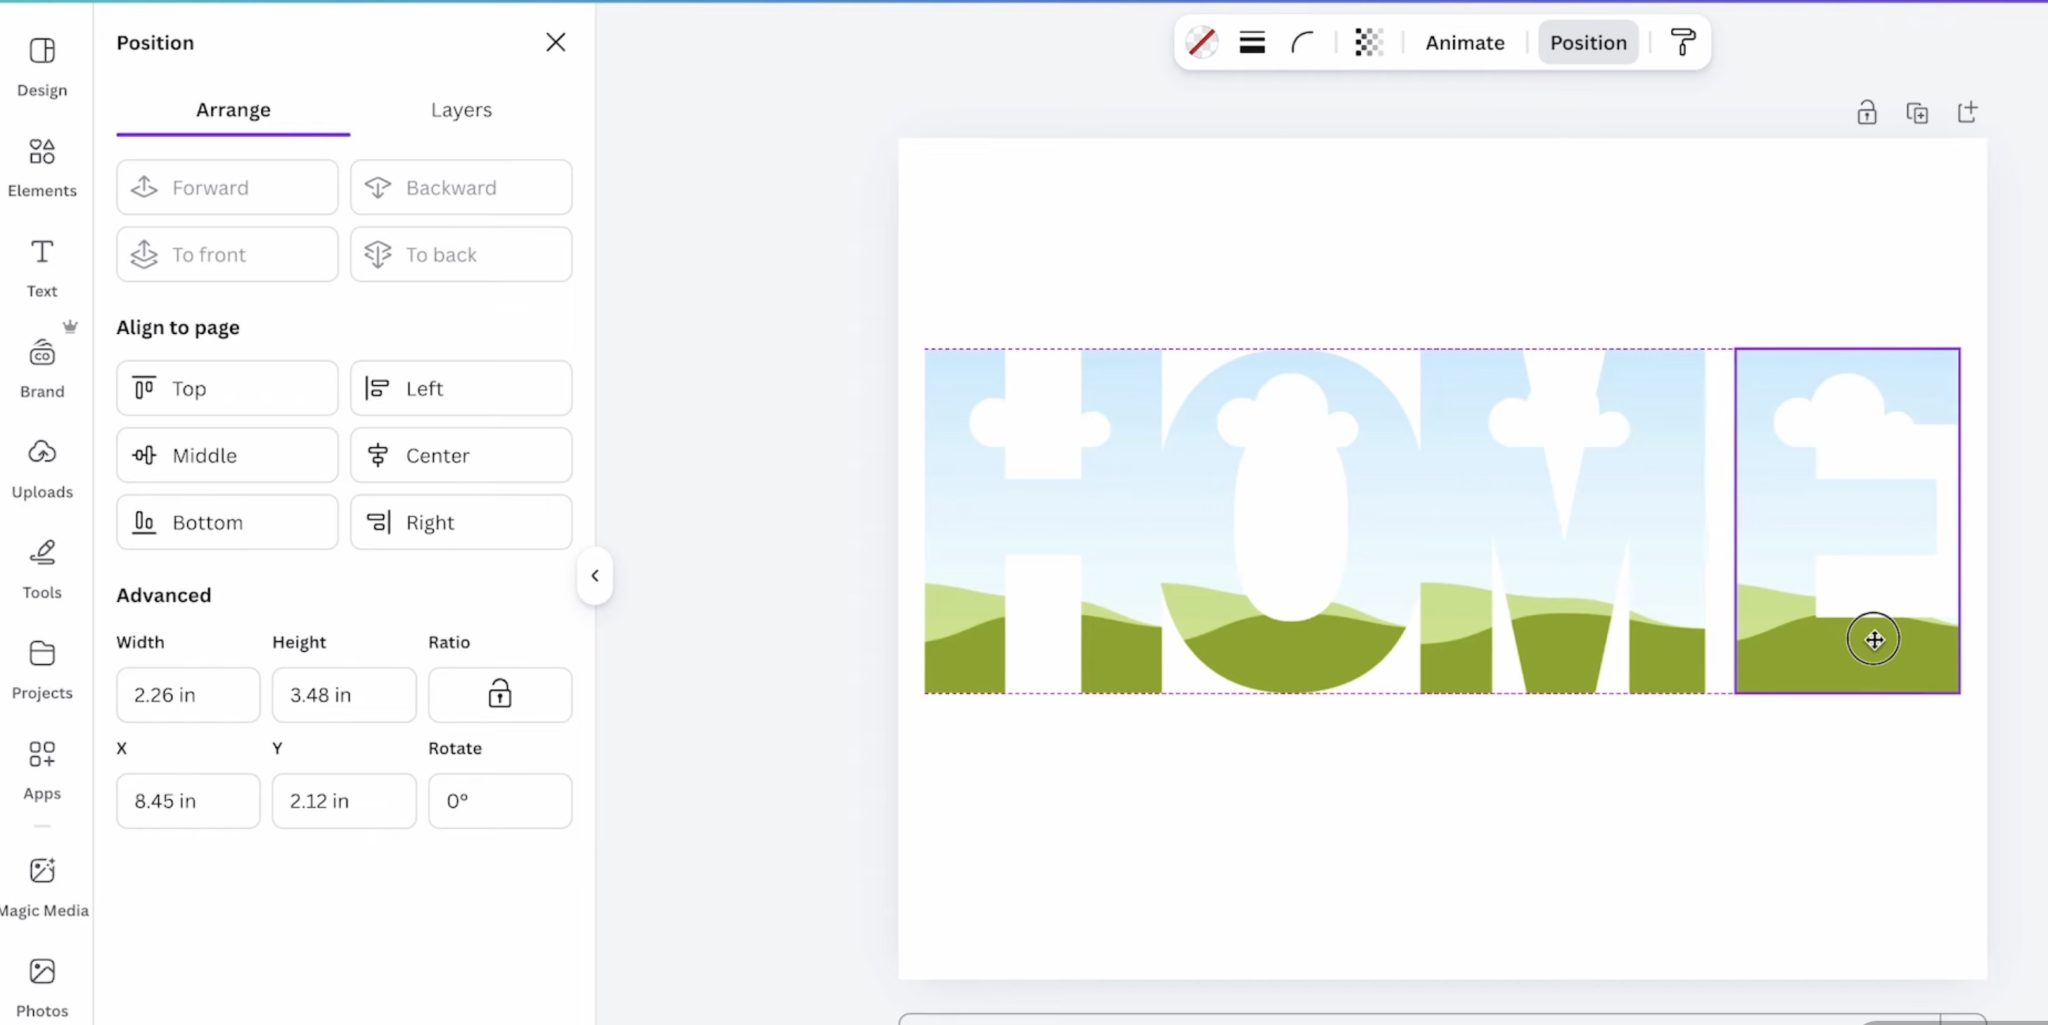
At this juncture, you can highlight all the letters and then click Position, which will provide you with the precise dimensions of your design. Mine stands at 3.83 inches tall and 10.5 inches wide.
Pin
I desired the design to be slightly below 4 inches, and with a width of 10.5 inches, it provides a pleasant margin at both ends.
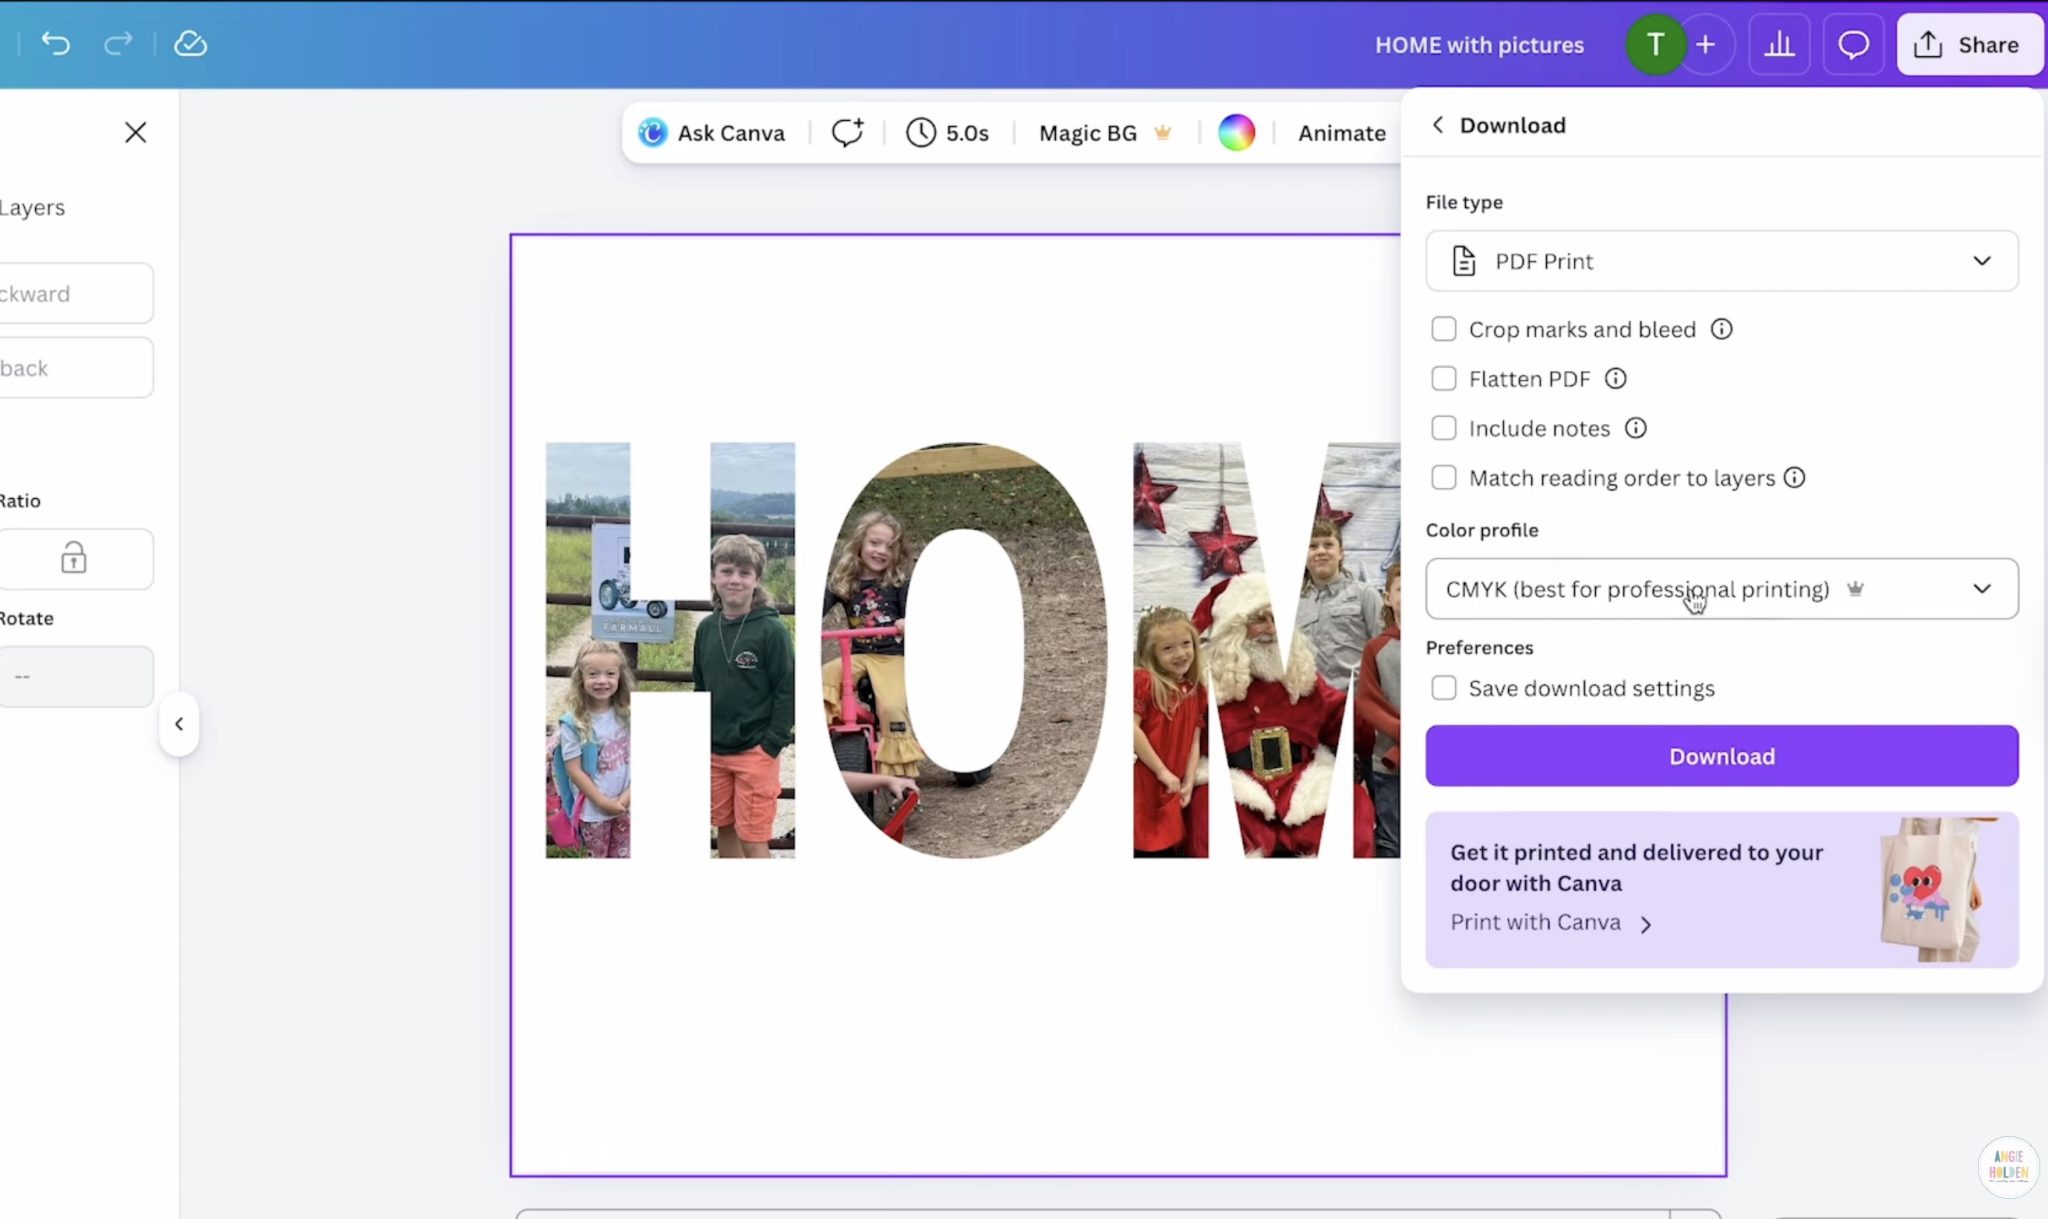
Step 3. Print Design
Printing directly from Canva is not possible. Click Share and then Download; I prefer to select PDF for Print and CMYK. These settings yield the best outcomes with my sublimation printer.
Pin
Note – you must mirror your design. If this was not done during the creation process, ensure you do it before sending it to the printer.
Pin
For this task, you require a sublimation print. This entails sublimation ink printed on sublimation paper from a sublimation printer. A conventional printer with standard ink will not suffice.
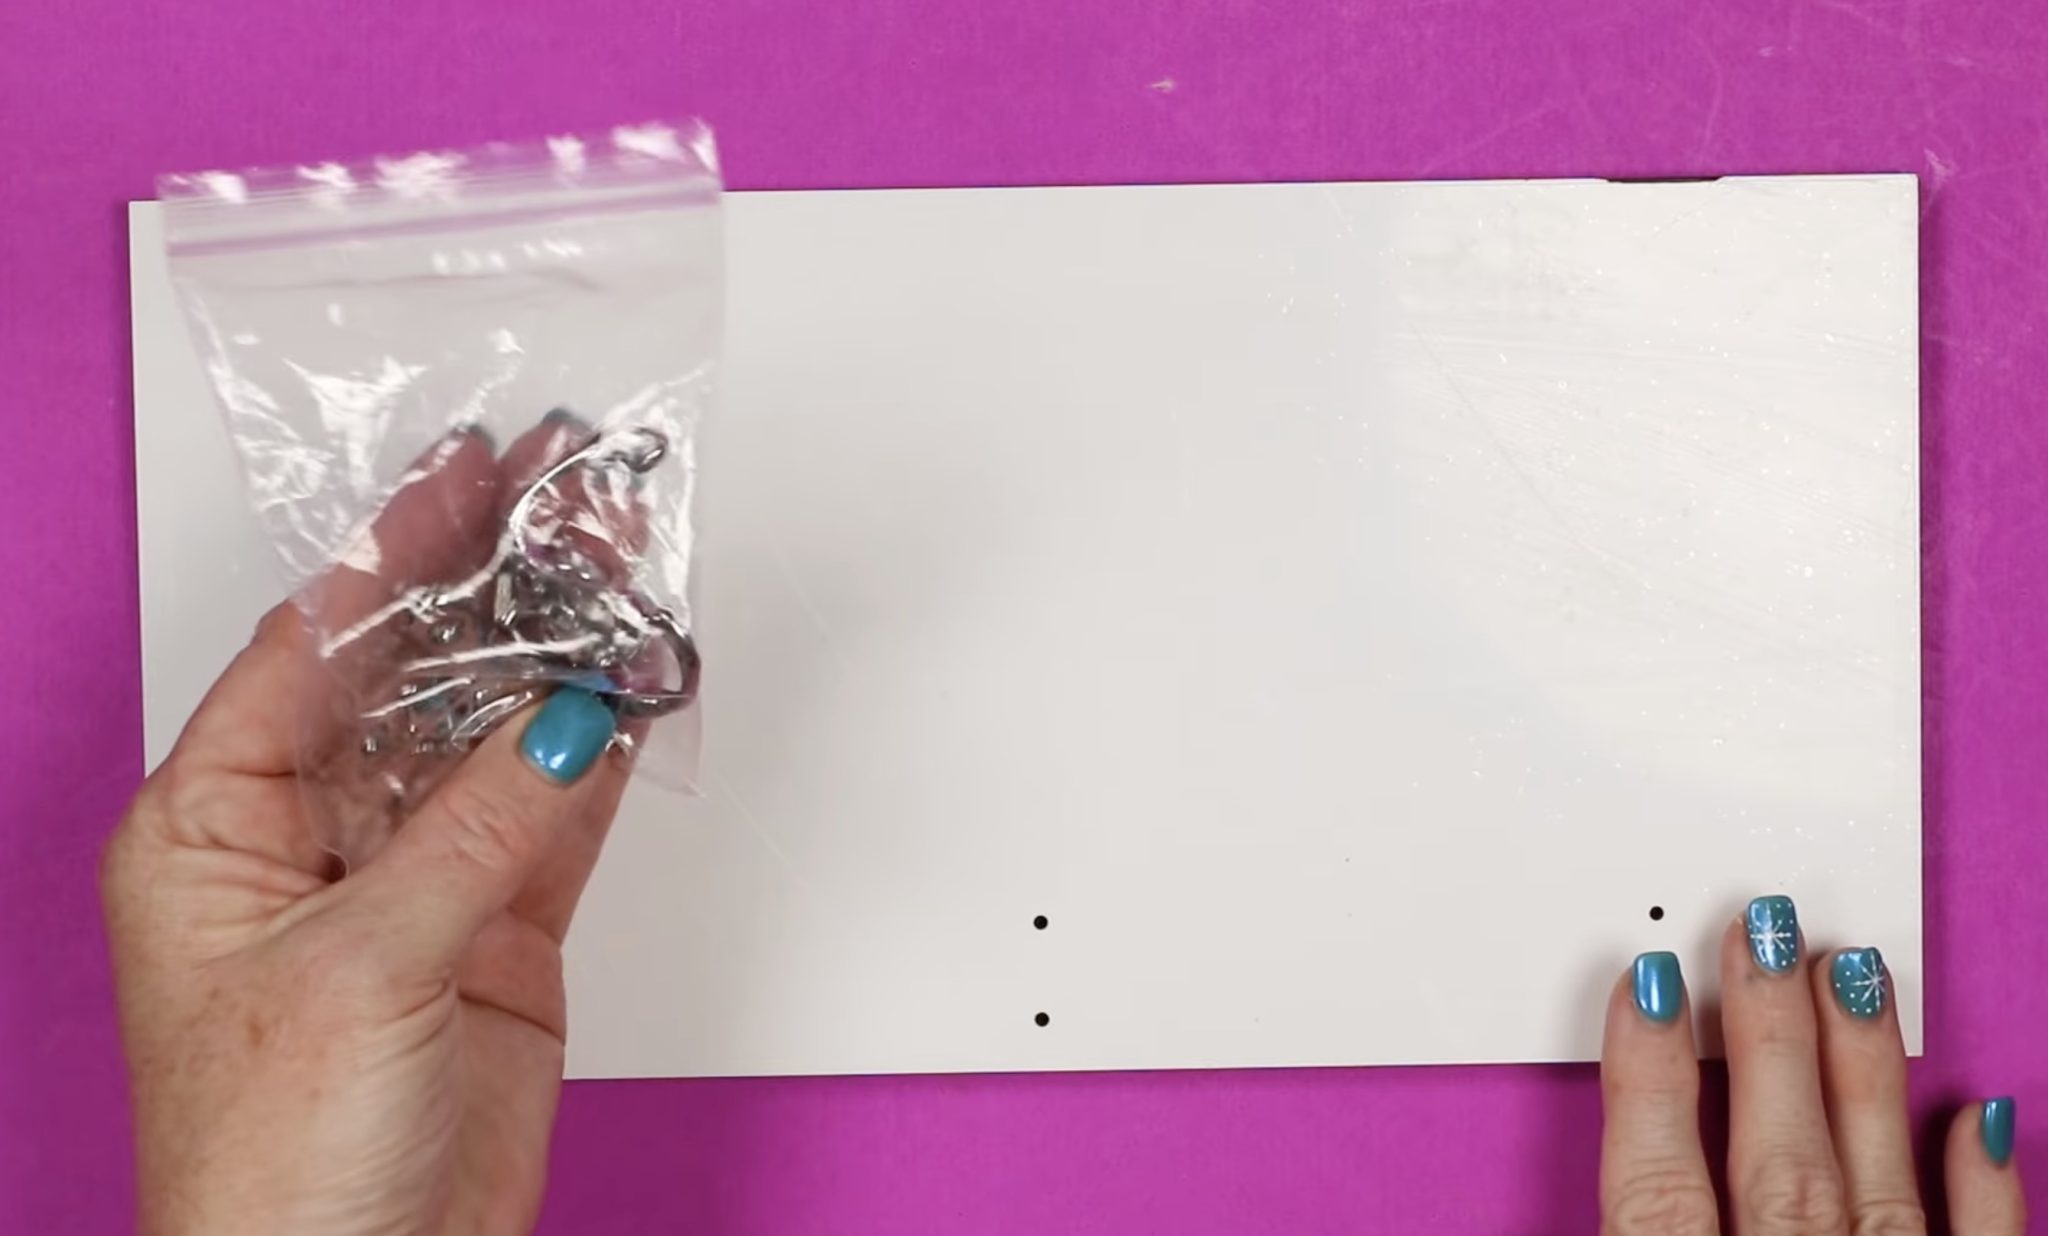
Step 4. Prepare Blank
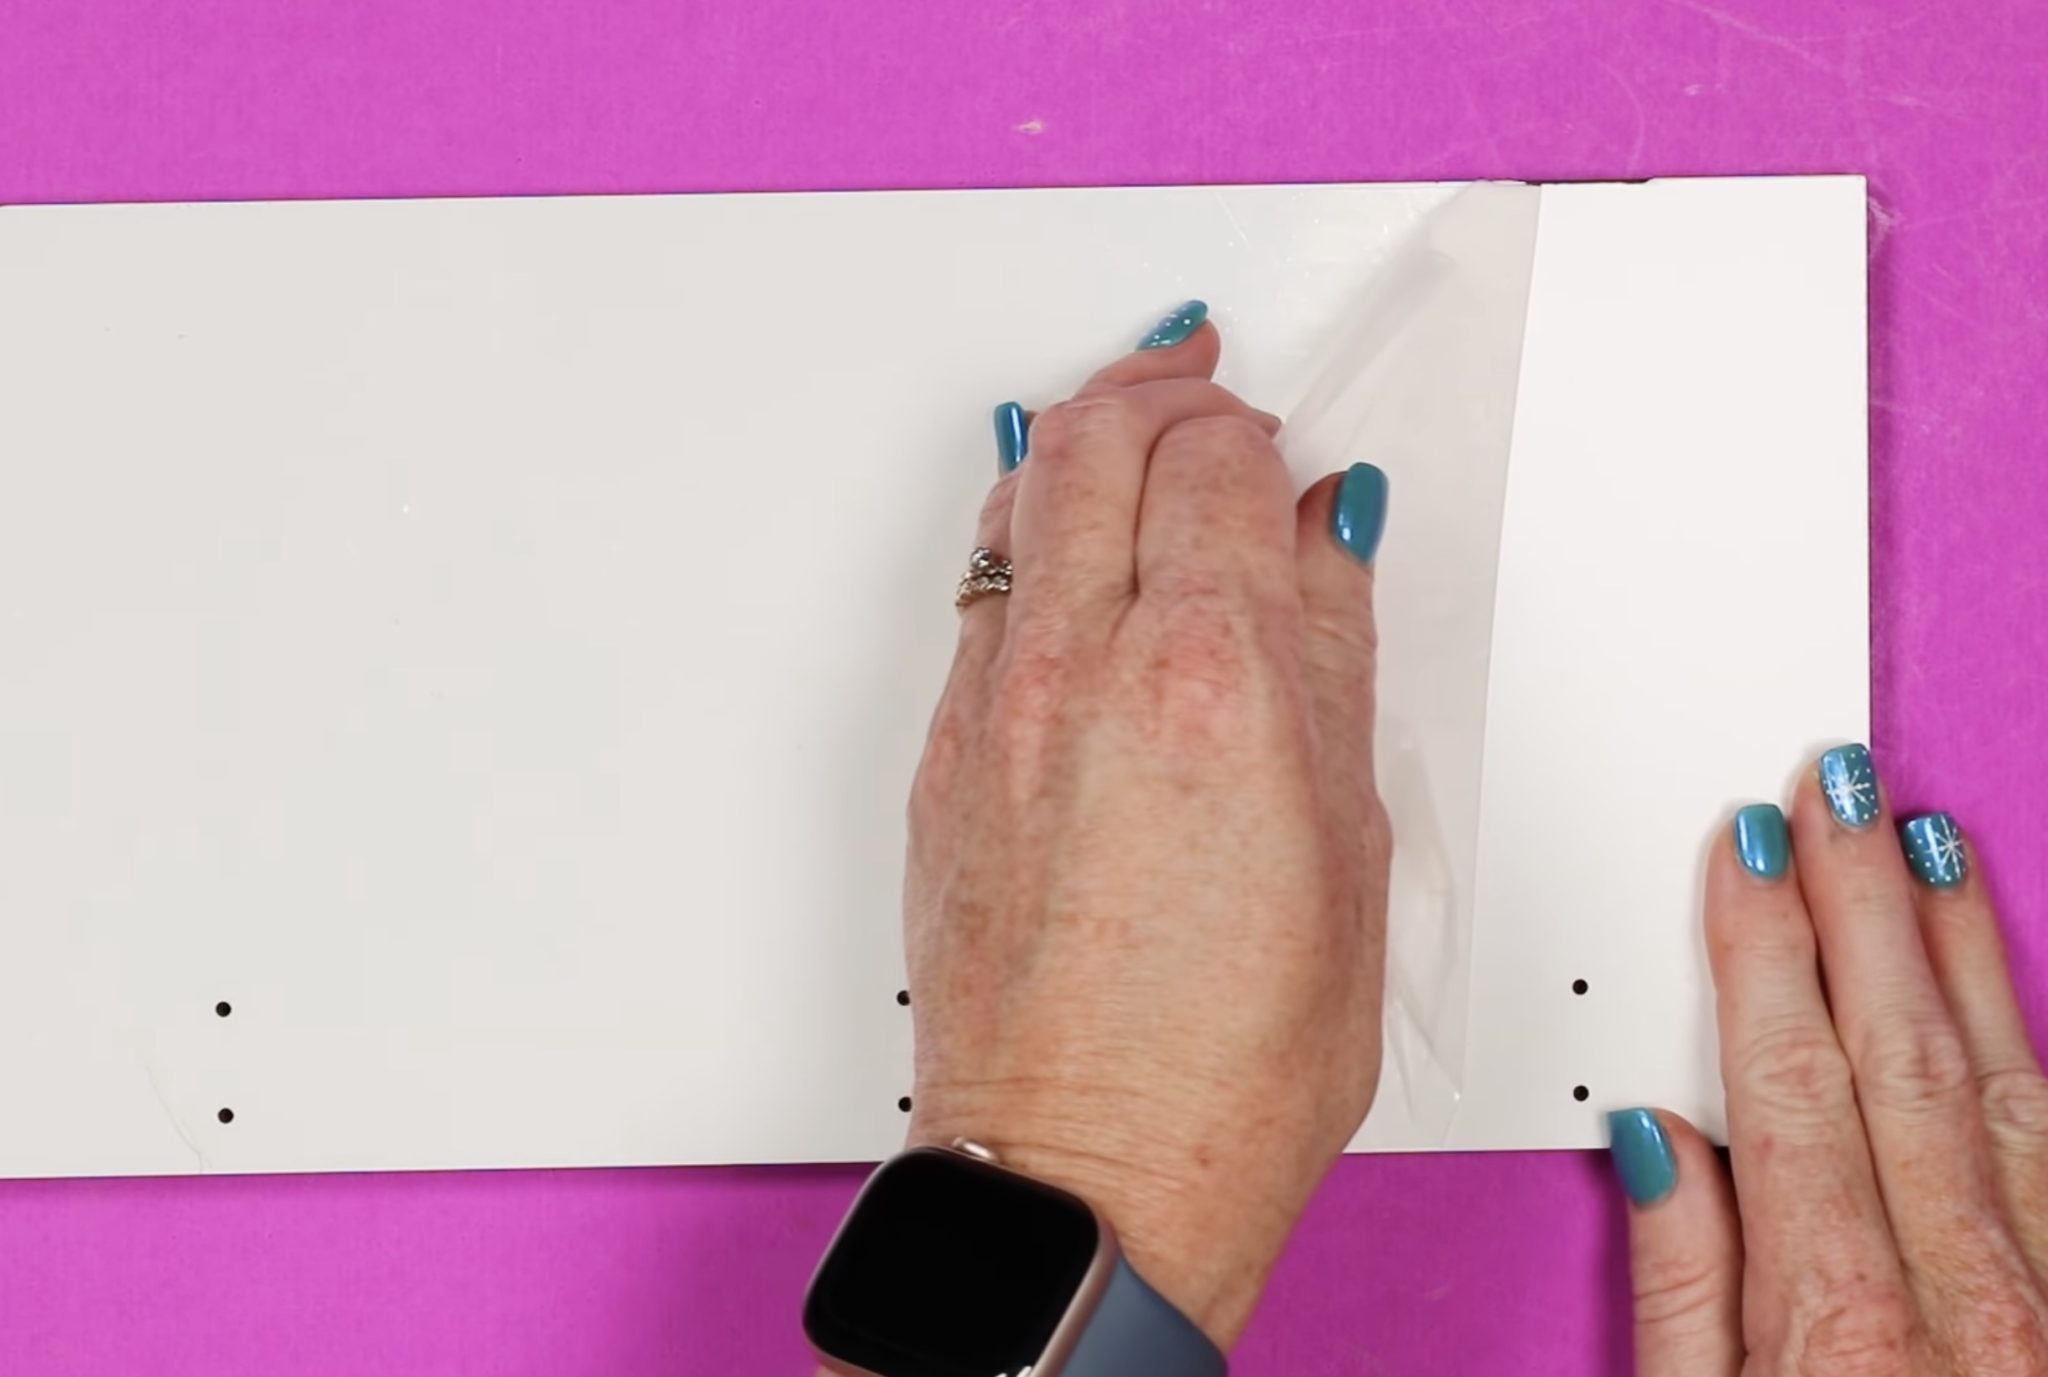
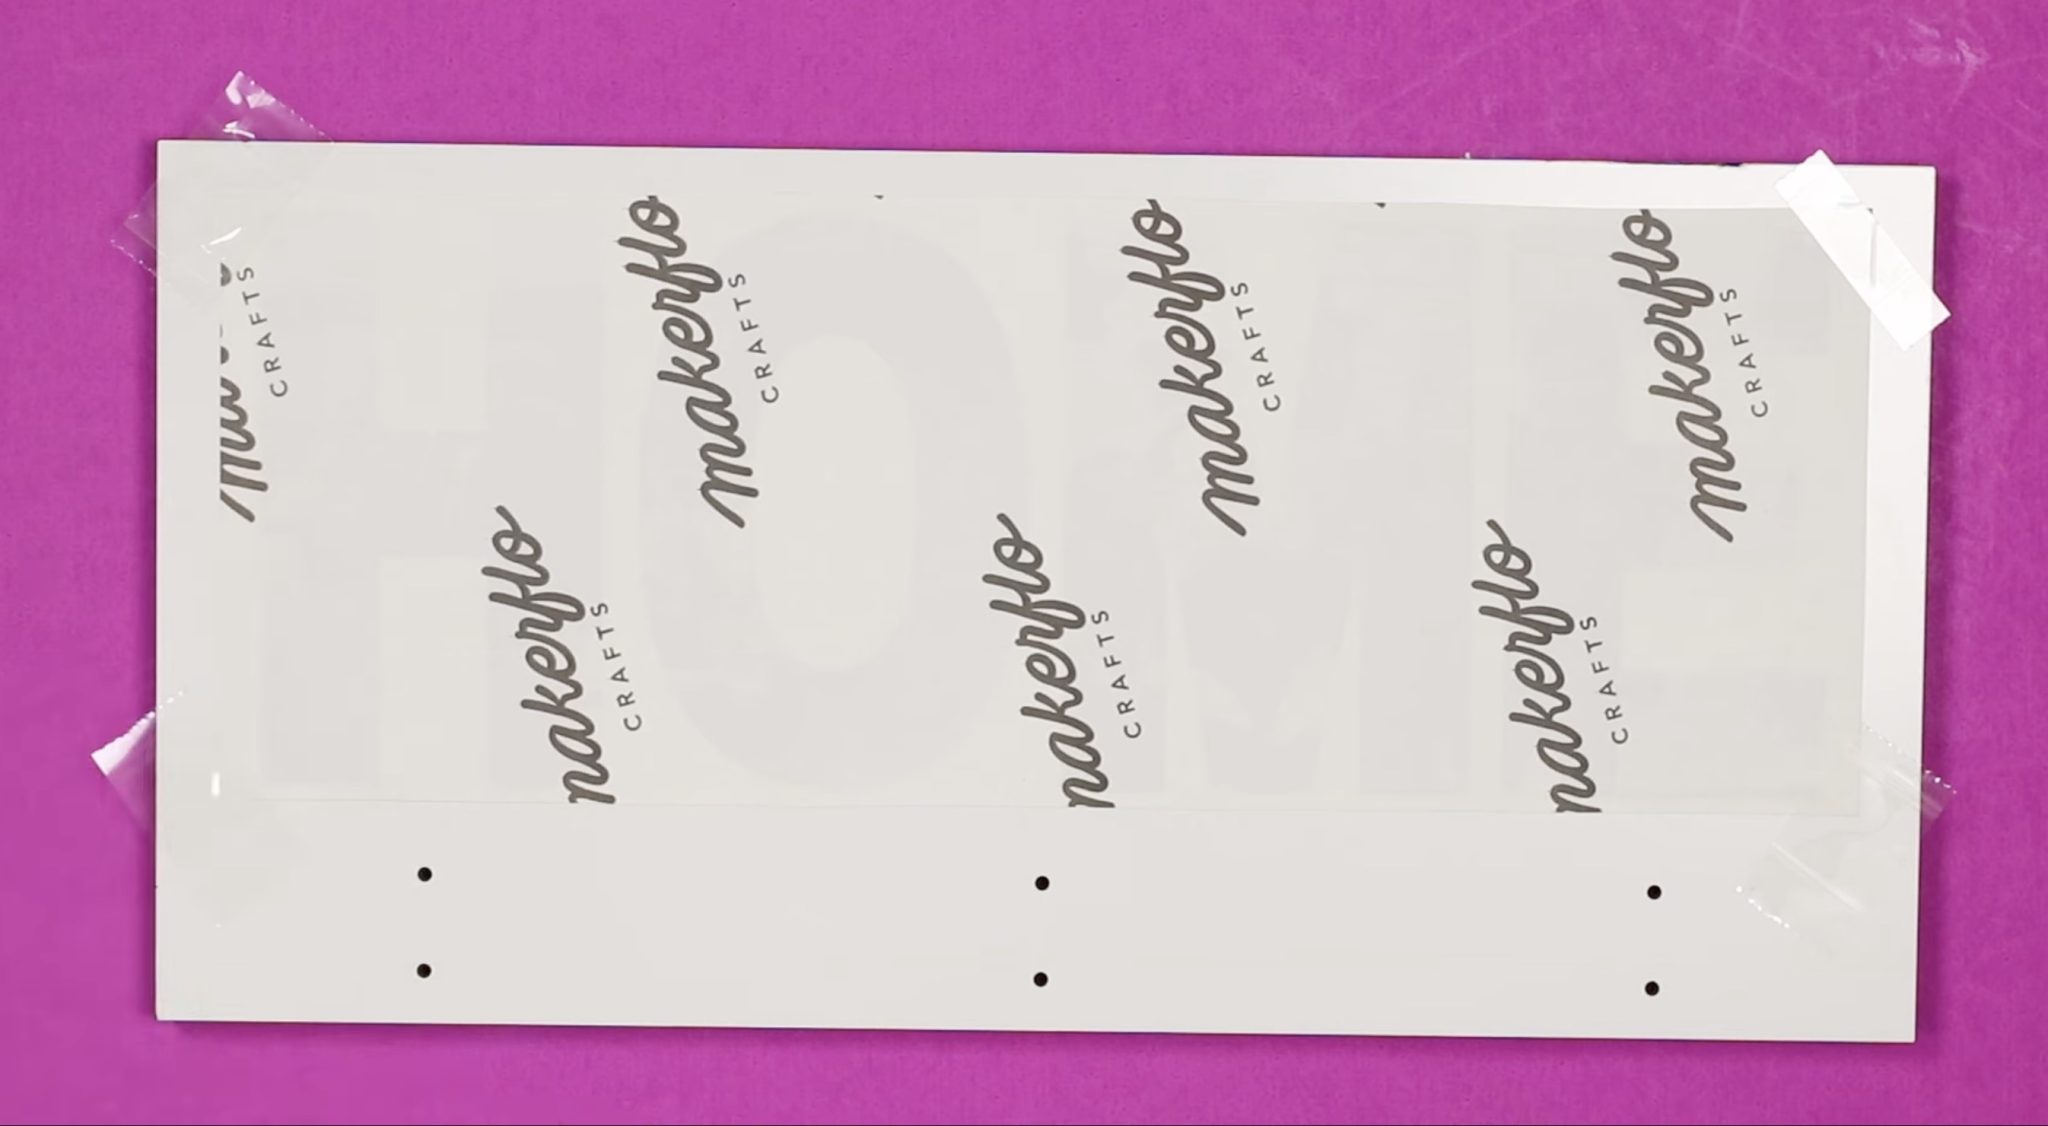
Upon opening the sublimation hanging organizer, you will notice a protective film on the white side of the print, and the hooks are detached.
Pin
Shift the hooks aside and take off the protective film. If your organizer appears scratched or stained initially, this is probably due to the protective film.
Pin
Once the film is taken off, inspect all the edges of your sign. Occasionally, a bit of black may transfer from the edges onto the front. If you find any, utilize a scraper tool to remove it and then use a lint roller on the surface to eliminate any dust or fragments.
Pin
Step 5. Include Sublimation Print
At this point, we are set to place the print.
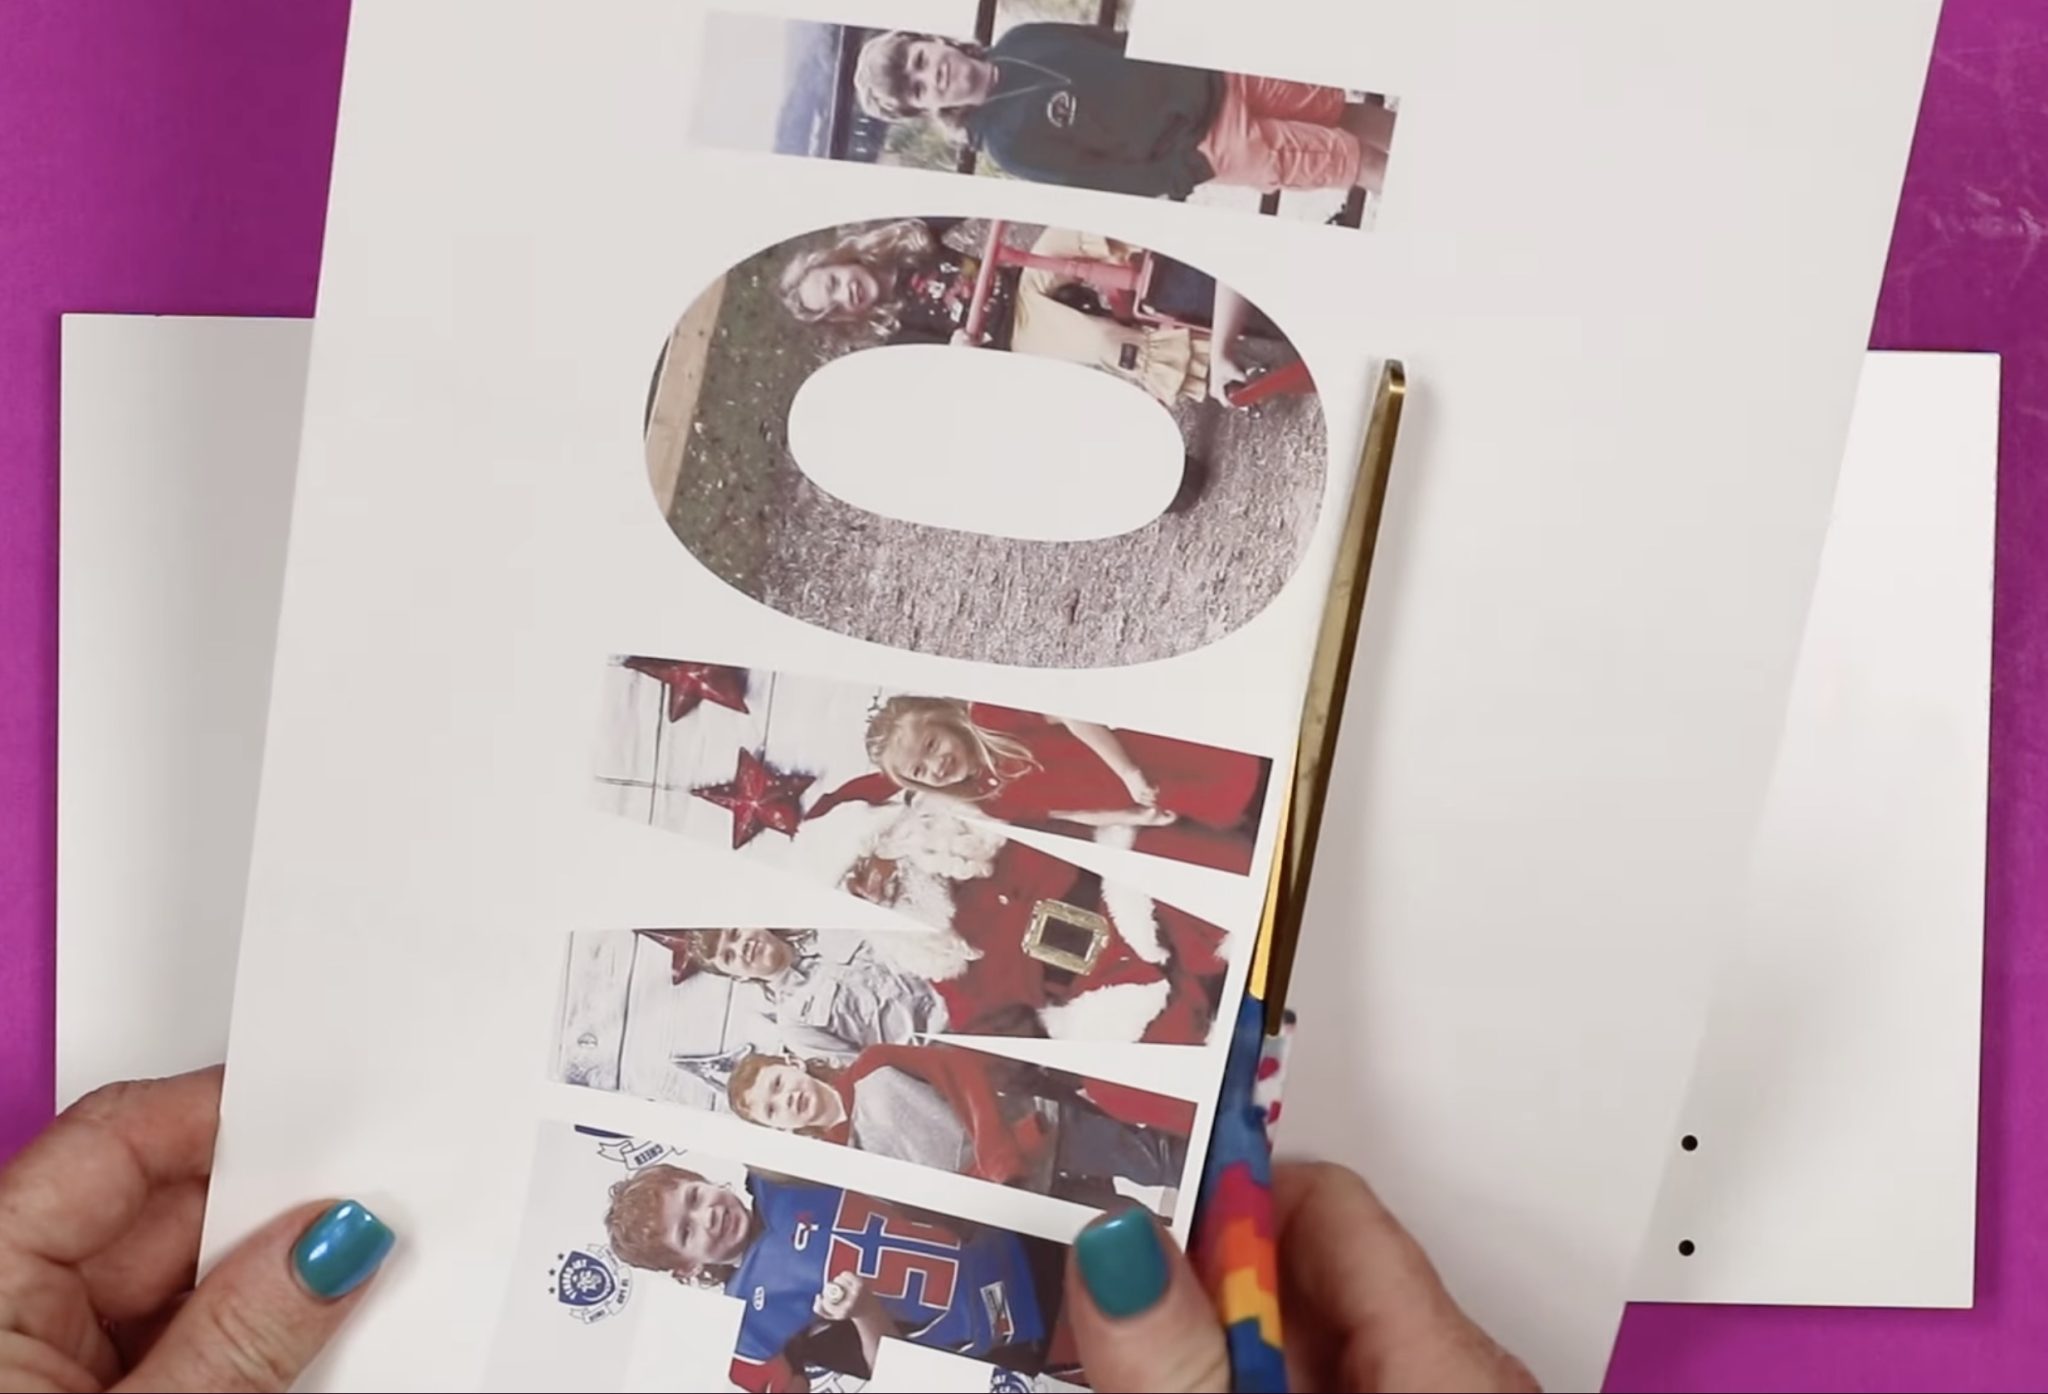
Due to the dimensions of my artwork, I will first crop the print closely to the design. This approach will facilitate positioning the design precisely where desired.
Pin
Note – be attentive to the holes for the hooks. Unless you are applying a complete design, it’s advisable to elevate the design slightly above those holes since the upper part of the hook sits higher than the hole.
Pin
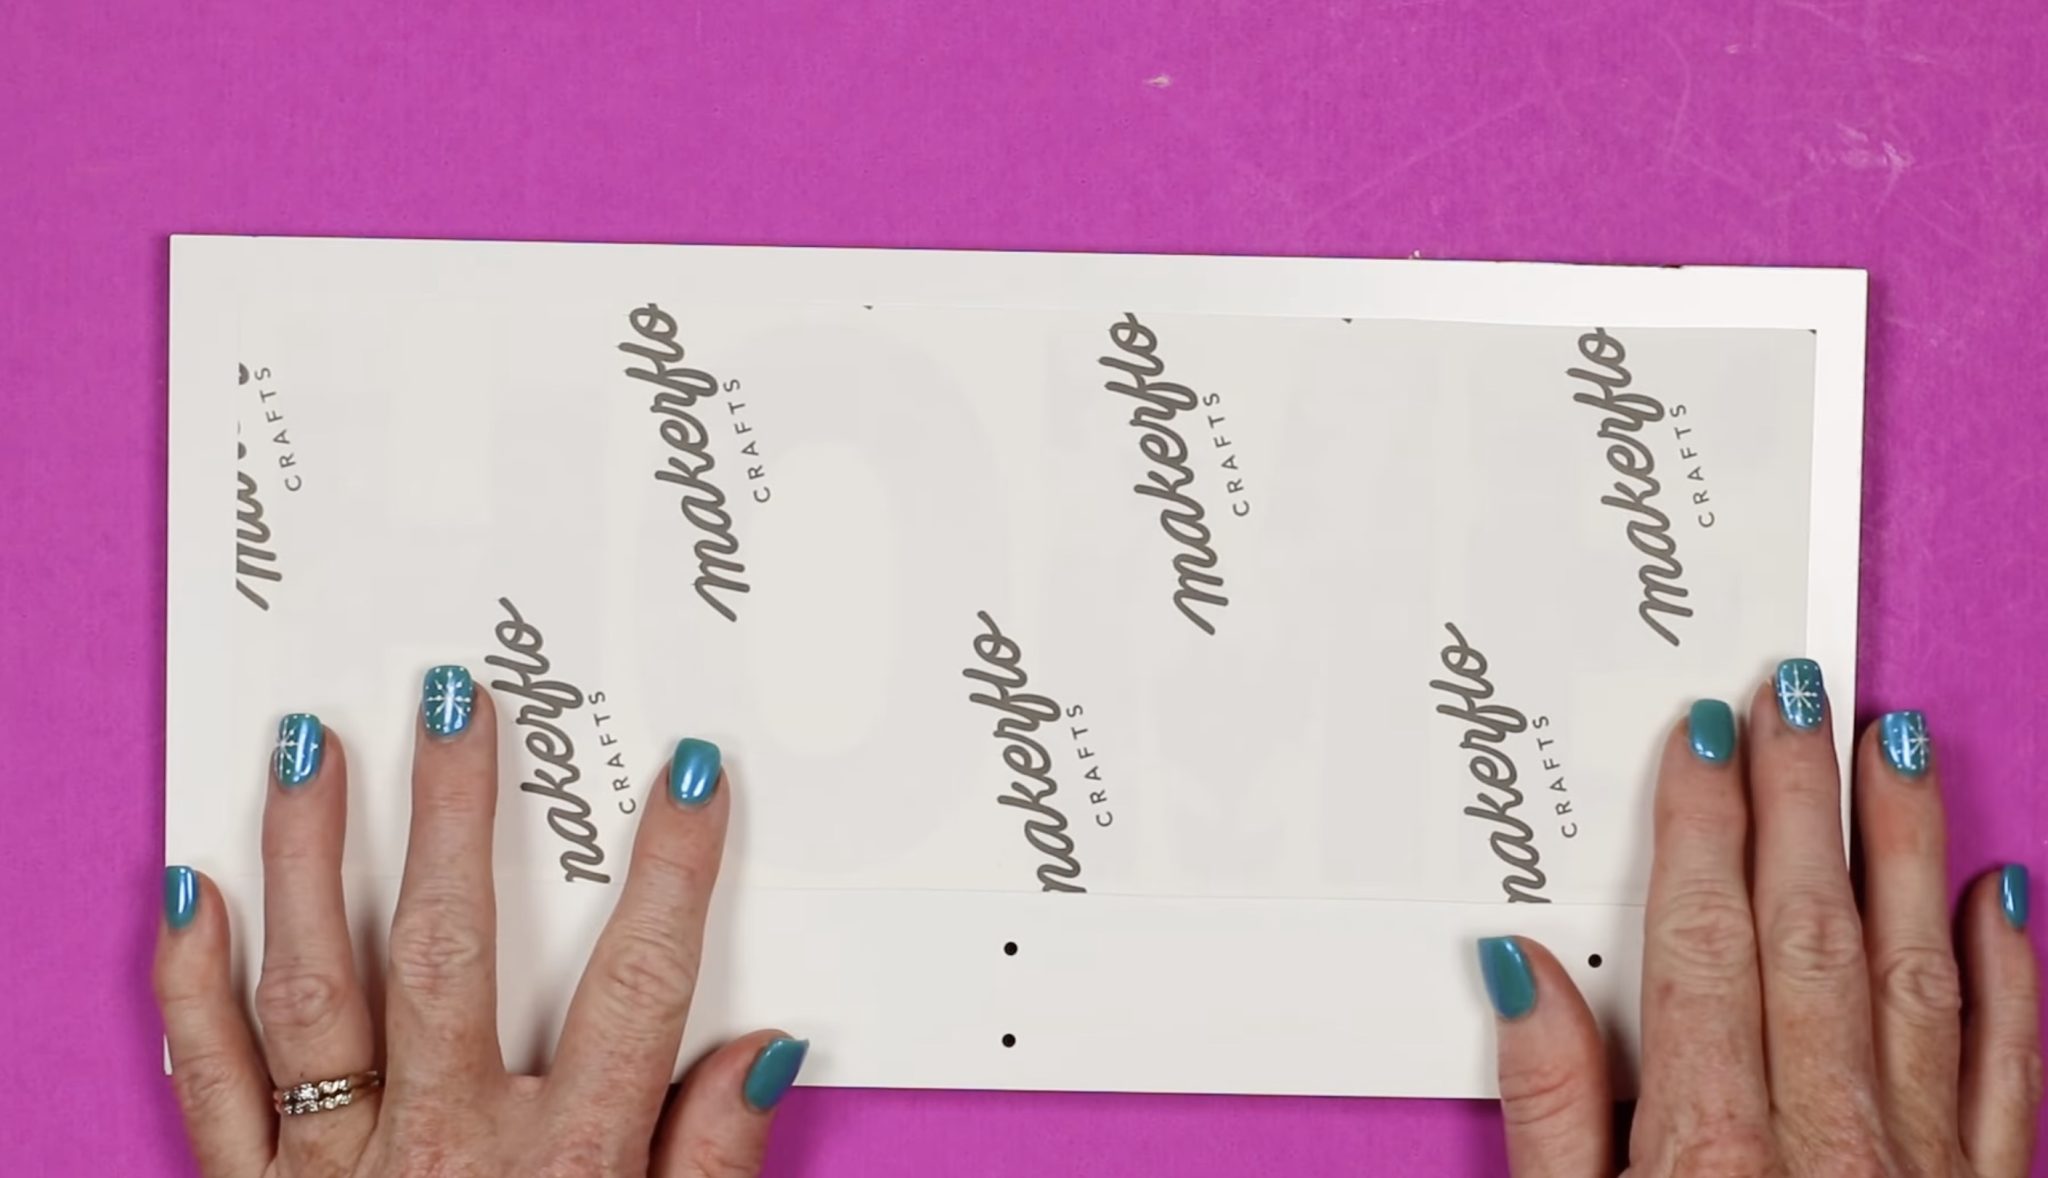
With
The design positioned, affix it securely using heat-resistant tape.
Pin
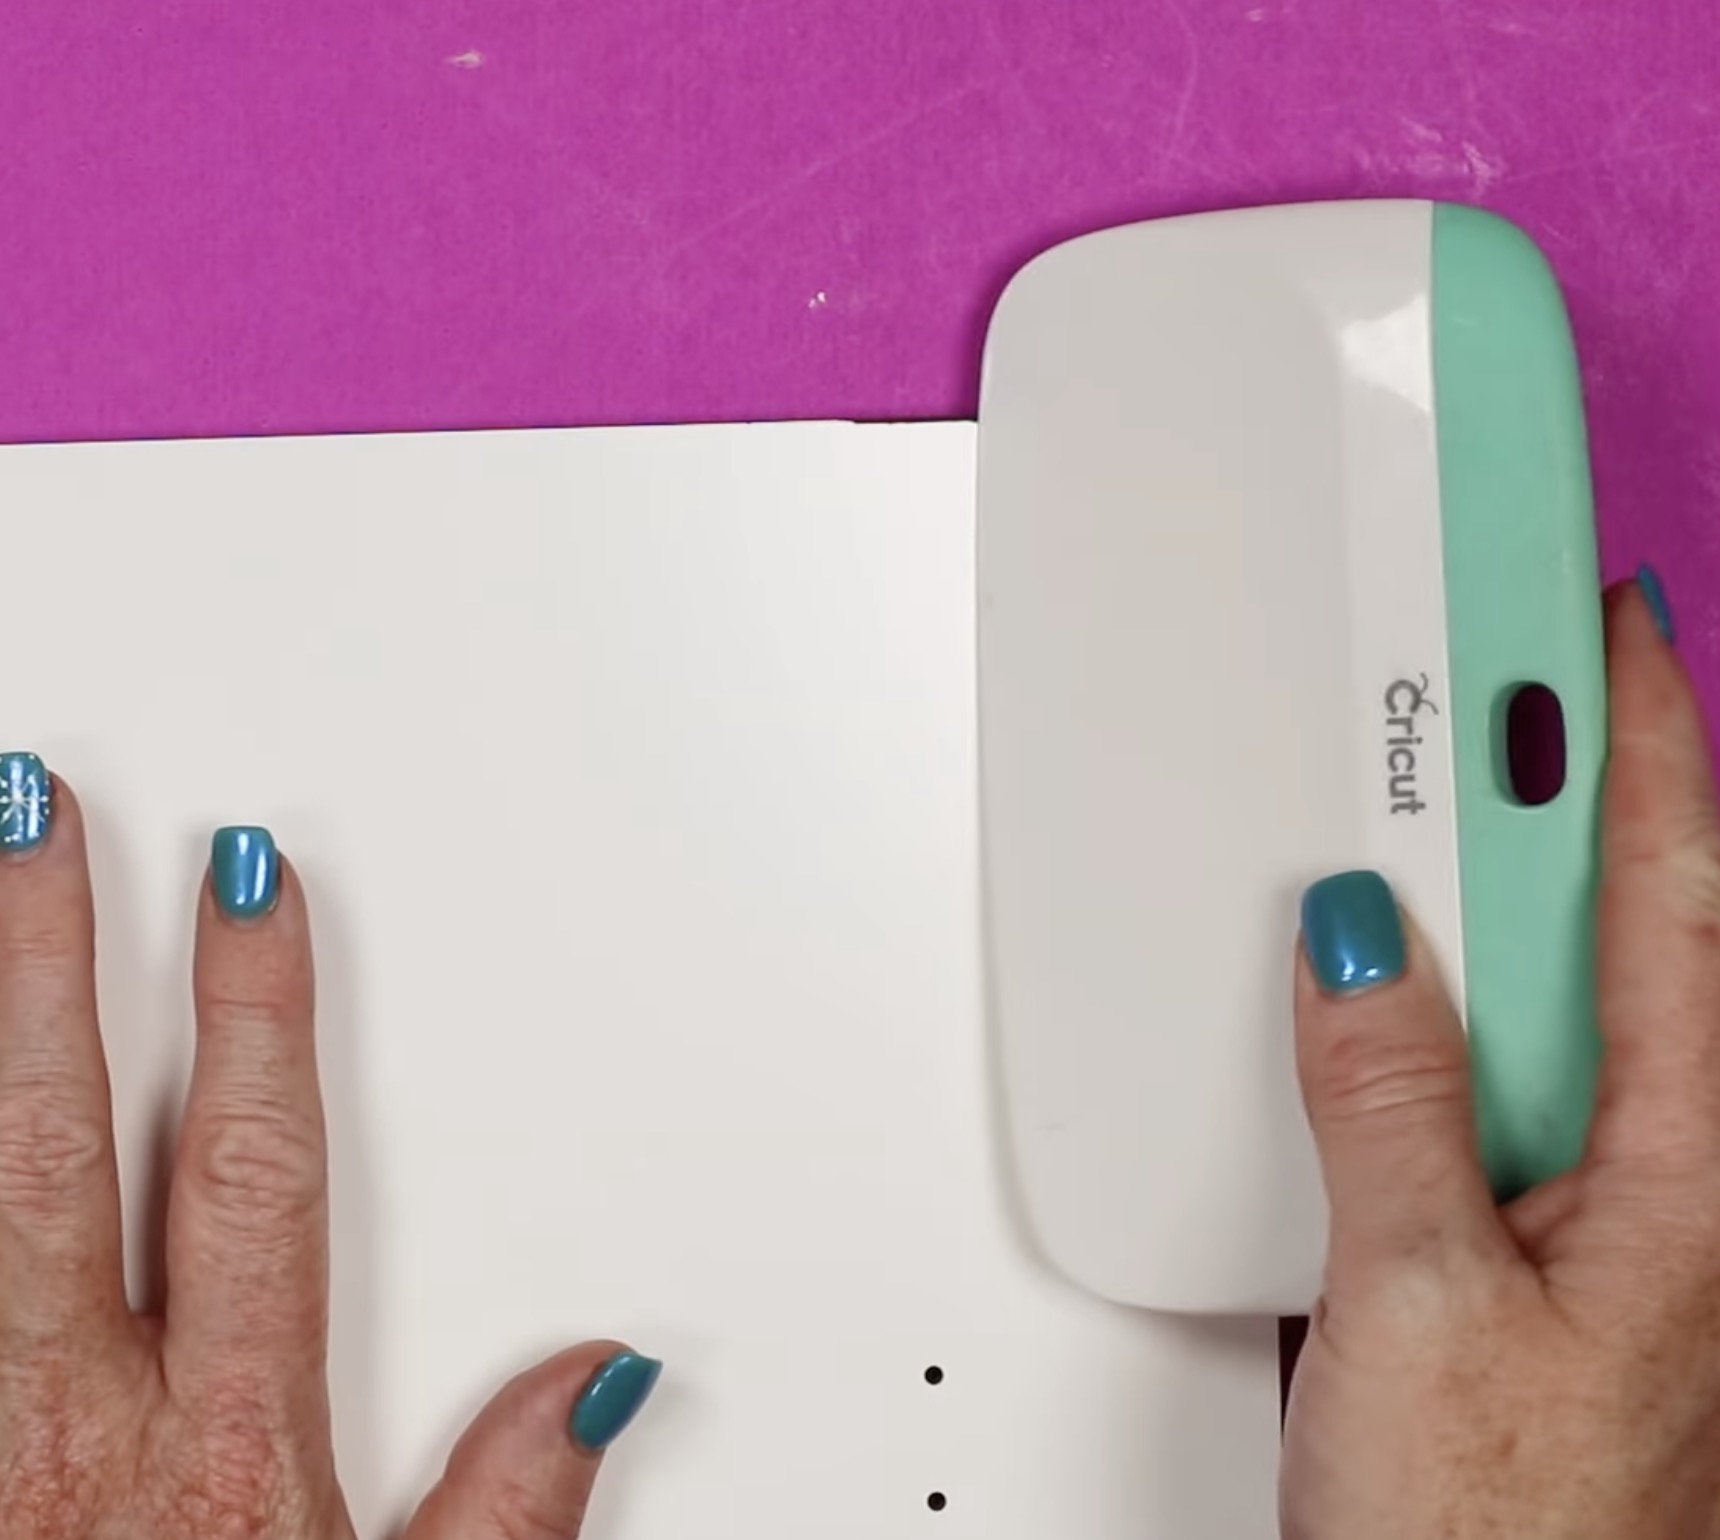
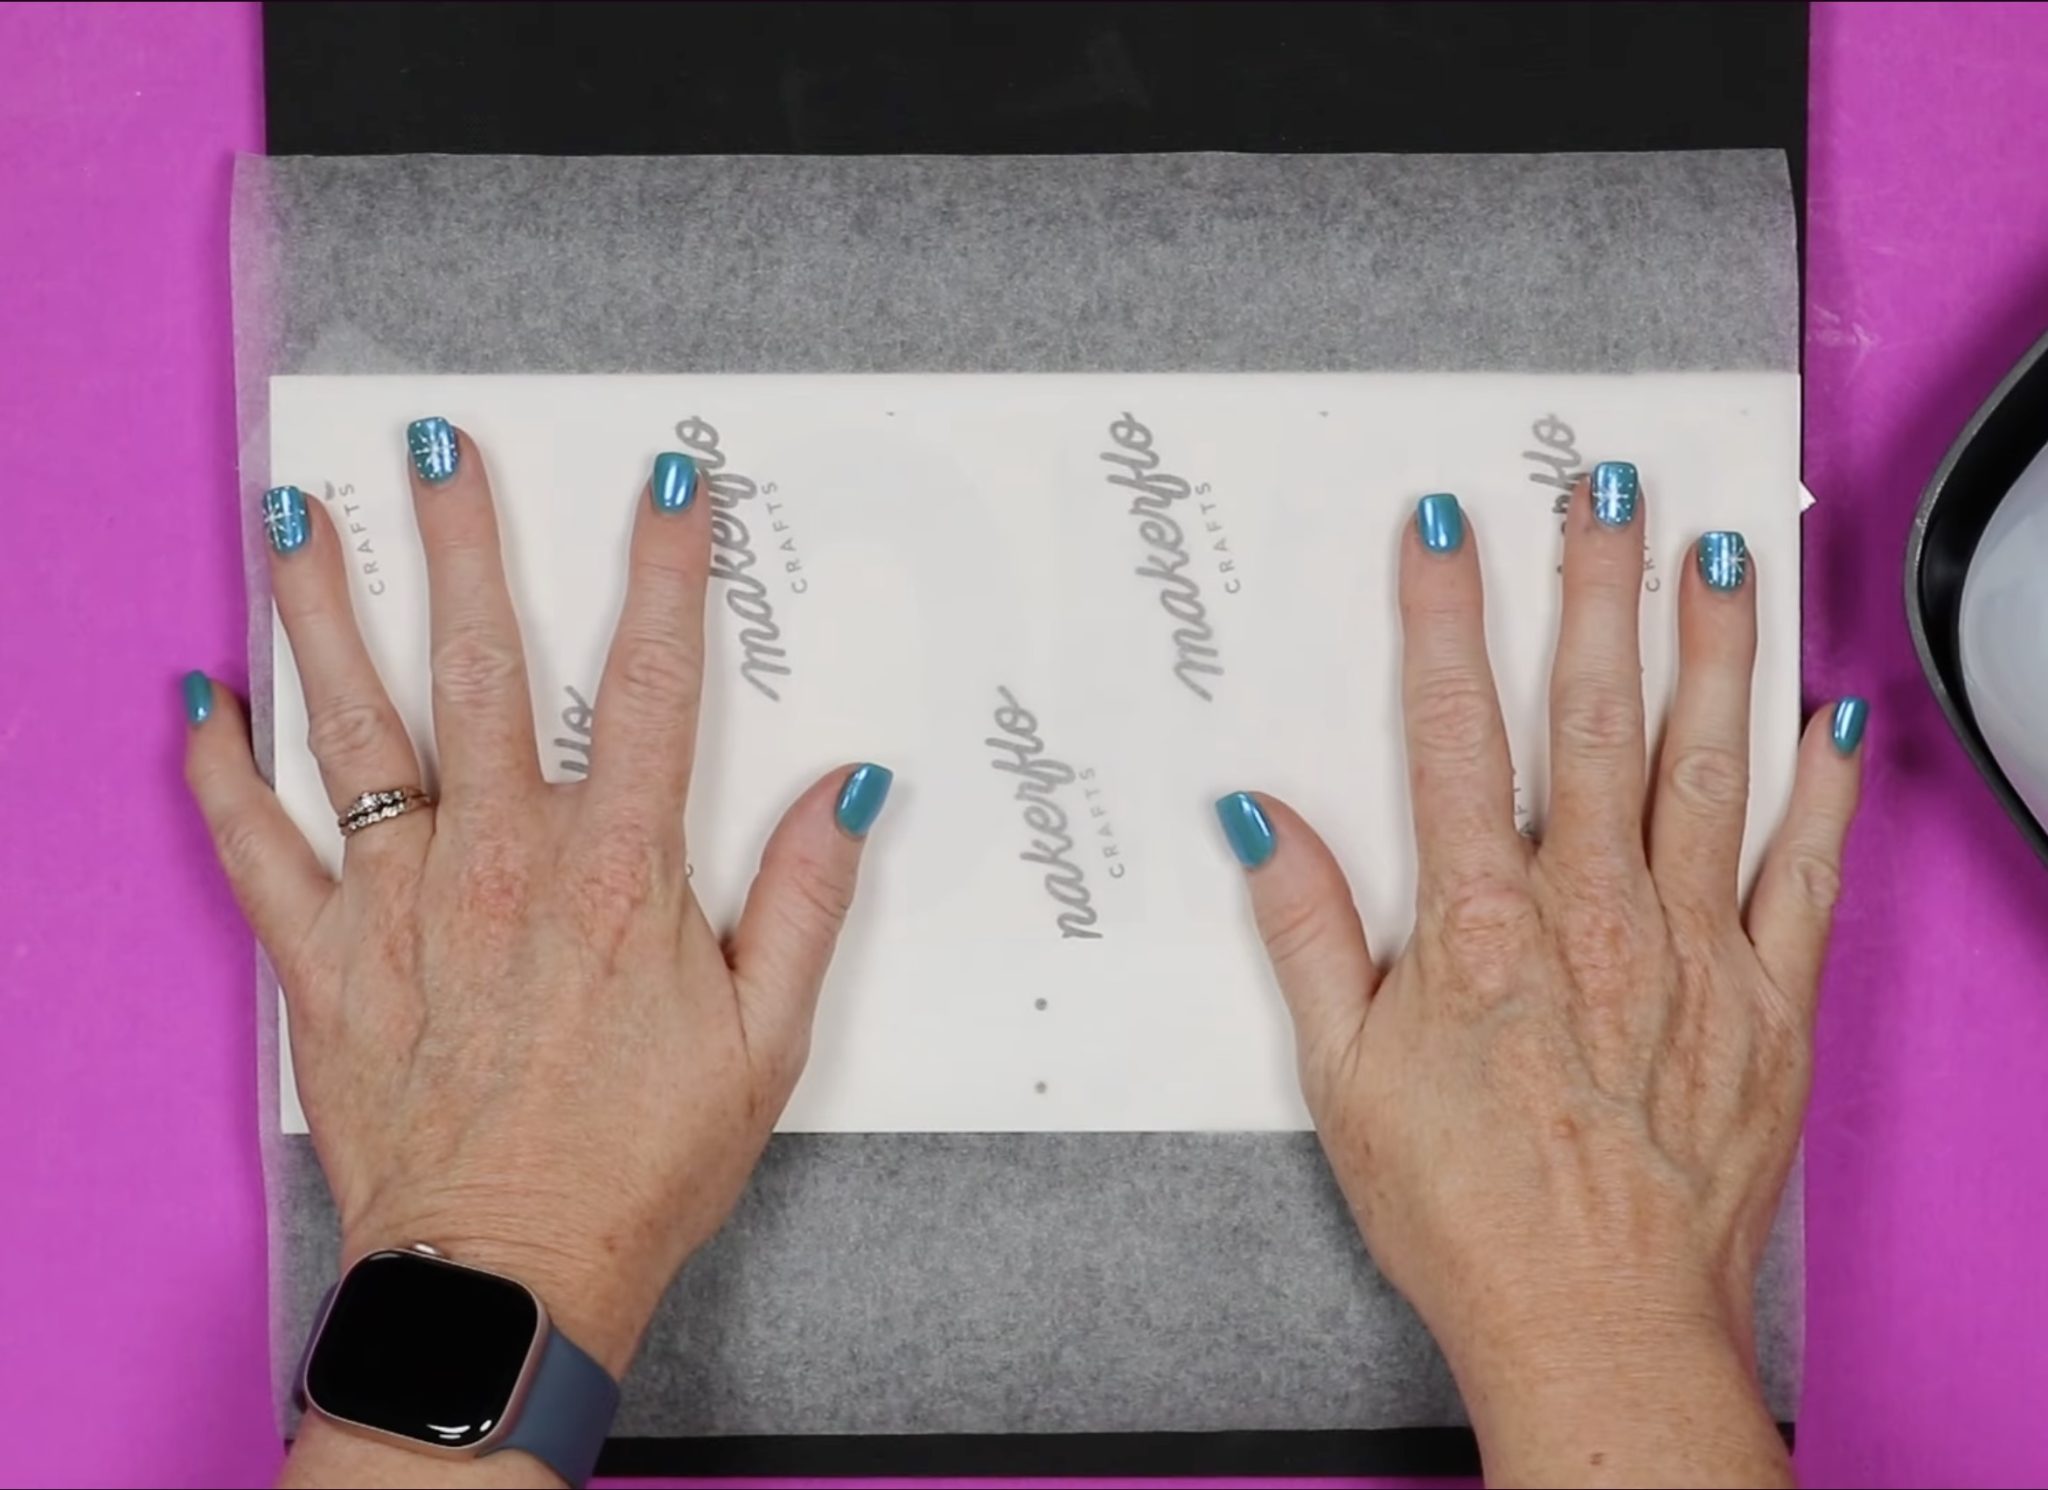
Step 6. Apply Pressure to the Design
Set the sublimation hanging organizer on a heat-resistant surface and shield the design with protective paper.
Pin
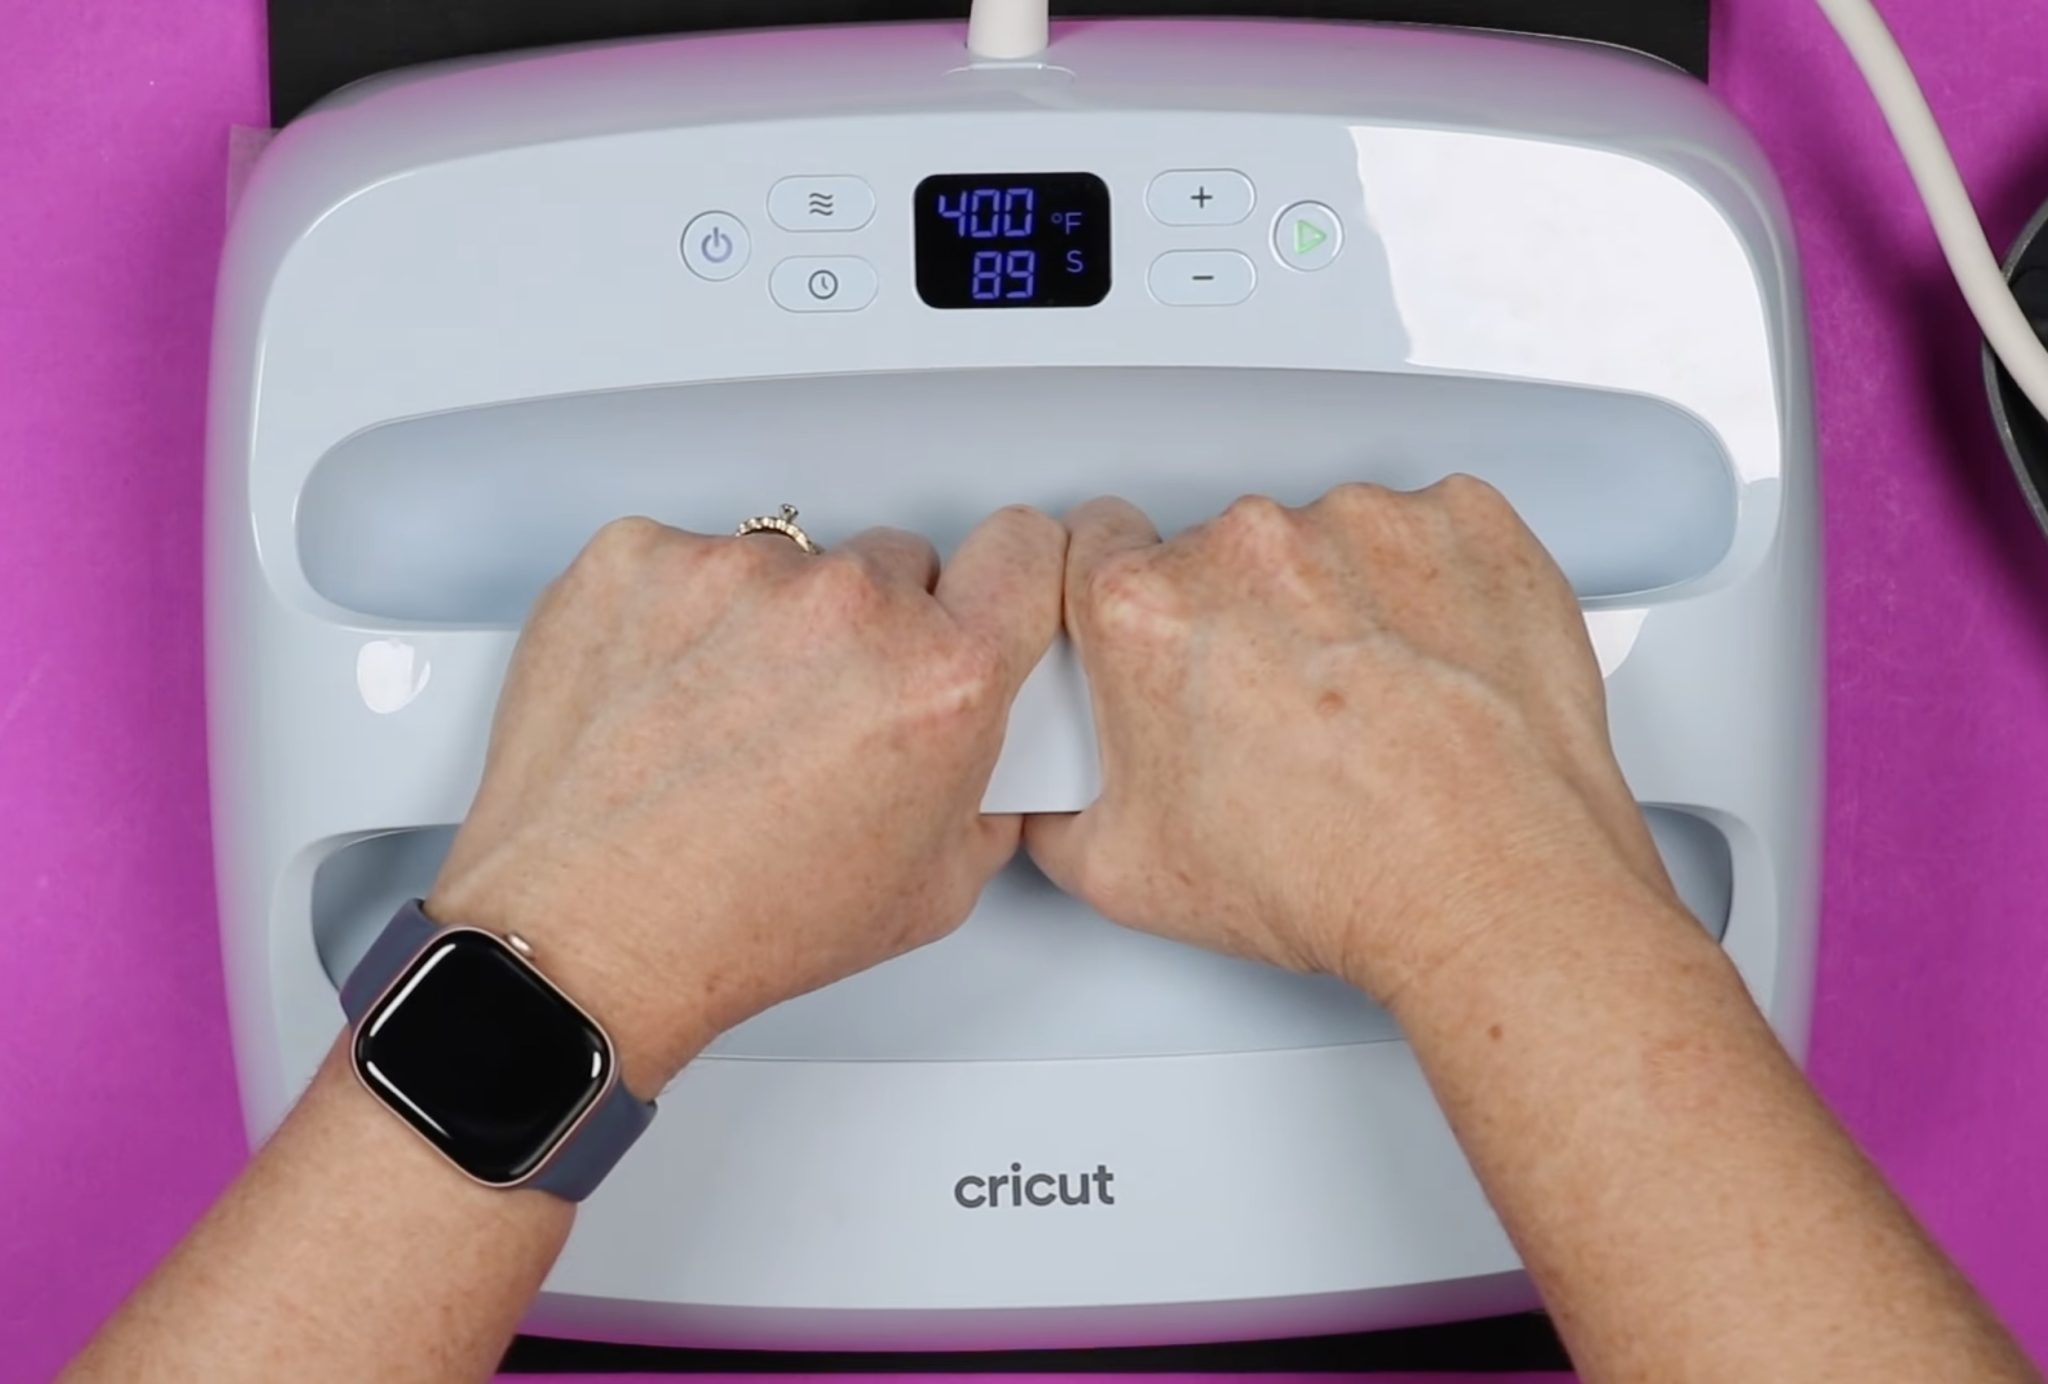
I am utilizing my 10-inch by 12-inch EasyPress 3 as it will encompass the entire design. Warm up the press to 400 degrees and adjust the timer to 90 seconds.
Pin
Position the EasyPress
on the print, ensuring to saturate the complete print. Maintain moderate pressure throughout the entire duration.
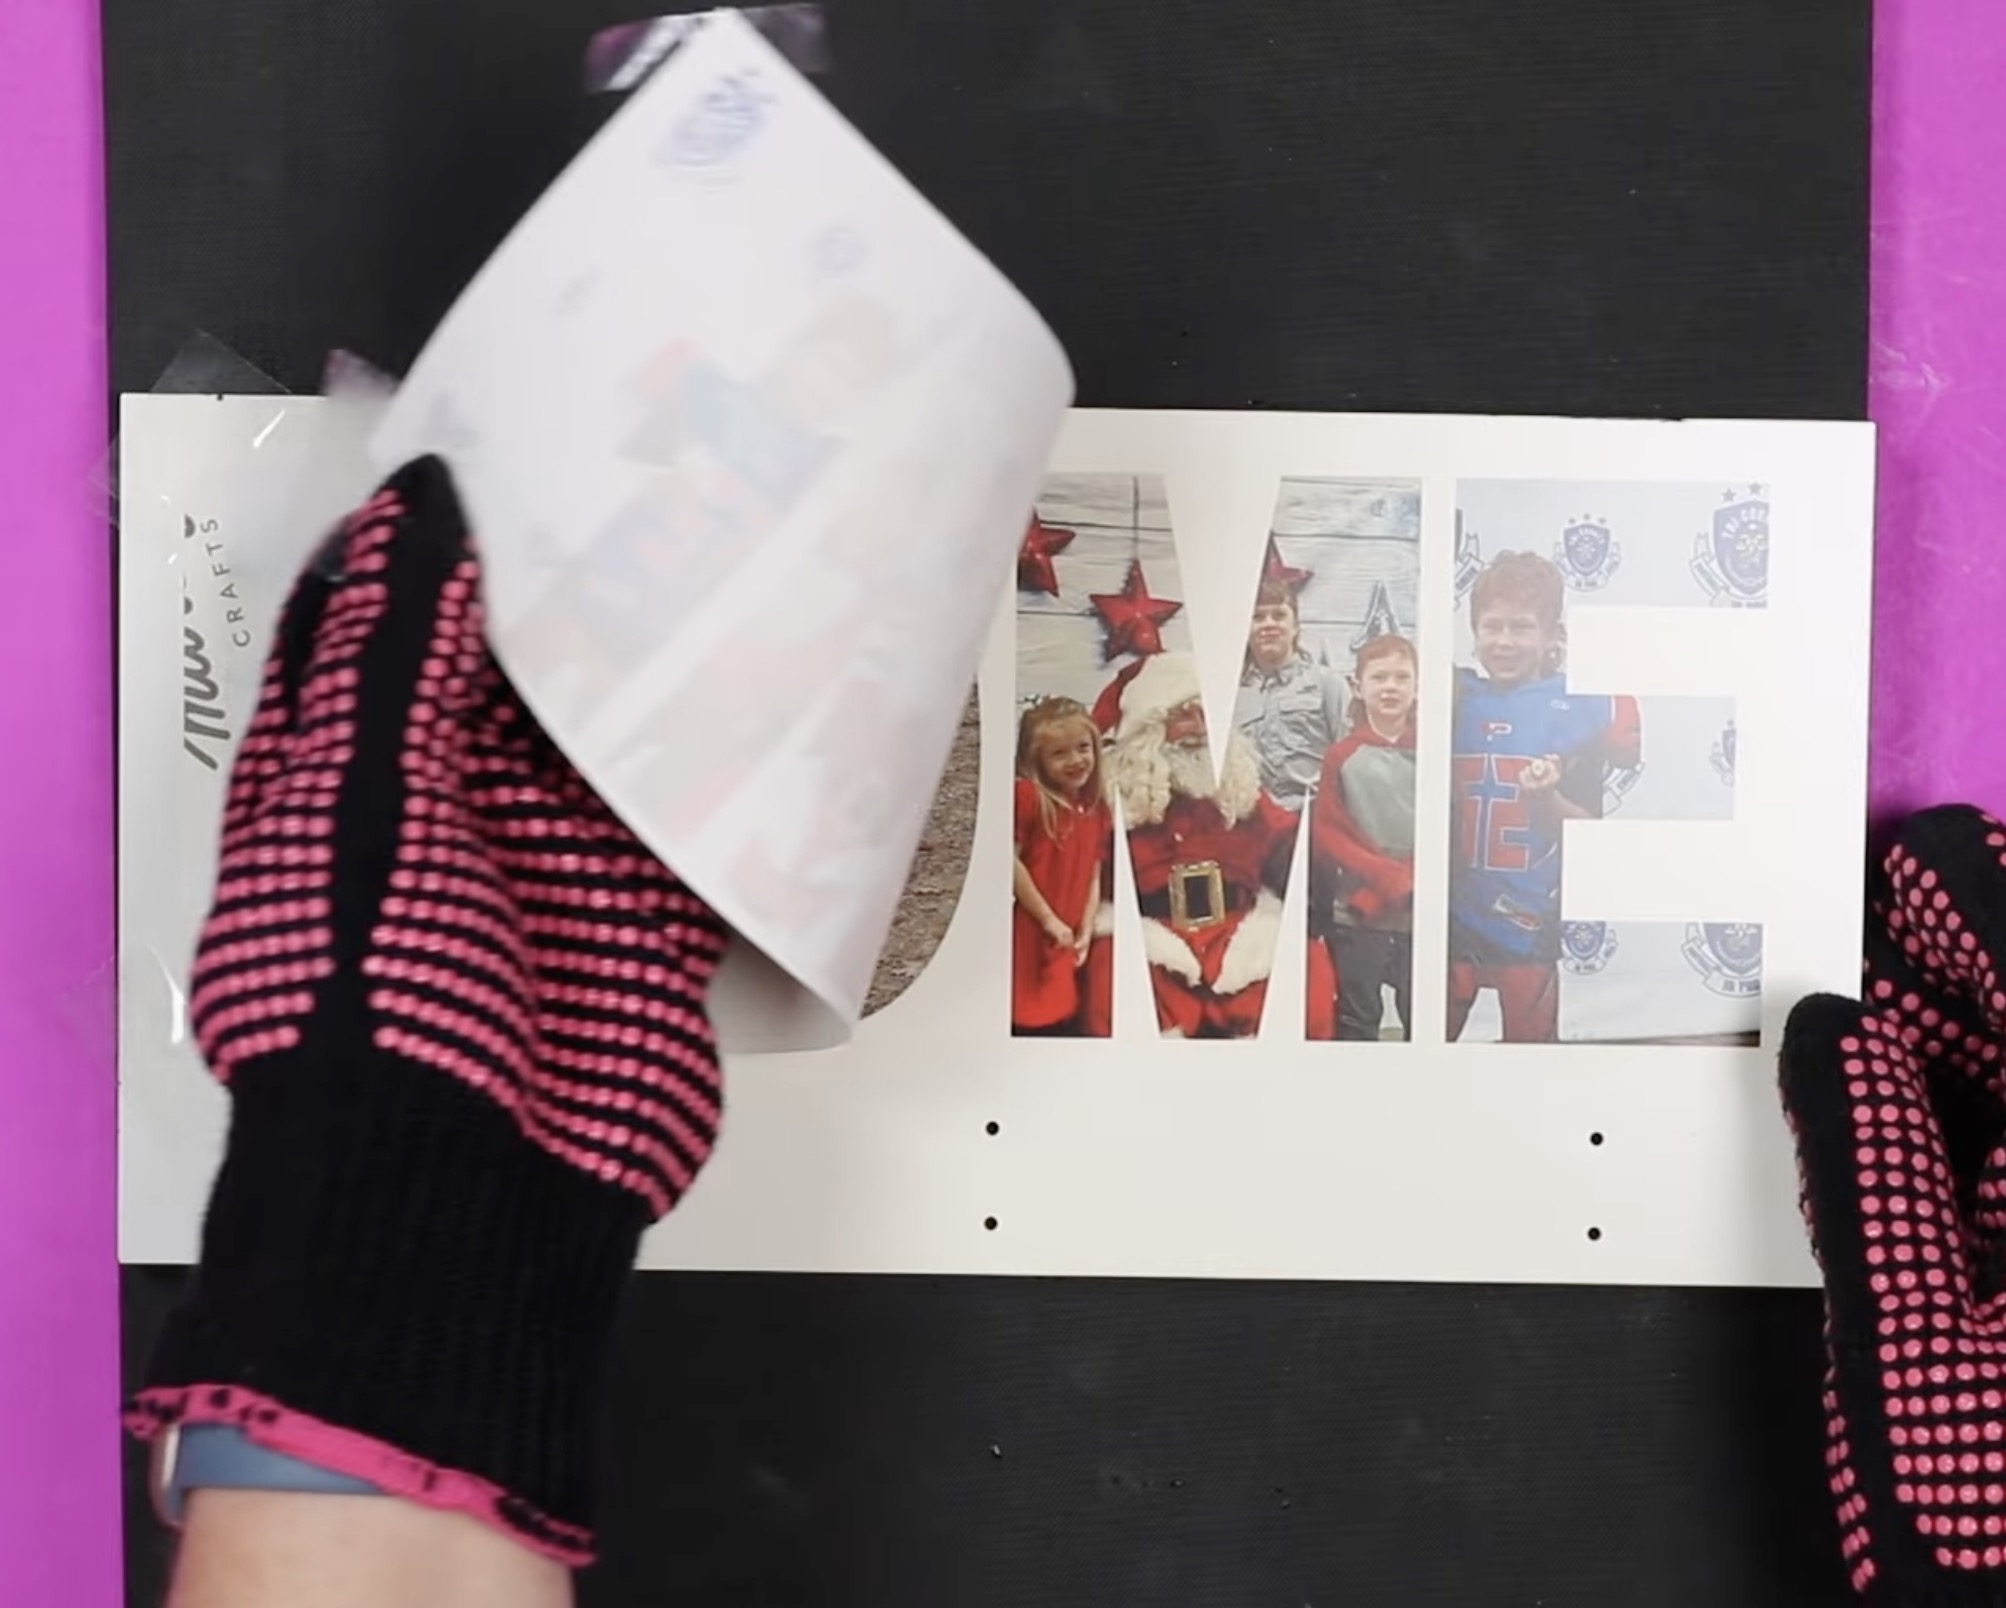
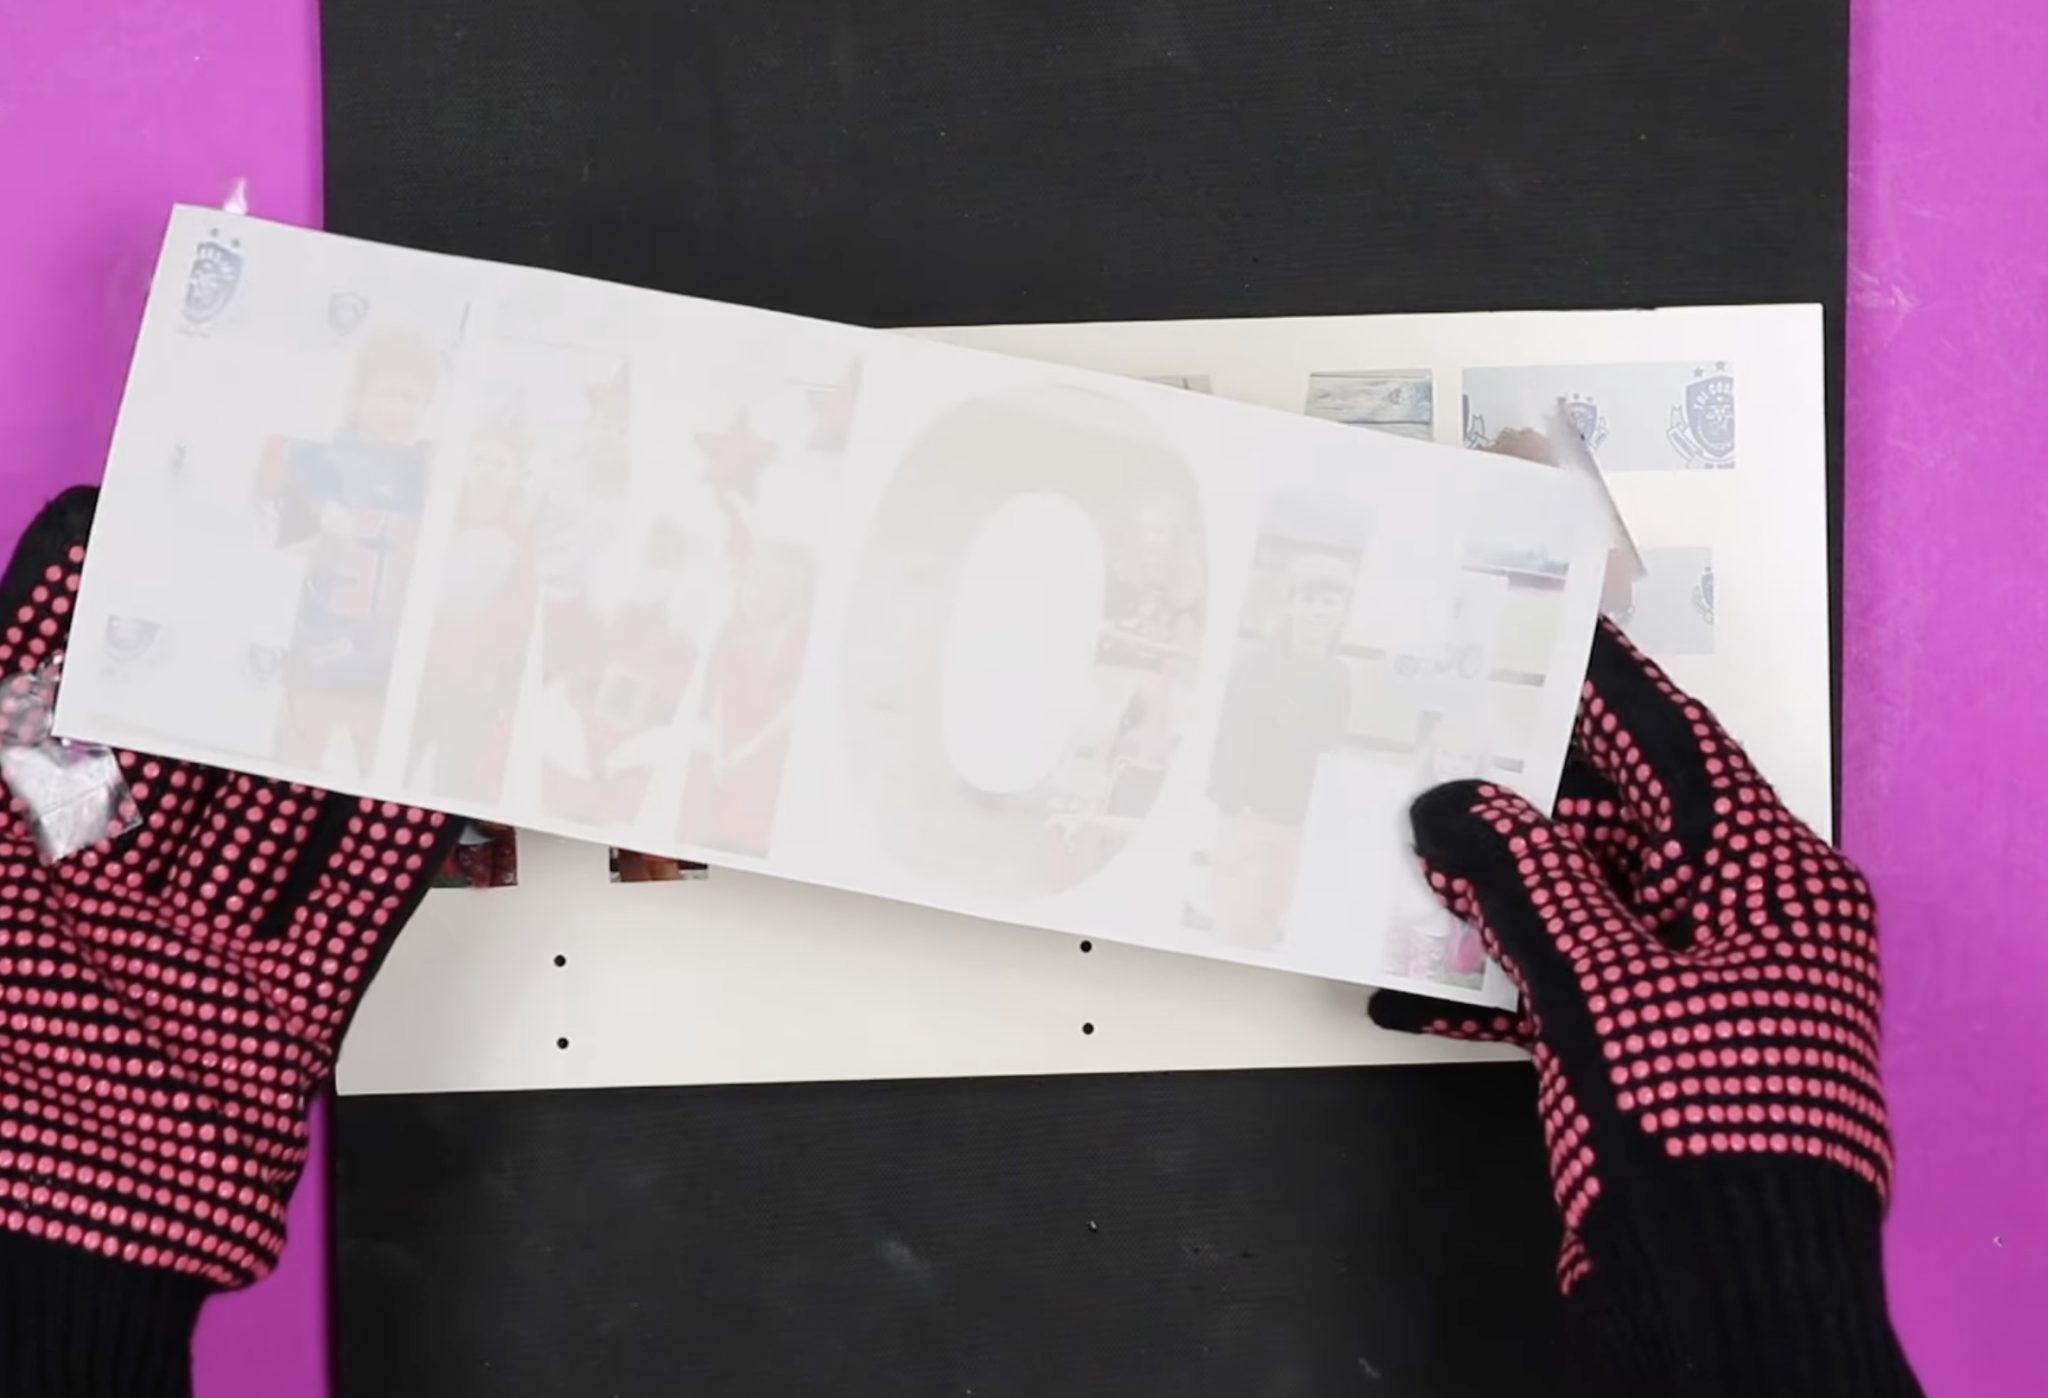
Step 7. Extract Sublimation Print
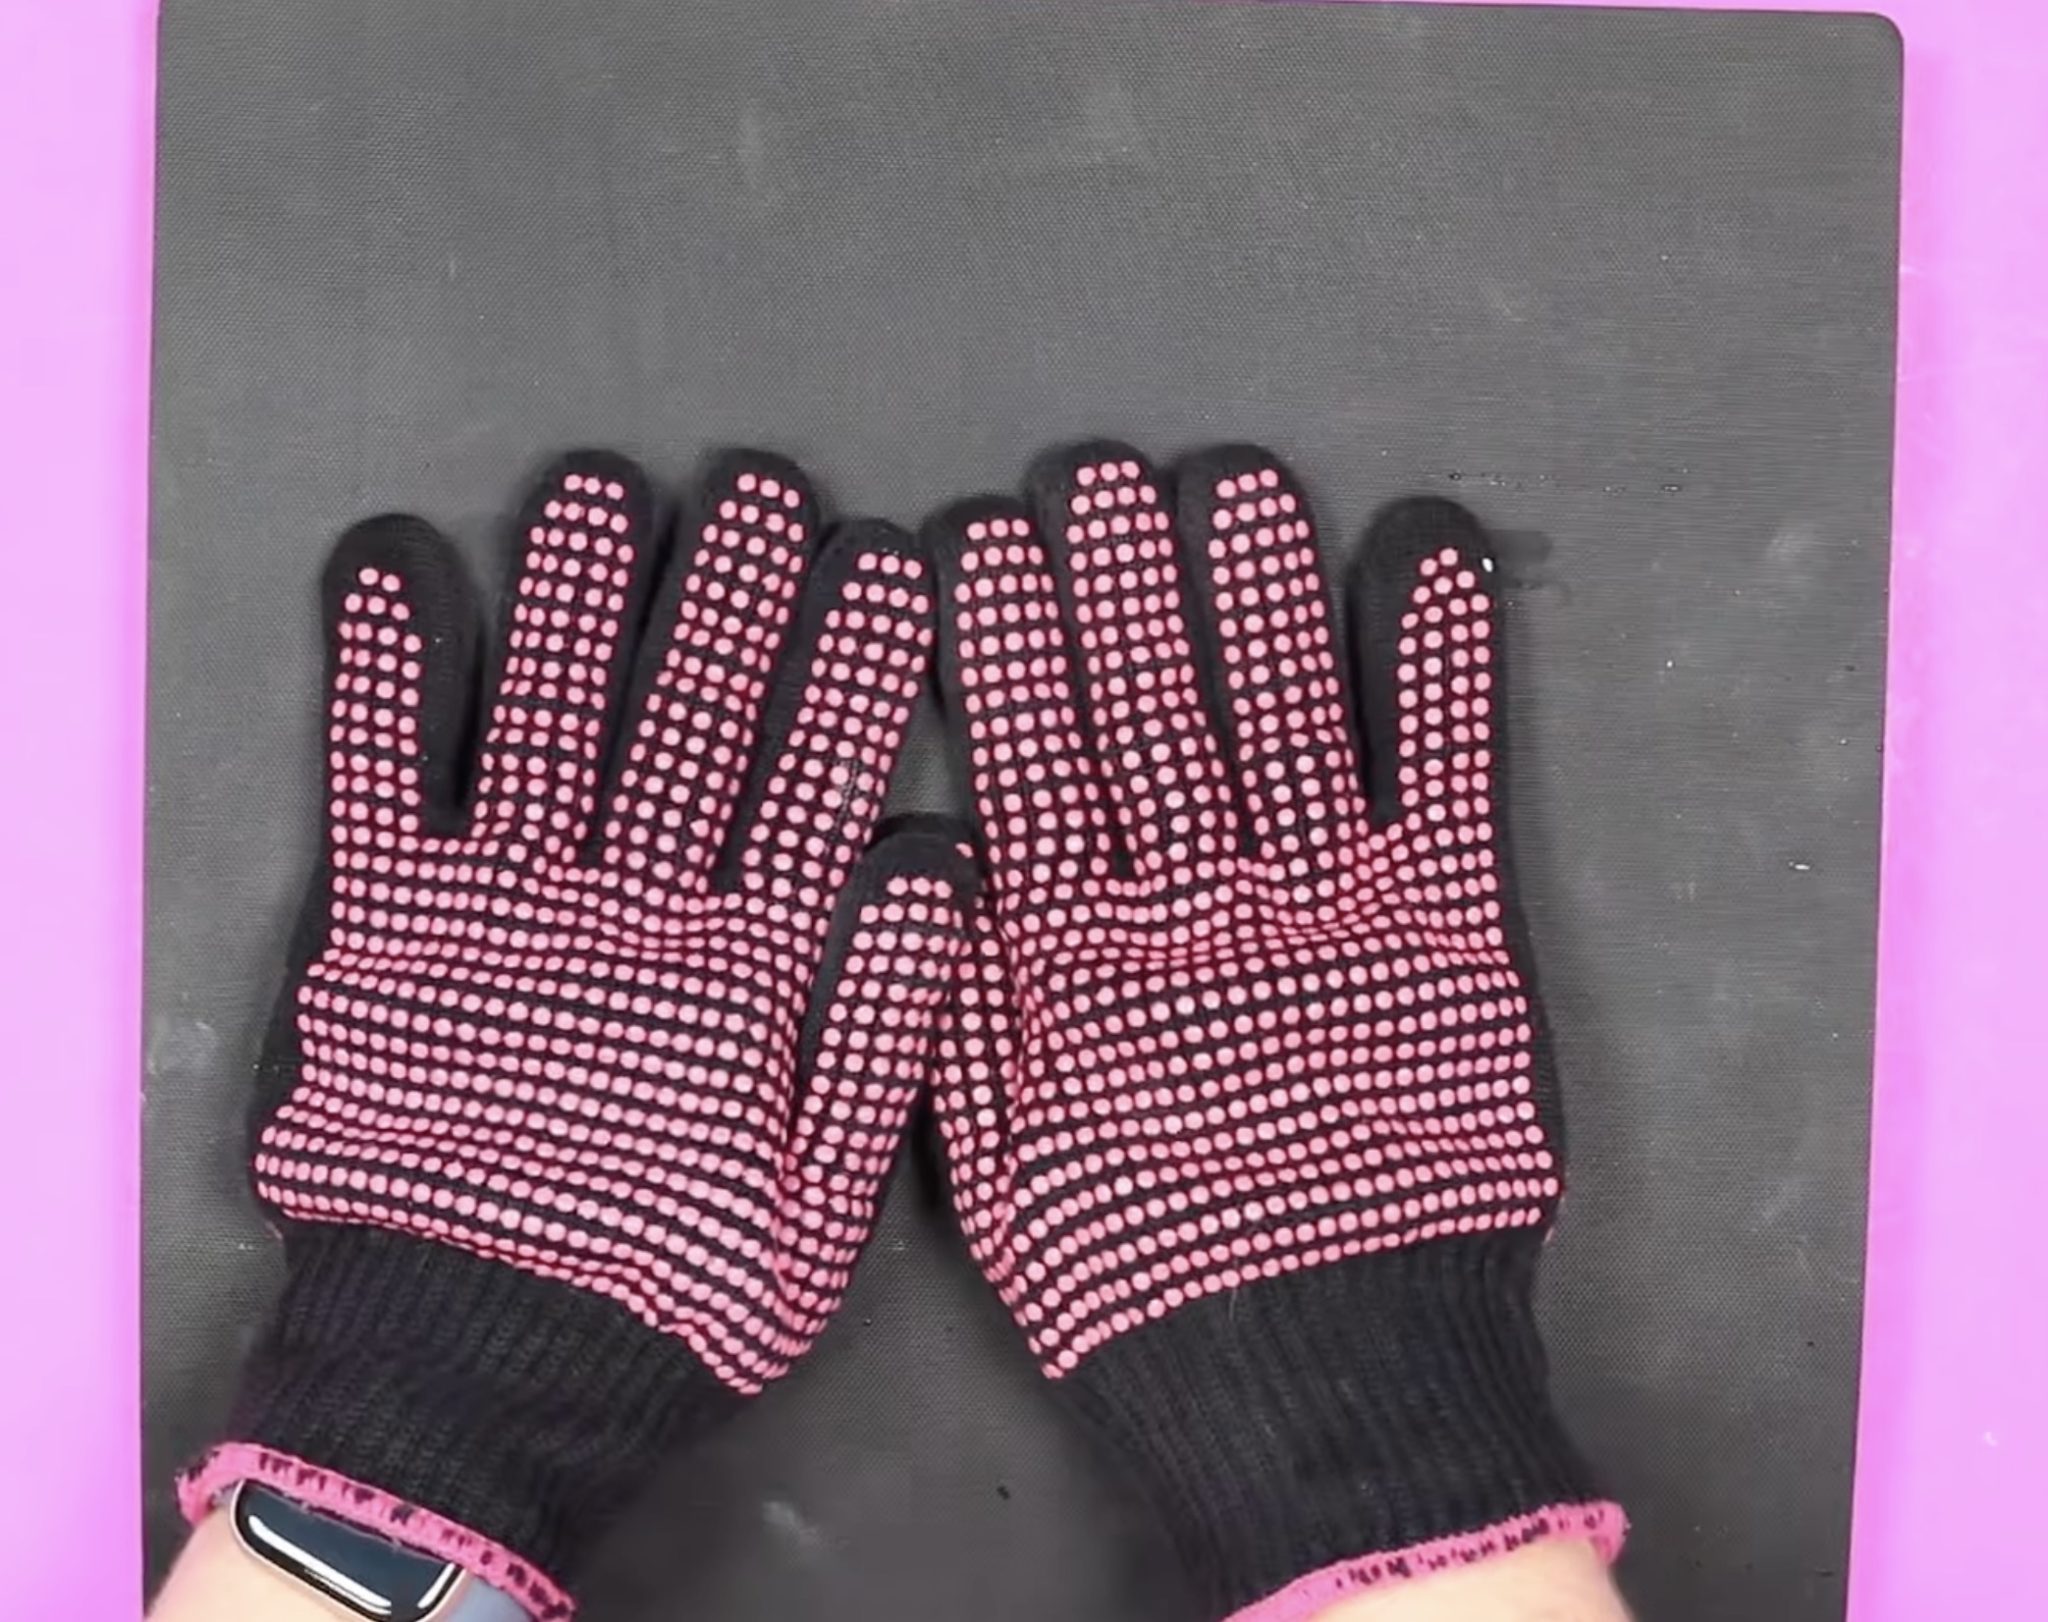
Once the timer concludes, take away the EasyPress and set it aside. The organizer will be extremely hot, so utilizing heat-resistant gloves, uplift the edge of your print to verify the design has been transferred. Gently place the print back and repeat this step for all corners.
Pin
My design transferred wonderfully with a single press.
Pin
Nearly all of the ink has transitioned from the paper to the sublimation hanging organizer.
Pin
Take away the print and then flip the organizer over, placing it beneath the heat-resistant mat, weighted with something heavy while it cools. This will inhibit the blank from warping as it cools.
Pin
Step 8. Complete Sublimation Hanging Organizer
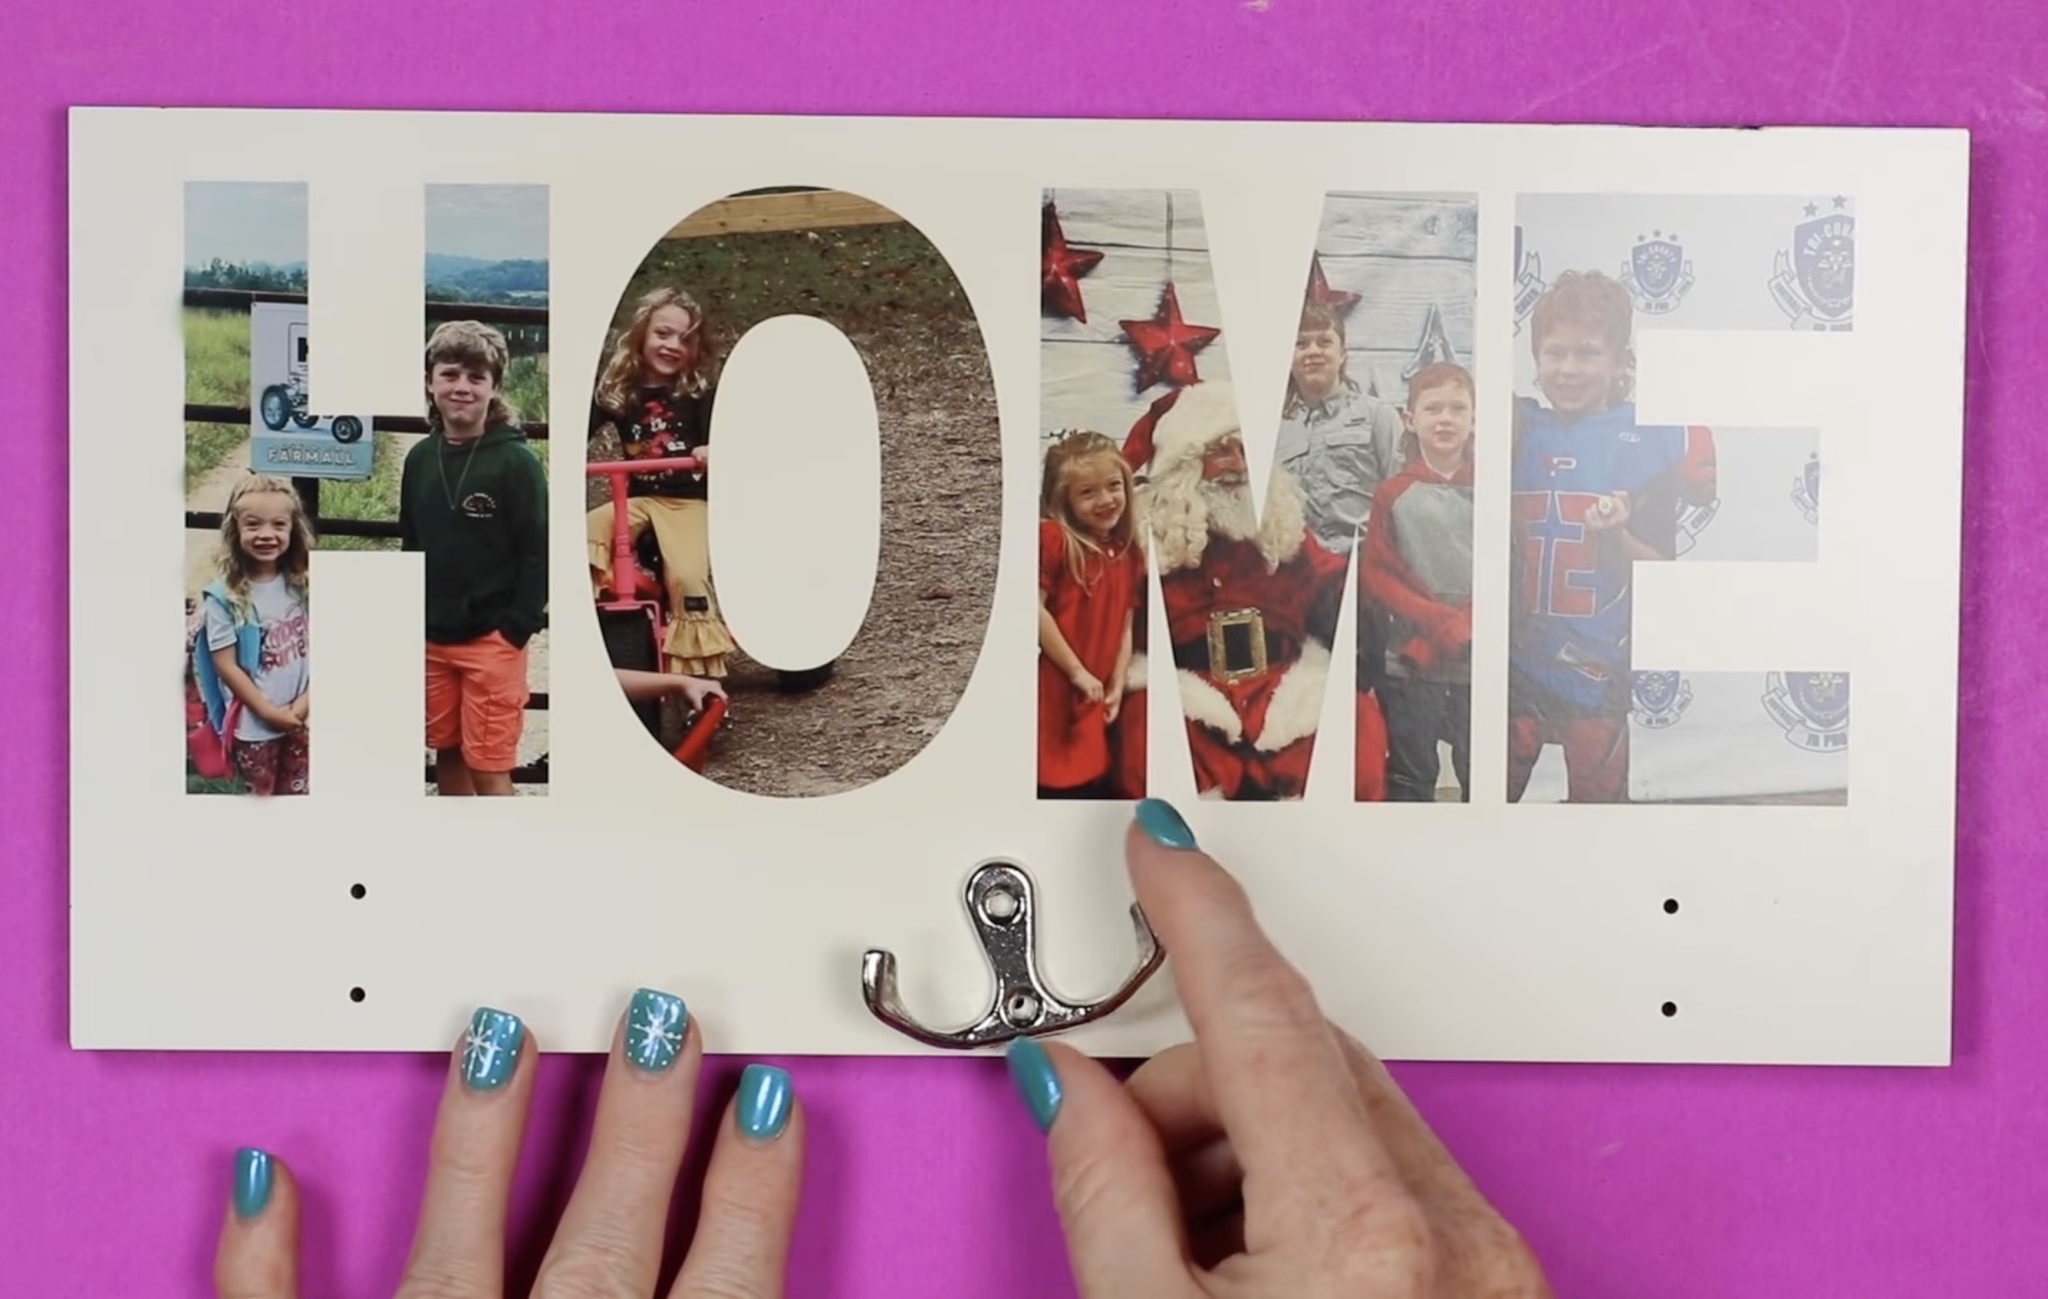
The sole task remaining at this stage is to attach the hooks.
Pre-drilled holes exist for the hooks, and screws are included with the hooks. Fasten the hooks using a screwdriver, and your hanging organizer is complete.
Pin
Additional Concepts for a Sublimation Hanging Organizer
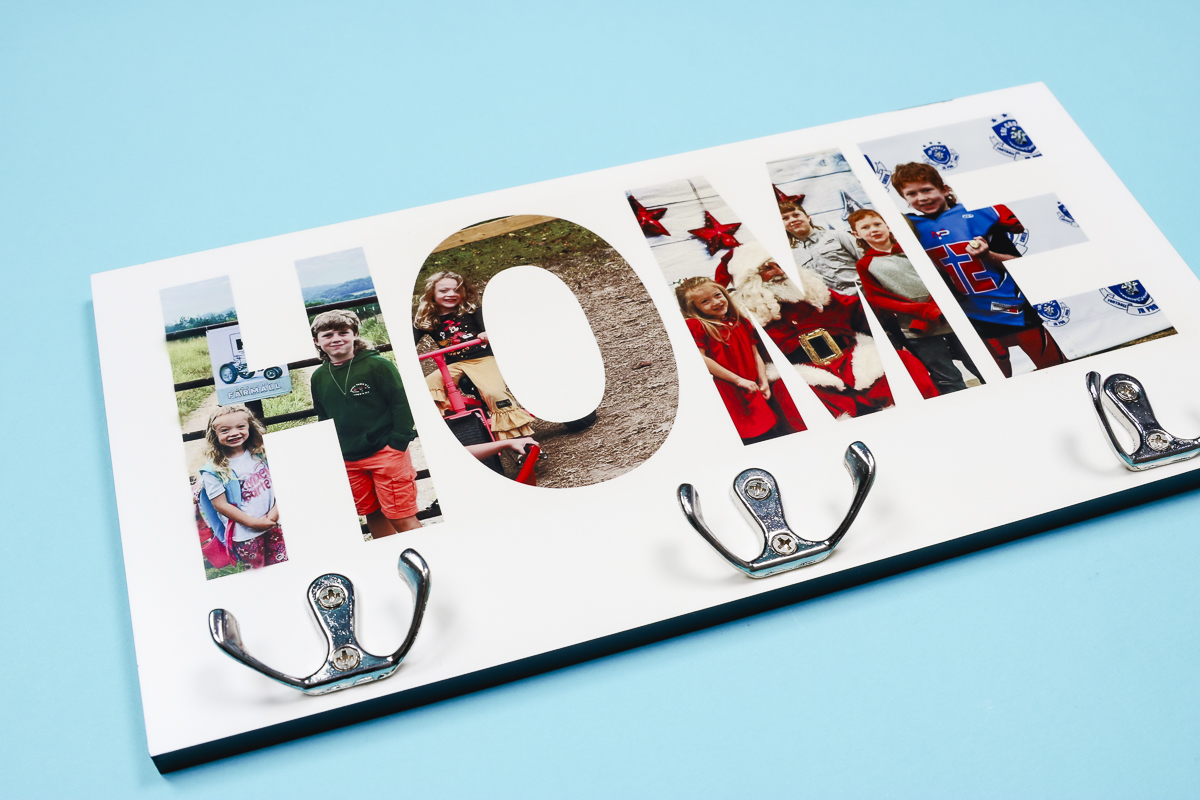
I am thrilled with how this project has turned out. It was incredibly straightforward, even during the design phase.
Pin
Although I adorned my organizer with the word Home and images, you can opt for any design and text you desire.
I am thrilled about the various applications this could have. I considered it would be charming in a kitchen for hanging aprons, decorative items, or kitchen towels.
I noticed when I acquired this organizer with these hooks that the stock was limited. I have linked several alternative choices in the supply list above. If you select an option different from the one I utilized, be sure to verify the timing and temperature guidelines.
All that remains for you is to determine where you want to position your hanging sublimation organizer and the design you wish to incorporate.
I trust I’ve addressed any queries you may have. Should you have any other inquiries, please leave them in the comments, and I’ll gladly respond to them for you.
Make easy DIY name sticks using popsicle sticks for classroom use! A fun and effective way to randomly call on students or manage classroom tasks. I’m [...]
One of the biggest shifts we have made over the past few years in our own home is being more conscious of our overall waste and ways to reduce plastic [...]
Are crafts your passion? Then merge a charming crochet endeavor with intricate embroidery! Decorating crocheted Easter eggs is not only enjoyable, it [...]
Looking for the perfect Christmas kids’ craft that uses Mod Podge? Learn how to make a Christmas wreath with just a few supplies! Skills Required: Non [...]
Prepare comforting meals quickly with simple chicken and dumplings that convert basic ingredients into a cozy, satisfying dish. When cravings for comf [...]
We use cookies on our website to give you the most relevant experience by remembering your preferences and repeat visits. By clicking “Accept”, you consent to the use of ALL the cookies.
This website uses cookies to improve your experience while you navigate through the website. Out of these, the cookies that are categorized as necessary are stored on your browser as they are essential for the working of basic functionalities of the website. We also use third-party cookies that help us analyze and understand how you use this website. These cookies will be stored in your browser only with your consent. You also have the option to opt-out of these cookies. But opting out of some of these cookies may affect your browsing experience.
Necessary cookies are absolutely essential for the website to function properly. These cookies ensure basic functionalities and security features of the website, anonymously.
Cookie
Duration
Description
cookielawinfo-checbox-analytics
11 months
This cookie is set by GDPR Cookie Consent plugin. The cookie is used to store the user consent for the cookies in the category "Analytics".
cookielawinfo-checbox-functional
11 months
The cookie is set by GDPR cookie consent to record the user consent for the cookies in the category "Functional".
cookielawinfo-checbox-others
11 months
This cookie is set by GDPR Cookie Consent plugin. The cookie is used to store the user consent for the cookies in the category "Other.
cookielawinfo-checkbox-necessary
11 months
This cookie is set by GDPR Cookie Consent plugin. The cookies is used to store the user consent for the cookies in the category "Necessary".
cookielawinfo-checkbox-performance
11 months
This cookie is set by GDPR Cookie Consent plugin. The cookie is used to store the user consent for the cookies in the category "Performance".
viewed_cookie_policy
11 months
The cookie is set by the GDPR Cookie Consent plugin and is used to store whether or not user has consented to the use of cookies. It does not store any personal data.
Functional cookies help to perform certain functionalities like sharing the content of the website on social media platforms, collect feedbacks, and other third-party features.
Performance cookies are used to understand and analyze the key performance indexes of the website which helps in delivering a better user experience for the visitors.
Analytical cookies are used to understand how visitors interact with the website. These cookies help provide information on metrics the number of visitors, bounce rate, traffic source, etc.
Advertisement cookies are used to provide visitors with relevant ads and marketing campaigns. These cookies track visitors across websites and collect information to provide customized ads.