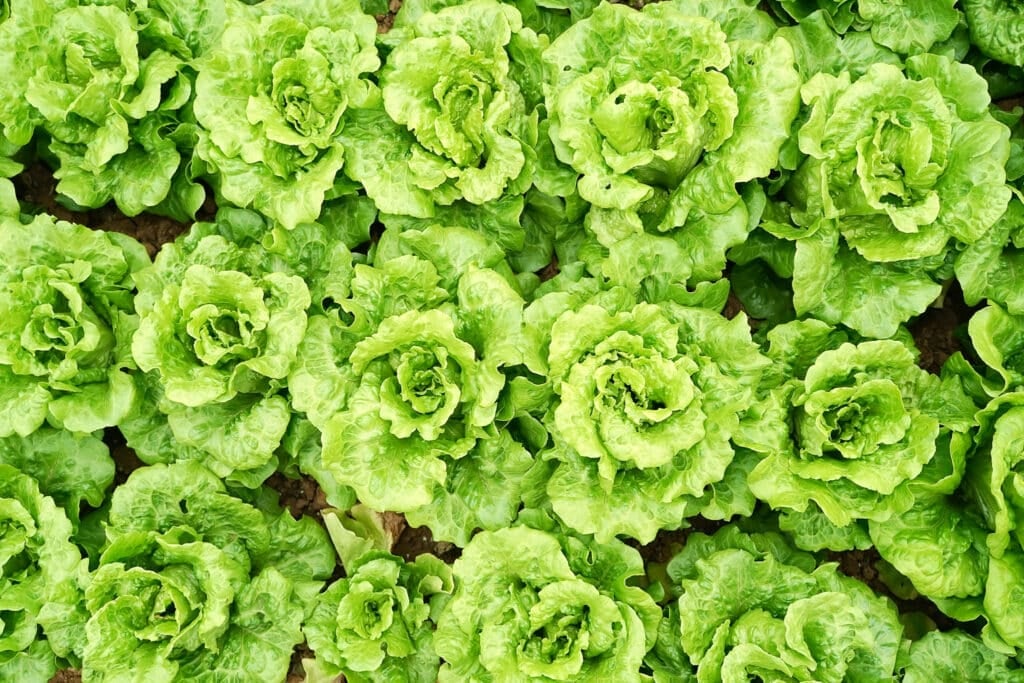
If you love salads, nothing you grow will be as valuable as leafy greens—the backbone of every fresh, crisp bite. But with grocery store prices climbing, why not take control? Learning how to start leafy greens indoors means you’ll always have a steady supply, ready to plant out in the garden or harvest straight from your kitchen. These greens are cheap, easy to grow, and endlessly versatile, thriving in every season—from cool-weather lettuces in spring to heat-tolerant greens in summer, and even fresh harvests indoors through winter. With the right setup, you’ll never run out of homegrown leafy greens again.
The best part? There’s a leafy green for every season. Tender lettuces thrive in cool weather, heat-tolerant greens like Swiss chard and Malabar spinach flourish in summer, and hardy kale and collards can withstand frosty nights. With our foolproof indoor seed-starting guide, you’ll always have a fresh batch ready to go—no more last-minute grocery store runs for wilted lettuce.
This post may contain affiliate links. If you click one and purchase, I may receive a commission at no additional cost. You can read our disclosure policy here.
Why Start Leafy Greens Indoors?
Starting leafy greens indoors offers several benefits:
Faster & Earlier Harvests – Get a head start in early spring or grow greens year-round.
Better Germination – Controlled temperatures and moisture lead to higher success rates.
Protection from Pests – No slugs, aphids, or unexpected frosts ruining your crop.
More vigorous Plants – Seedlings grown indoors tend to be healthier once transplanted outdoors.
Pro-Tip: If you live in a colder climate, indoor seed-starting extends your growing season, giving you fresh greens even in winter.
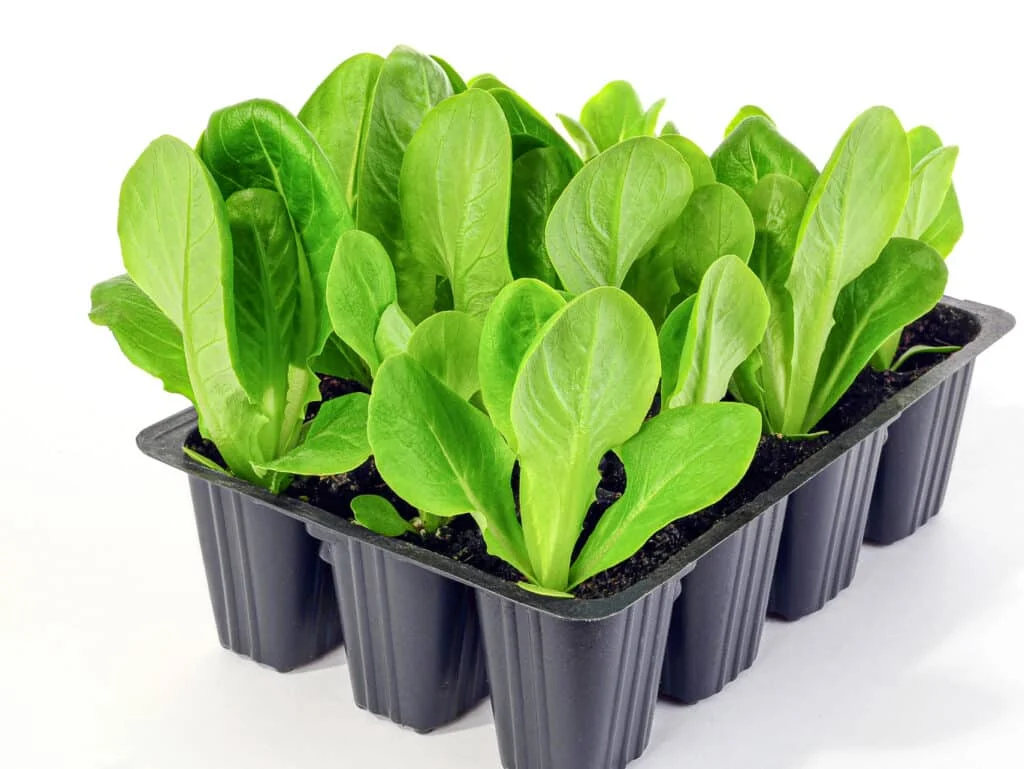
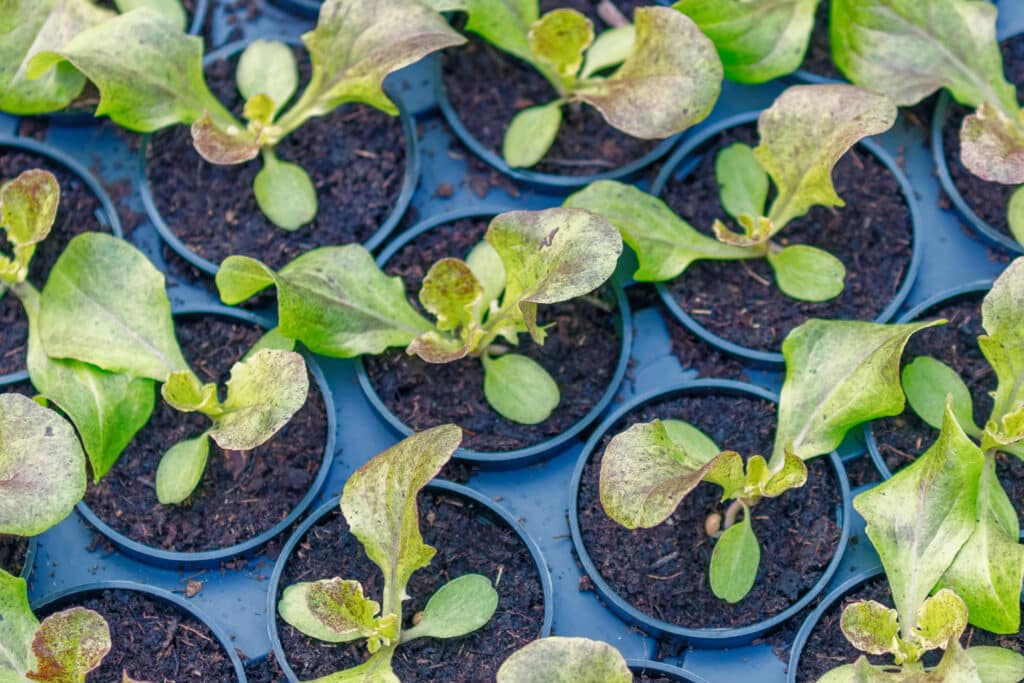
Choosing the Right Leafy Greens
Leafy greens proliferate and can be harvested multiple times, making them ideal for indoor seed starting.
Pro Tip: Mix fast-growing greens like arugula with slower-growing varieties like kale to enjoy staggered harvests.
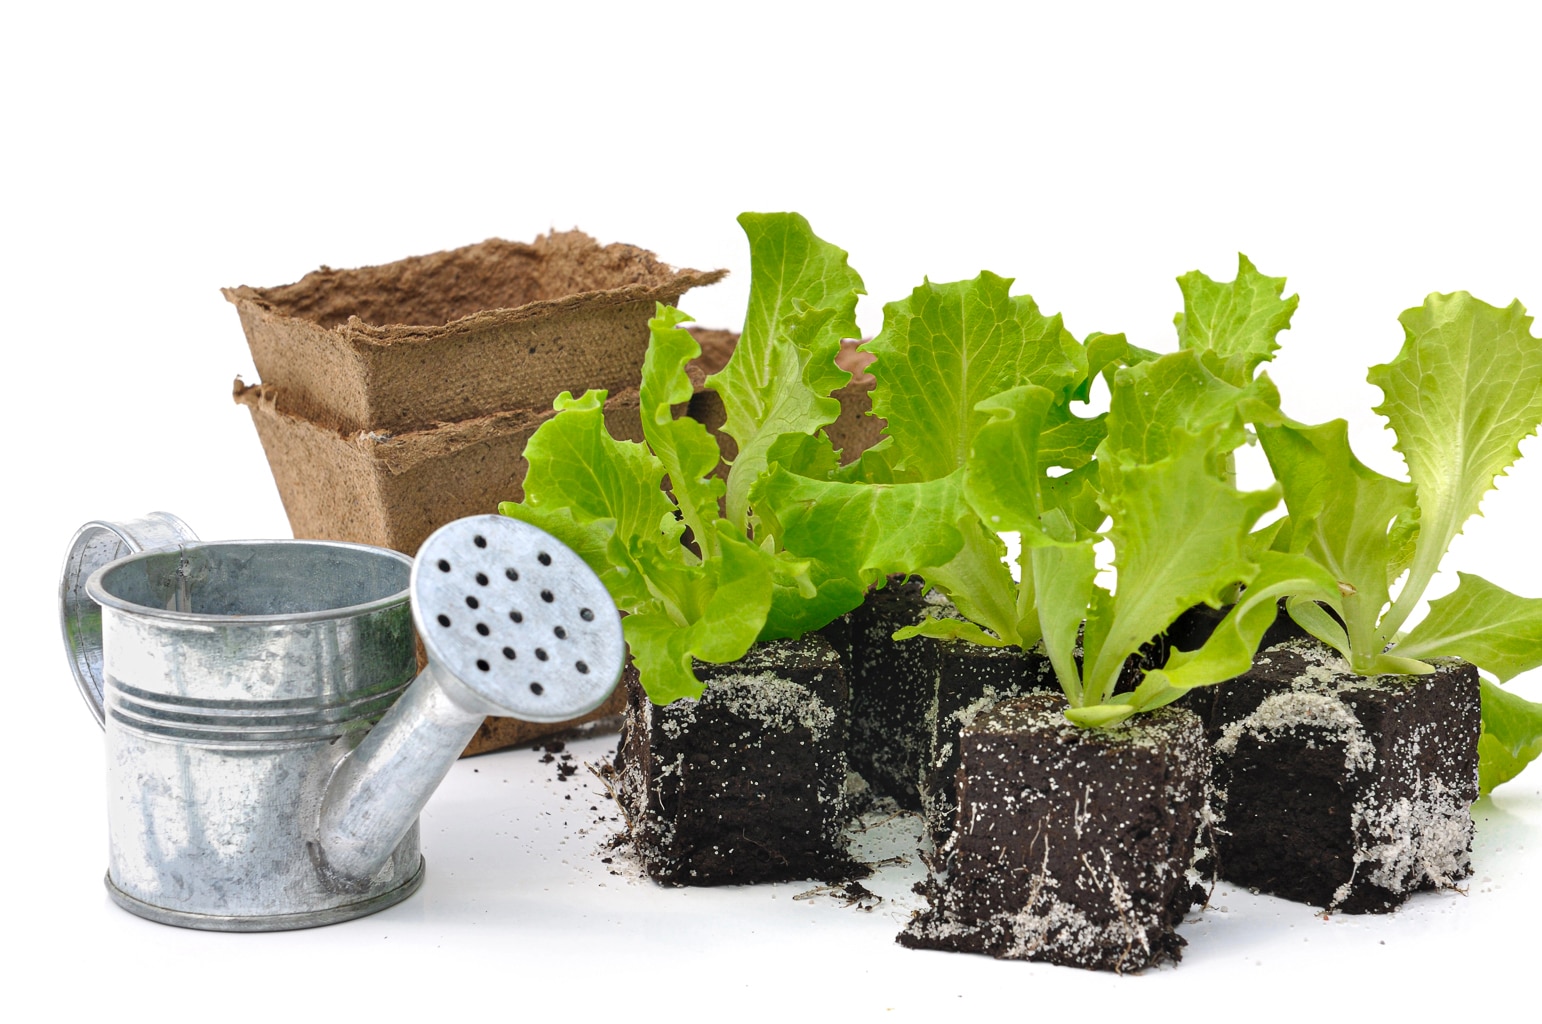
Gathering Supplies
To start leafy greens indoors, make sure you have the following tools and supplies:
Seed trays or shallow containers with drainage holes.
Seed-starting mix (light and well-draining, nutrient-free).
Grow lights or a very sunny window (see next section for details).
Spray bottle or gentle watering can.
Plastic wrap or humidity dome (optional for germination).
Pro Tip: You can buy seed-starting kits that come with seed trays, watering trays, seed-starting mix (usually the compressed pods), and a humidity dome. Buying them together means you know they will all fit together properly!
Setting Up the Right Lighting
Light is one of the biggest challenges for indoor seed-starting. Without enough light, seedlings become leggy and weak. If you want to start leafy greens indoors, you will need a strong light source.
Choosing Grow Lights
LED or Fluorescent Lights?
LED grow lights are better on your electric billvs fluorescent. LED’s are far more energy-effecient and will provide full-spectrum light.
Fluorescent tubes (T5 or T8) work well but must be closer to plants.
Light Intensity & Duration
Ideal light intensity:2,000–3,000 lumens per square foot.
Keep grow lights 1-2 inches above seedlings and raise them as they grow.
Light schedule: 12-16 hours per day (use a timer for consistency).
Preparing to Plant
Prepare the Containers: Fill seed trays or shallow containers with pre-moistened seed-starting mix, leaving about ½ inch of space at the top.
Mark Rows: Use a pencil or ruler to create shallow rows about ¼ inch deep for even planting.
Pro Tip: Label rows or containers with the type of green you’re planting to avoid mix-ups.
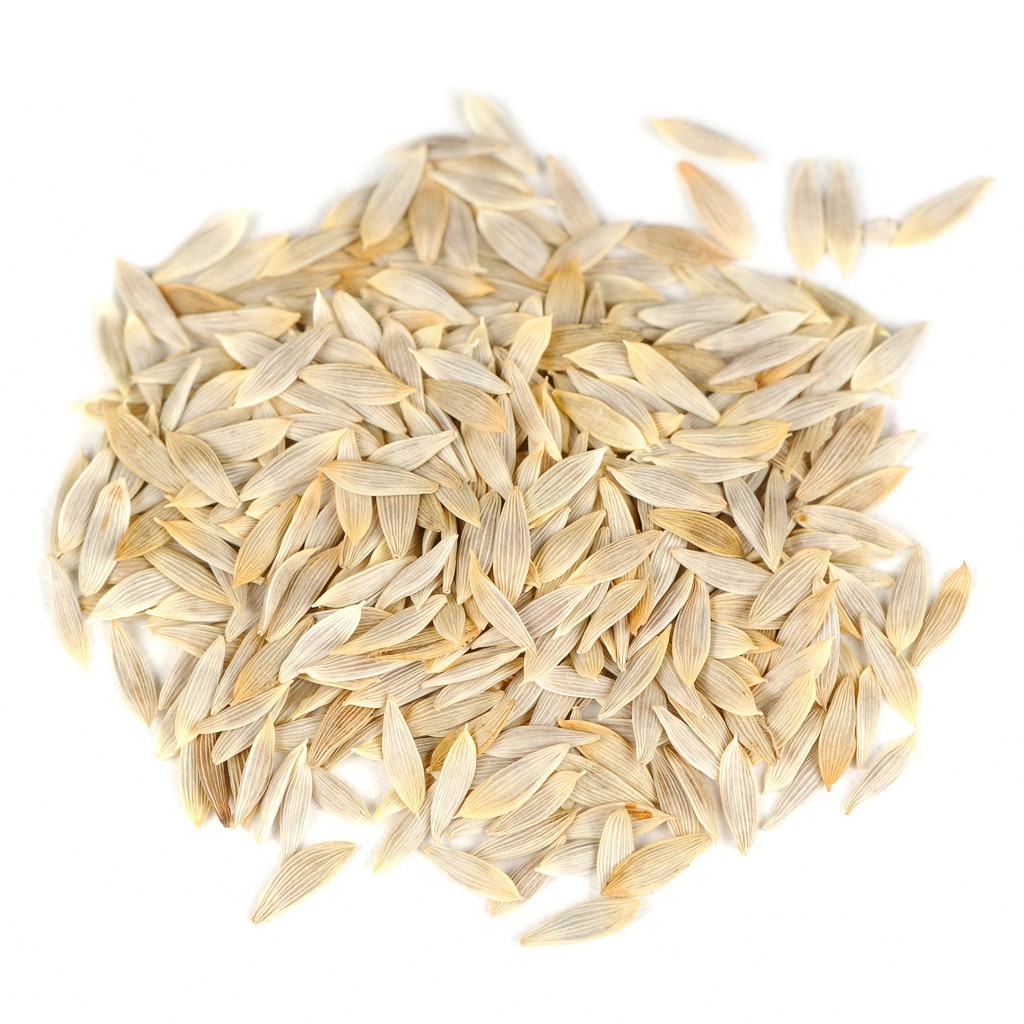
Sowing the Seeds
Sprinkle seeds thinly along each row or scatter them lightly across the surface for a mixed harvest.
Cover seeds lightly with a light layer of soil and gently press down gently.
Mist the surface of the soil with water to ensure good seed-to-soil contact.
Pro Tip: Mixing small seeds like lettuce with a bit of sand can help you sow them more evenly.
Watering & Fertilizing Schedule
Germination Phase (Days 1-7)
Mist daily with a spray bottle—keep the surface moist but not soggy.
Avoid overwatering, which can cause damping-off disease (a fungal issue).
Seedling Growth (Week 2+)
Water every 2-3 days, keeping soil slightly damp but never soaking.
Once seedlings develop true leaves, start feeding them with diluted organic liquid fertilizer every two weeks (half-strength to avoid burning delicate roots).
Pro Tip: Bottom-watering (placing trays in a shallow water dish) prevents fungal issues and strengthens root growth.
Providing the Right Conditions for Germination
Light: While seeds don’t require light to germinate, placing them under grow lights or in a sunny spot helps maintain warmth.
Temperature: Ideal germination temperatures range from 65–75°F.
Humidity: Cover trays with plastic wrap or a humidity dome to retain moisture.
Timing: Most leafy greens germinate quickly within 3-7 days.
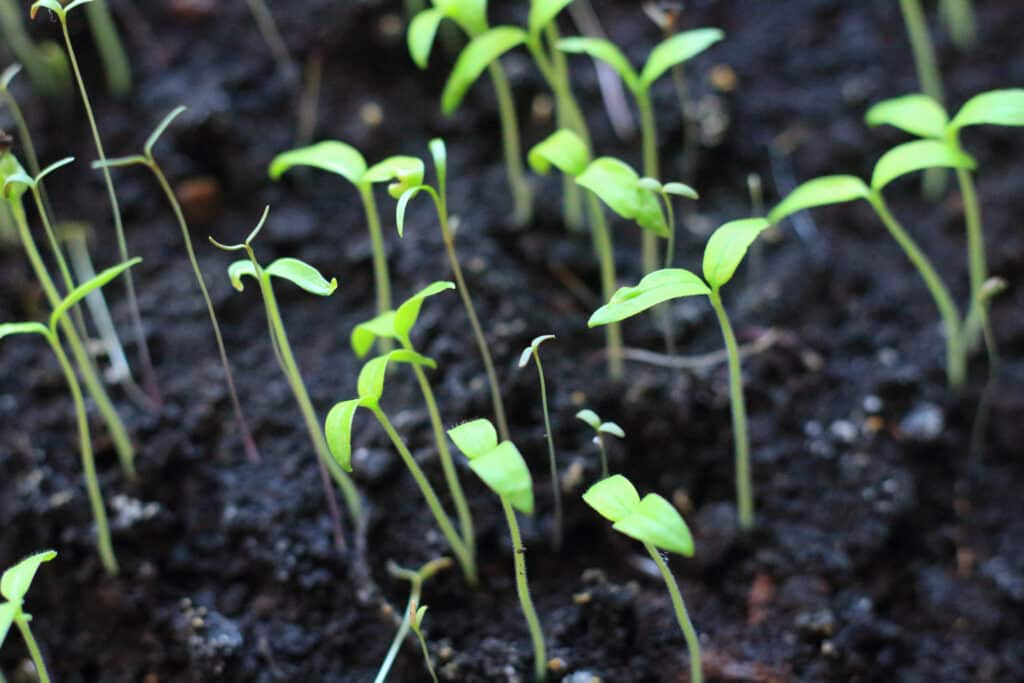
Caring for leafy green Seedlings
Light: Once germinated, give seedlings 12-16 hours of light daily to prevent legginess.
Watering: Keep soil consistently moist but not soggy. Water gently to avoid dislodging seeds or damaging seedlings.
Thinning: Thin seedlings are about 1-2 inches apart once they develop their first true leaves.
Pro Tip: Don’t discard thinned seedlings—use them as microgreens in your salads! They have incredible nutritional value.
Potting Up (Optional)
If growing larger greens like kale or Swiss chard, transplant seedlings to larger containers:
Carefully lift seedlings by the leaves (not stems) to avoid root damage.
Plant in 3-4 inch pots filled with nutrient-rich potting mix.
Water thoroughly and keep it under grow lights or near a bright window.
Hardening Off and Transplanting
If you’re moving your greens outdoors, harden them off to reduce transplant shock:
Start 5-7 days before planting by placing seedlings outside for a few hours each day, gradually increasing exposure to sunlight and wind.
Transplant into garden beds or containers once nighttime temperatures are consistently above 40°F.
According to variety, space plants are 4-6 inches apart for lettuce and 12-18 inches for kale and chard.
Pro Tip: Use a row cover to protect young greens from pests like slugs and aphids.
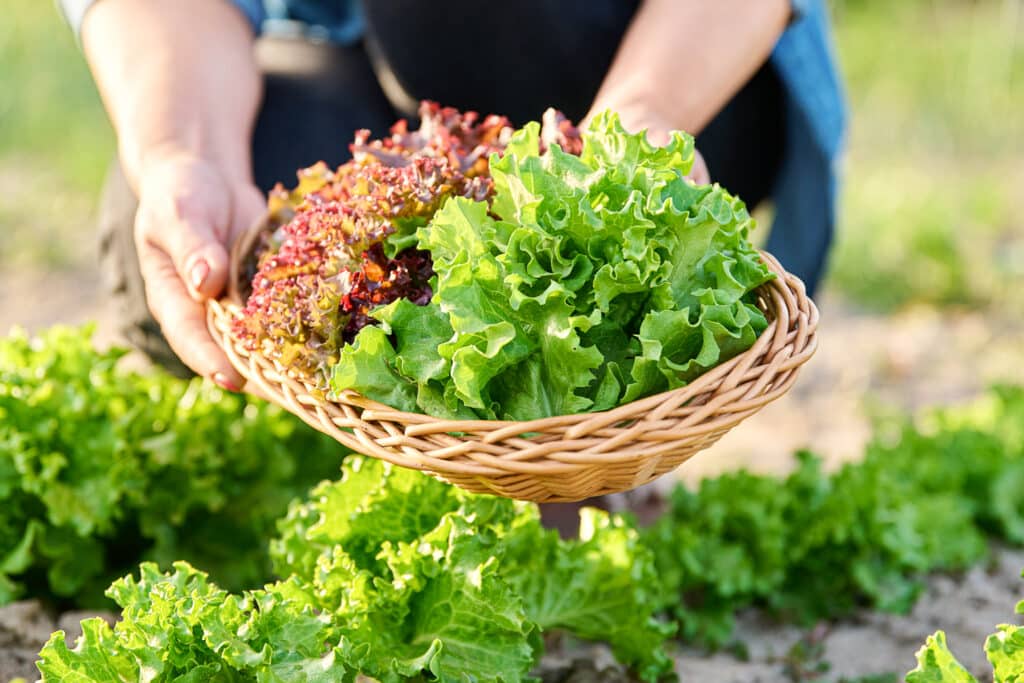
Harvesting Tips
Begin harvesting baby greens when leaves are 4-6 inches tall.
For cut-and-come-again varieties like lettuce, trim the outer leaves, leaving the inner rosette to continue growing.
Harvest leafy greens early in the morning for the best flavor and texture.
Pro Tip:Succession plant every 2-3 weeks to ensure a steady supply of fresh greens throughout the season.
Troubleshooting Chart: Leafy Green Seedlings
Troubleshooting Common Issues
Issue
Solution
Leggy Seedlings?
Move grow lights closer (1-2 inches above plants). Increase light exposure to 16 hours per day.
Yellowing Leaves?
Check for overwatering or nutrient deficiency. Start fertilizing once true leaves develop.
Pest Problems?
Use neem oil or insecticidal soap for aphids. Introduce beneficial insects like ladybugs (if growing in a greenhouse).
Fungal Diseases?
Ensure good air circulation (use a small fan if needed). Avoid watering leaves—bottom-watering helps prevent mold.
Related Posts
Conclusion
Starting leafy green seedlings indoors is an easy and rewarding way to enjoy fresh, nutritious greens all year. With just a few supplies and some basic care, you’ll have vibrant plants ready to harvest or transplant quickly.
What leafy greens are you growing this season? Drop your questions or tips in the comments below!
Author: Laura Kennedy
Writer & Owner of Little Yellow Wheelbarrow
Laura is a highly skilled gardener and fervent flower enthusiast. Despite her playful battle with plant spacing guidelines, Laura’s work inspires gardeners to create thriving, beautiful spaces that reflect both creativity and sustainability.
Make easy DIY name sticks using popsicle sticks for classroom use! A fun and effective way to randomly call on students or manage classroom tasks. I’m [...]
Learn how to preserve flowers in resin with this easy DIY guide. Follow step-by-step instructions and watch the video tutorial to create stunning keep [...]
Learn how to make resin jewelry using a kit as well as dried, pressed flowers! You can make the most beautiful gifts with this DIY tutorial. Skills Re [...]
How would you like to learn How to Draw the Grinch Step by Step? I’ll use my many years of drawing experience (over 50!) to break the drawing down int [...]
Discover 29 methods to craft stunning fabric blossoms! Whether you prefer no-sew options or intricate patterns, these concepts are ideal for enhancing [...]
Learn how to make this “Merry” Christmas decor using paper mache letters, a wood plaque, and other fun holiday supplies! Such a cute idea. Skills Requ [...]
Utilize the Iron-On I'm utilizing the Cricut Autopress, yet any heat press is suitable for this endeavor. Prior to pressing, I consulted the Cricut He [...]
This DIY breakfast in bed tray was created with a $2 thrift store find! Top with a vintage graphic and resin to personalize and make it beautiful. Whe [...]
We use cookies on our website to give you the most relevant experience by remembering your preferences and repeat visits. By clicking “Accept”, you consent to the use of ALL the cookies.
This website uses cookies to improve your experience while you navigate through the website. Out of these, the cookies that are categorized as necessary are stored on your browser as they are essential for the working of basic functionalities of the website. We also use third-party cookies that help us analyze and understand how you use this website. These cookies will be stored in your browser only with your consent. You also have the option to opt-out of these cookies. But opting out of some of these cookies may affect your browsing experience.
Necessary cookies are absolutely essential for the website to function properly. These cookies ensure basic functionalities and security features of the website, anonymously.
Cookie
Duration
Description
cookielawinfo-checbox-analytics
11 months
This cookie is set by GDPR Cookie Consent plugin. The cookie is used to store the user consent for the cookies in the category "Analytics".
cookielawinfo-checbox-functional
11 months
The cookie is set by GDPR cookie consent to record the user consent for the cookies in the category "Functional".
cookielawinfo-checbox-others
11 months
This cookie is set by GDPR Cookie Consent plugin. The cookie is used to store the user consent for the cookies in the category "Other.
cookielawinfo-checkbox-necessary
11 months
This cookie is set by GDPR Cookie Consent plugin. The cookies is used to store the user consent for the cookies in the category "Necessary".
cookielawinfo-checkbox-performance
11 months
This cookie is set by GDPR Cookie Consent plugin. The cookie is used to store the user consent for the cookies in the category "Performance".
viewed_cookie_policy
11 months
The cookie is set by the GDPR Cookie Consent plugin and is used to store whether or not user has consented to the use of cookies. It does not store any personal data.
Functional cookies help to perform certain functionalities like sharing the content of the website on social media platforms, collect feedbacks, and other third-party features.
Performance cookies are used to understand and analyze the key performance indexes of the website which helps in delivering a better user experience for the visitors.
Analytical cookies are used to understand how visitors interact with the website. These cookies help provide information on metrics the number of visitors, bounce rate, traffic source, etc.
Advertisement cookies are used to provide visitors with relevant ads and marketing campaigns. These cookies track visitors across websites and collect information to provide customized ads.