Create simple DIY name sticks utilizing popsicle sticks for educational purposes! A delightful and efficient approach to randomly call on learners or oversee classroom responsibilities.
I have a great admiration for educators. I somewhat have to, considering my mother holds a master’s degree in education! Yet truly, I have tremendous respect for teachers and the work they perform.
This profession is among the most challenging, and one insight I’ve gained from my mother is how much of their personal funds they invest in the classroom for embellishments and additional items to facilitate their tasks.
Hence, I present a delightful DIY that is budget-friendly while simultaneously assisting educators in their duties – student selection sticks!
Curious about what name sticks are? Well, educators already have plenty to think about without needing to recall who they called on last or who should receive a task. These sticks simplify that process significantly!
Applications for These Sticks
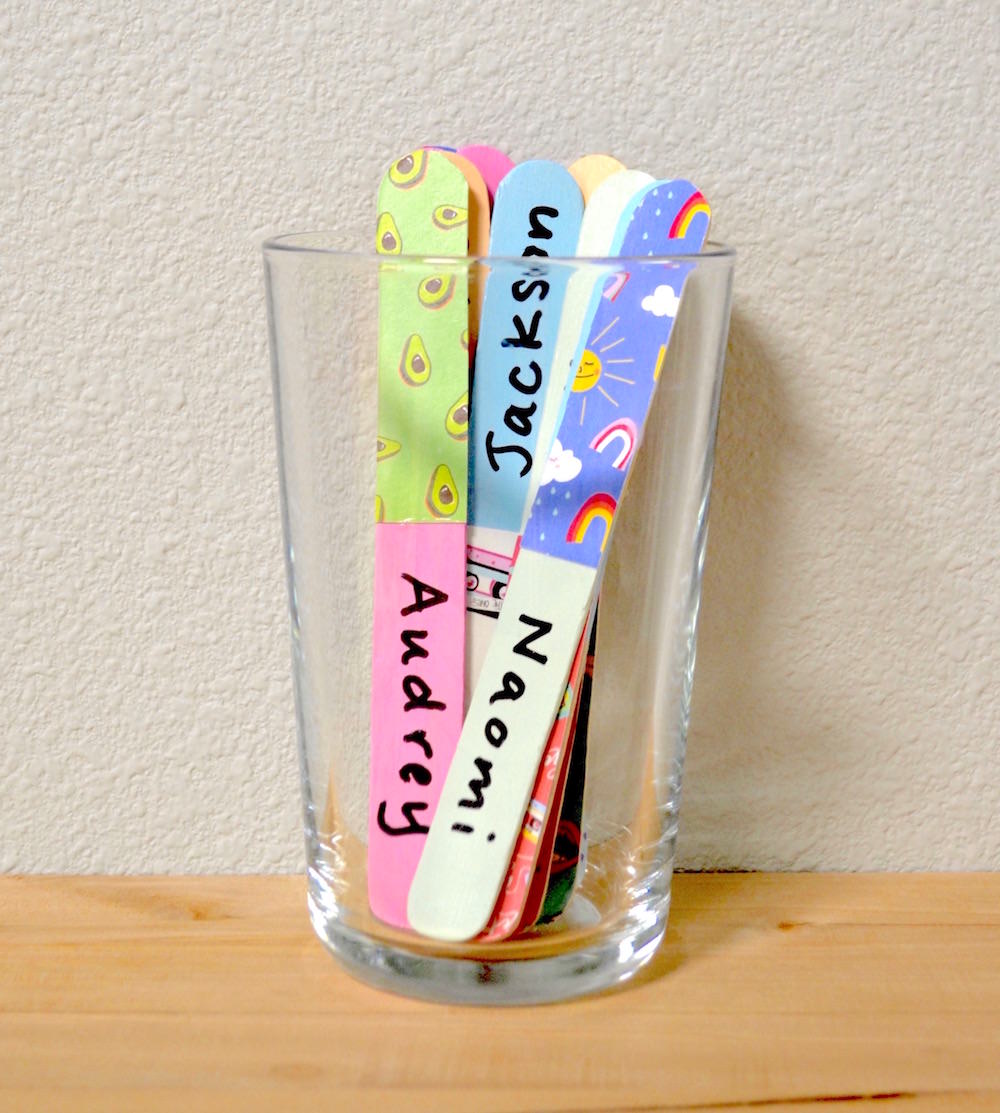
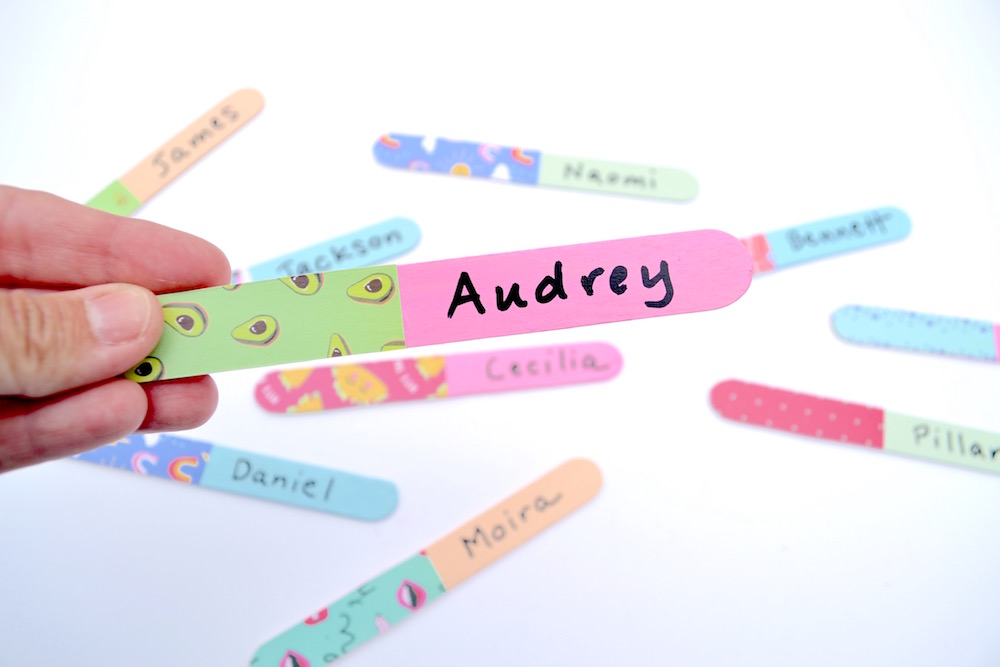
The concept entails that each learner receives a stick featuring their name, and all of the sticks are stored in a container. One side displays the student’s name while the reverse side features a design. Initially, all sticks are facing name-side up.
When a student’s name is drawn, the stick is inverted to signify they have been called on/chosen. This can be repeated until all sticks are flipped, then you can begin anew! It’s an excellent method to ensure fairness among your learners. Potential uses for these include:
- Randomly selecting students in class for responding to inquiries, distributing papers, etc.
- Assigning chores to students
- Taking turns in games
- Organizing students by skill level or interest (use color or paper design as your method of “coding”)
The possibilities are truly endless. AND – I believe I mentioned they are affordable to create! I procured all my materials from Michaels. I will guide you through it below.
But prior to that, you should be aware that Michaels is a considerable supporter of educators. Did you know you can receive 15% off your entire purchase at Michaels with your teacher discount? How fantastic!
If your students are mature enough, they might even create their own, which could turn into an enjoyable classroom craft. Regardless, let’s first gather what you need.
Collect These Materials
- Jumbo craft sticks
- Mod Podge Hard Coat
- Scrapbook paper in assorted patterns – scraps work perfectly for this!
- Acrylic paint in a range of colors
- Sharpie (regular or oil-based is suitable)
- Scissors
- Craft knife and mat
- Paintbrushes
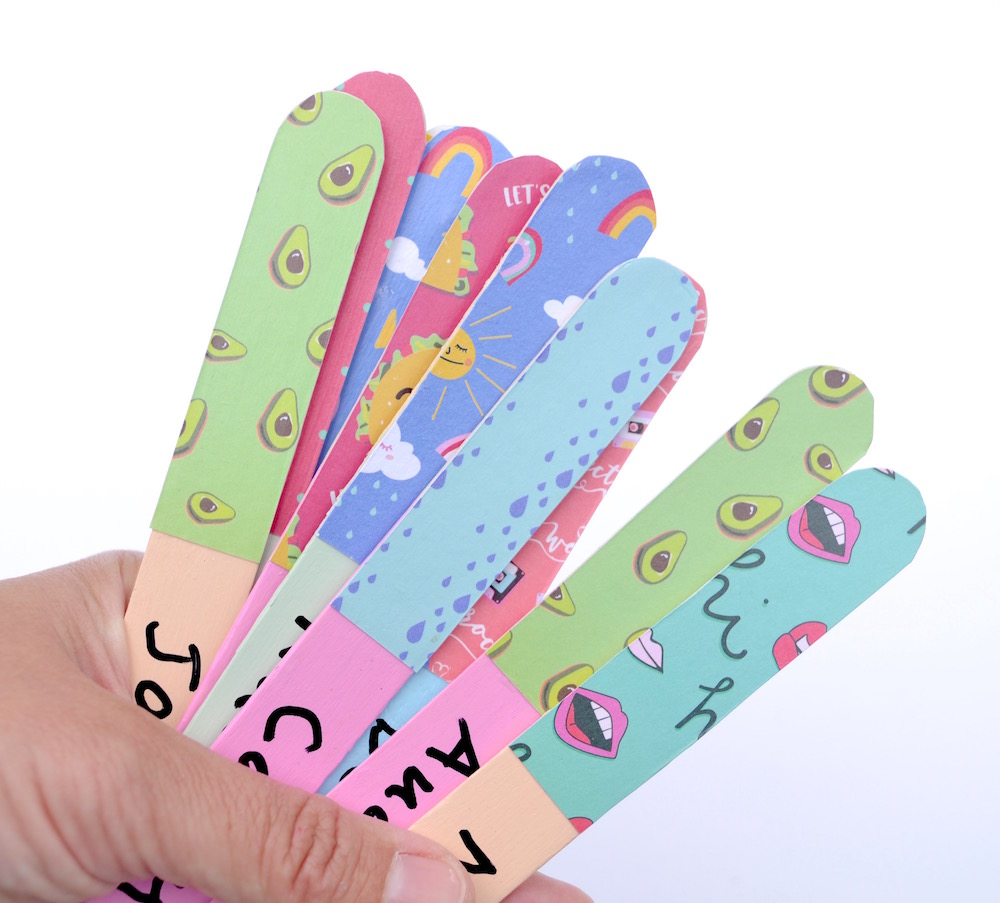
One of my favorite aspects of crafting these was selecting the papers. I mean, avocados? Seriously!?
Check out the full instructions below:
Name Sticks
Utilize these calling sticks as a tool for classroom management! They are straightforward to construct and children adore them.
Prep Time15
minutes mins
Active Duration2 hours hrs
Dry Duration1 hour hr
Overall Duration3 hours hrs 15 minutes mins
Yield: 30 sticks
Expense: $5
-
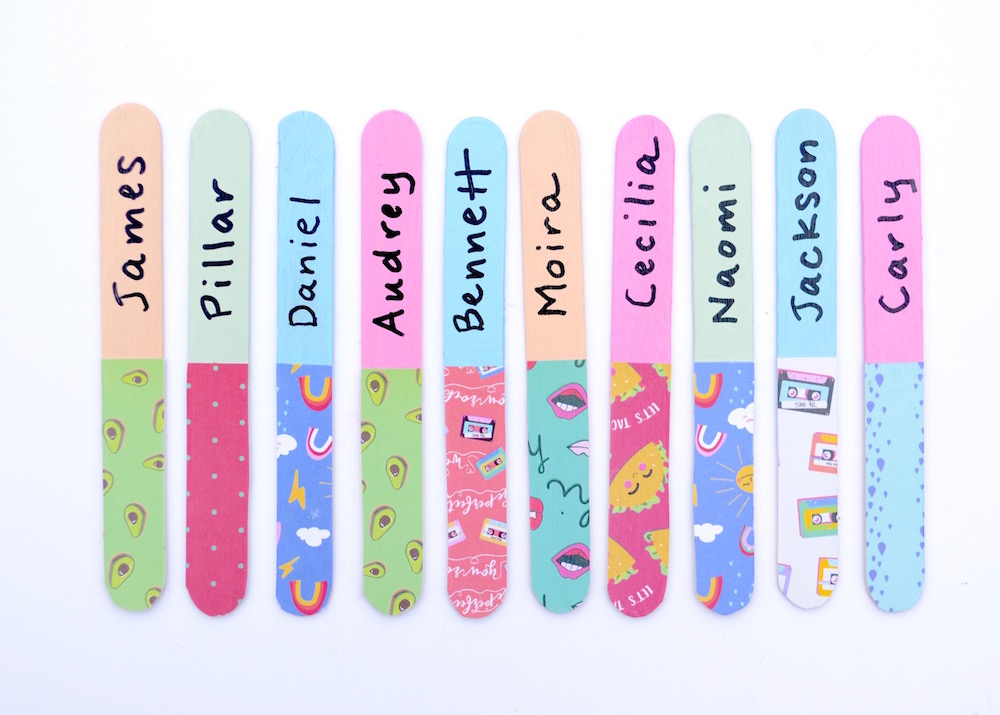
Commence by applying the acrylic paint hues of your preference to the sticks. You can organize colors based on ability or another metric. Paint the sticks on both sides (you only need to cover halfway). Allow to dry.
-
Place a small amount of Mod Podge Hard Coat on a scrap piece of paper; sufficient to cover the area of the craft stick. Lay the craft stick on the paper – roughly halfway down.
-
Repeat the process with all your craft sticks and paper, allowing them to dry. Create one for each student in class!
-
Cut around the paper. I utilized scissors to round off near the top. Then I used a craft knife along the sides to get close.
-
Once completed, repeat the Mod Podge and paper steps on the opposite side of the craft stick using the same paper pattern.
-
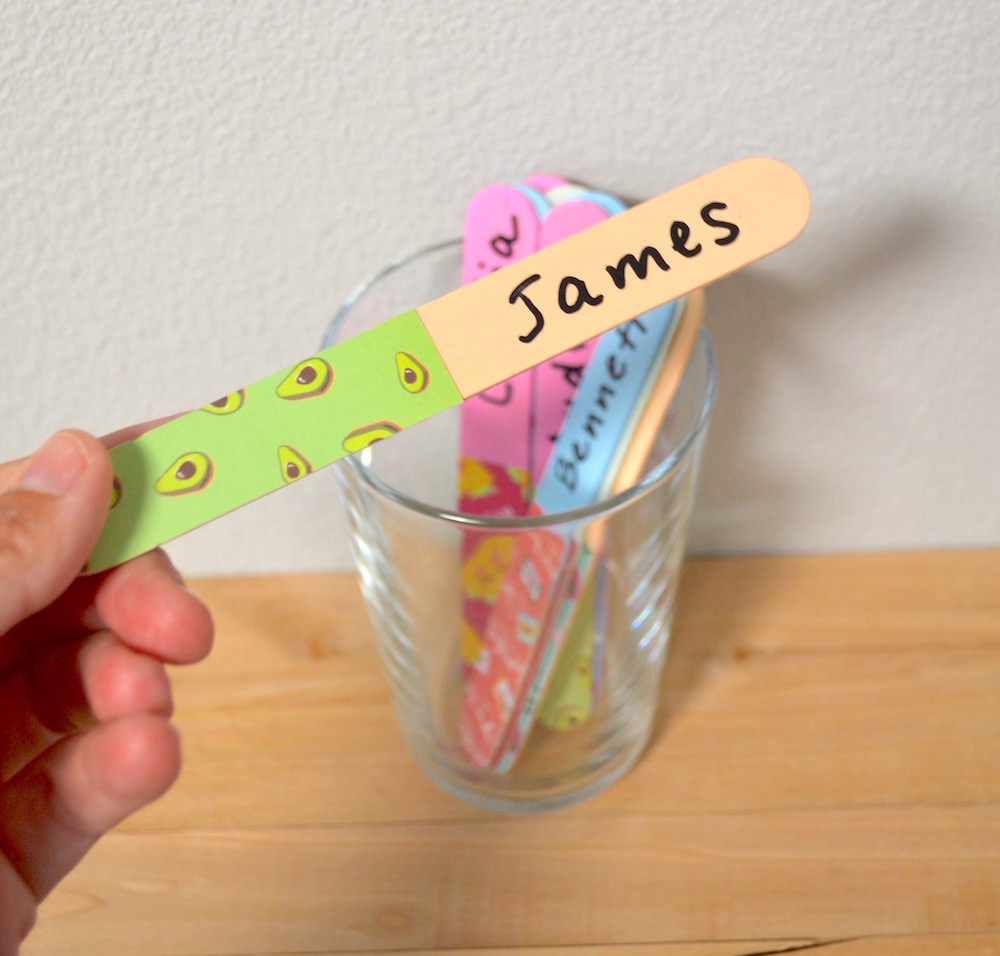
Inscribe their names on the craft sticks with a Sharpie.
-
After your ink dries, just apply Mod Podge on top. Allow to dry before utilizing.
I would love to hear if you create these – inform me in the comments. They are so enjoyable and simple, and your students will adore them! Wishing you a wonderful start to the new school year.
Did you find this post enjoyable? I’d appreciate it if you could explore these other articles:
Coloring Book Name Plaque • DIY Clipboard • DIY Magnets • DIY Notebook • Glitter Mug • Create a Keychain • Travel Mug