Winter squash is a garden essential due to its robust taste and lengthy shelf life. However, to achieve a more abundant and healthier harvest, it’s crucial to give your seedlings a solid beginning indoors. Starting winter squash inside guarantees earlier crops, sturdier plants, and enhanced pest resistance—before they even reach the garden.
Our guide below will provide you with all the information you need, from choosing the right seeds to offering the appropriate care for vigorous, healthy seedlings ready for outdoor planting.
This article may have affiliate links. If you click on one and make a purchase, I might receive a commission at no extra cost to you. You can find our disclosure policy here.
Why Begin Winter Squash Indoors?
Winter squash thrives in warm soil; directly sown squash often struggles in chilly, damp environments. Initiating growth indoors allows you to manage temperature, moisture, and initial growth, ensuring your plants are well-prepared when it’s time to transplant.
Young squash plants are also susceptible to slugs, squash pests, cutworms, and other insects. Starting seeds indoors provides your squash with a size advantage before they confront outdoor obstacles, leading to healthier and more resilient plants.
Selecting the Appropriate Winter Squash Seeds
Not every winter squash variety develops similarly. Some require extensive space, while others are ideal for small areas or containers.
Optimal for Small Gardens & Containers: Delicata, Acorn, Sweet Dumpling
Suitable for Large Gardens: Butternut, Hubbard, Kabocha, Spaghetti Squash
Best for Extended Storage: Buttercup, Blue Hubbard, Butternut
Pro Tip: If space is limited, opt for bush varieties or train vining types onto a stable trellis to conserve room.
Is Direct Sowing of Winter Squash Possible?
Yes, although it needs warm soil (above 60°F) and effective pest protection. If you favor direct seeding:
Wait for two weeks post your final frost prior to planting.
Place seeds one inch deep in well-draining soil.
Shield young seedlings with row covers to protect them from pests.
While direct sowing is viable, starting indoors provides you with an early advantage for the season and aids in avoiding initial pest damage.
Collecting Supplies
Before planting, ensure you have:
Pro Tip: Steer clear of regular potting soil—it’s too heavy for seedlings. Opt for a light seed-starting mix instead.
Sowing Winter Squash Seeds Indoors
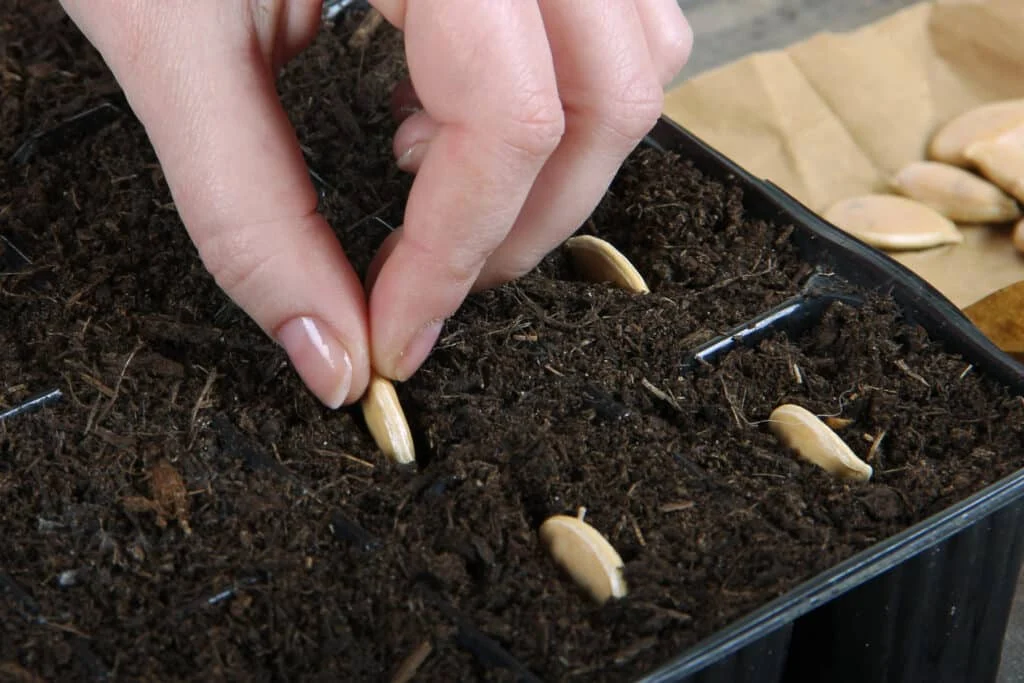
Fill containers with pre-moistened seed-starting mix, leaving about ½ inch of space at the top.
Create holes one inch deep and place one to two seeds per pot to ensure germination.
Lightly cover with soil, press gently, and moisten with warm water to settle the medium.
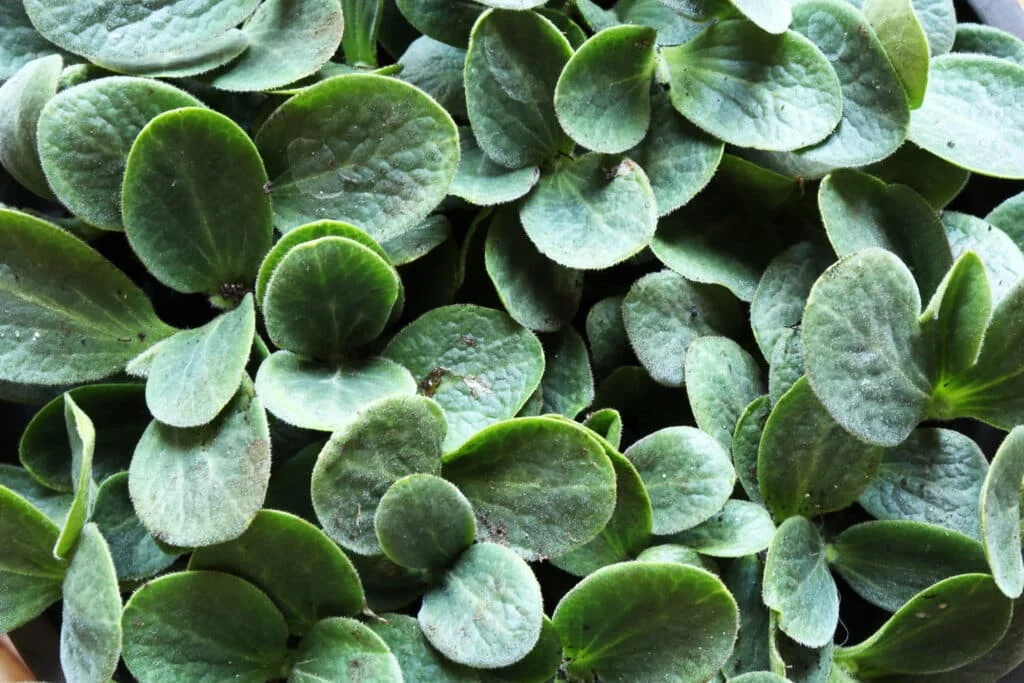
Label each variety to prevent mix-ups later—many squash seedlings appear similar.
Establishing Optimal Conditions for Germination
For rapid, robust germination:
Maintain the soil temperature between 70–90°F. A heating mat can assist in retaining warmth.
Ensure adequate humidity by draping trays with plastic wrap or utilizing a humidity dome.
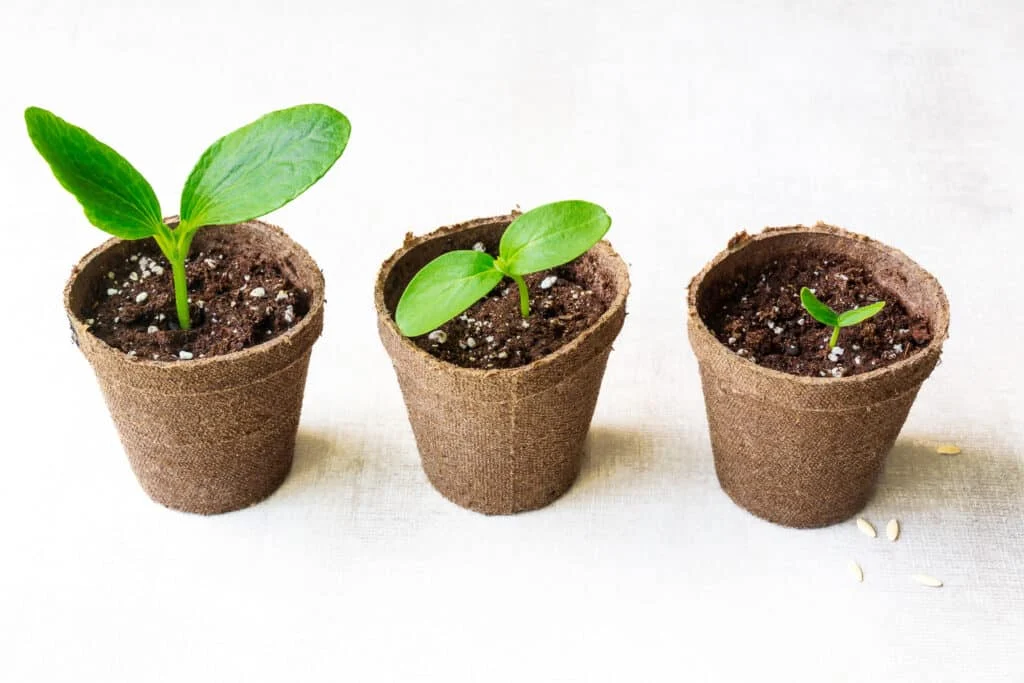
Germination usually occurs within 7-10 days.
Pro Tip: If seeds aren’t emerging within 10 days, verify the soil temperature—cooler conditions can significantly hinder germination. Starting winter squash indoors during late winter when windowsills remain quite chilly can lead to delayed germination.
Don’t fret if germination takes a bit longer! Squash can have a slow start, but they will emerge soon with the right warmth and moisture.
Nurturing Squash Seedlings
After your seeds germinate, prioritize building their strength.
Provide 12-16 hours of light daily. Grow lights are ideal.
Keep the soil damp but not overly wet. Water from below to prevent damping-off disease.
If both seeds germinate, trim the weaker one at the soil level to avoid disturbing the root system.
Pro Tip: Rotate pots daily so squash seedlings do not lean toward the light source.
If seedlings appear frail, don’t panic! They will gain strength as they develop—maintain close light and balanced watering.
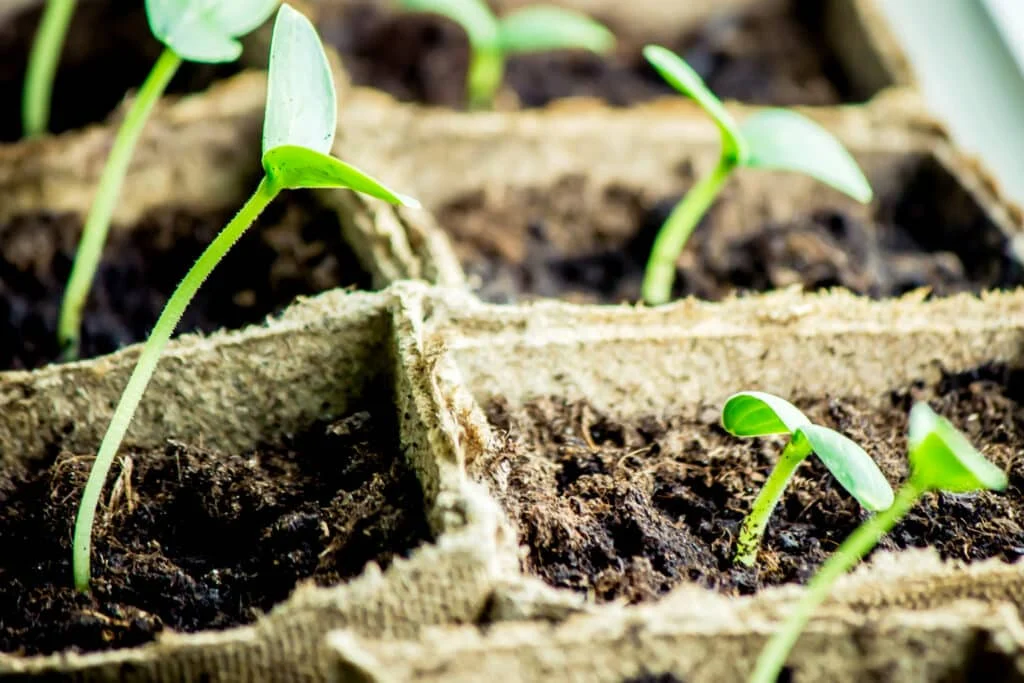
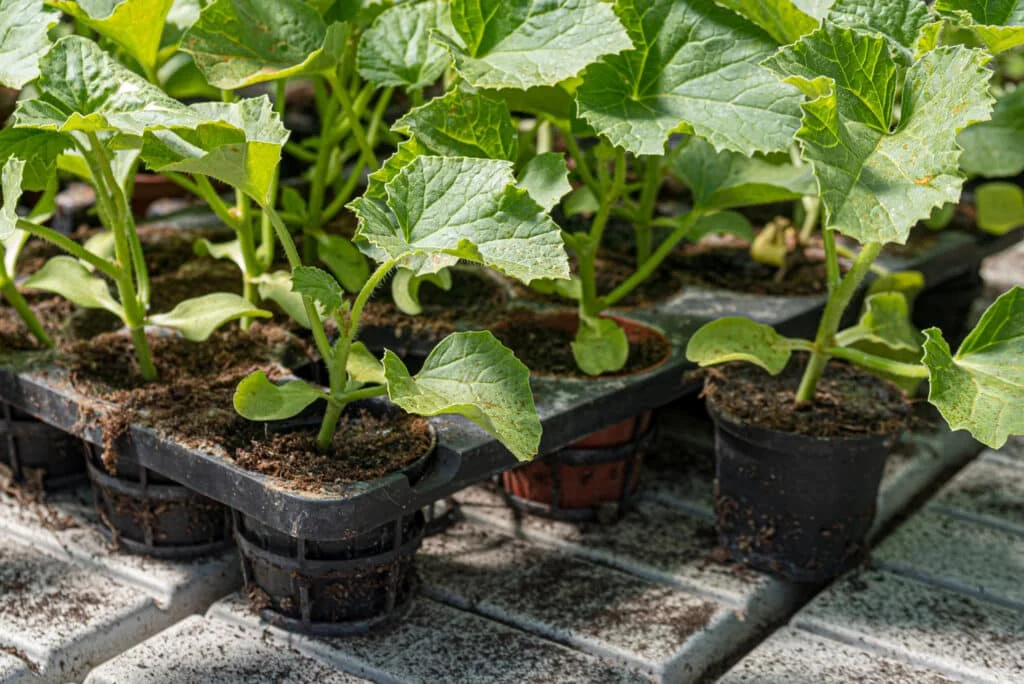
Squash seedlings reaching for light – these plants might become too leggy and lack the sturdiness required for healthy planting. A robust light source is essential to cultivate healthy, stocky seedlings.
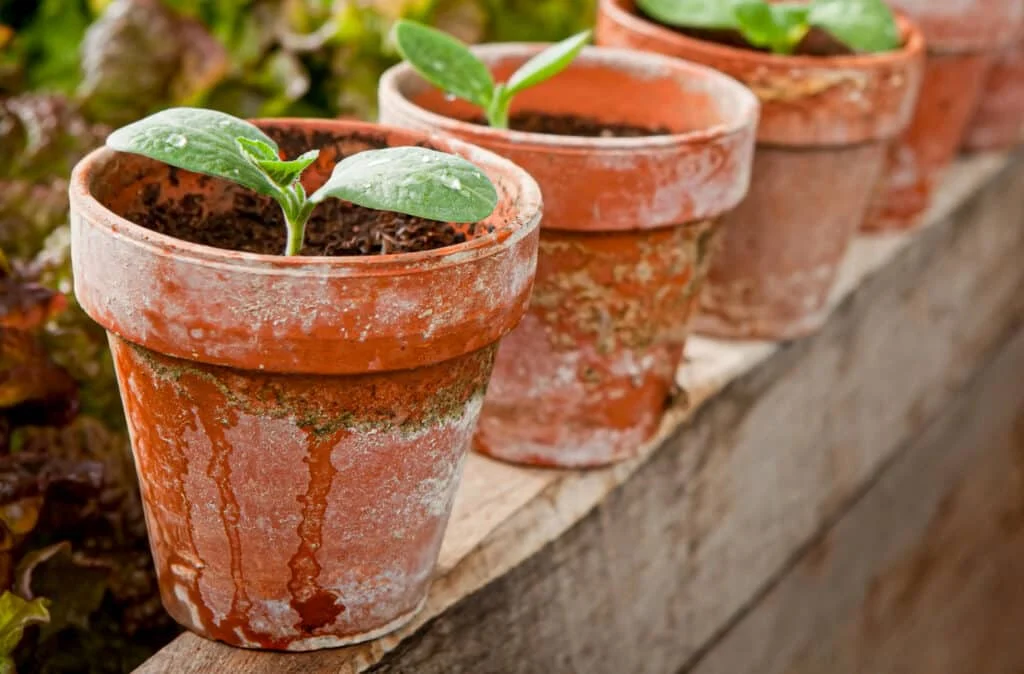
Transplanting: When & How to Repot Squash Seedlings
Winter squash develops rapidly and will exceed the size of small containers within weeks. Move seedlings into 4-6 inch pots before relocating them outdoors.
Gently lift seedlings, preserving the roots.
Transplant into larger containers filled with nutrient-rich potting mix.
Water thoroughly and place them back in their well-lit growing space.
Pro Tip: Opt for biodegradable pots to allow for direct planting in the garden later on.
Rather than potting them in stages, I opt to start my squash seedlings in larger containers from the outset. This approach saves time since I eventually need to transition them from smaller trays to larger pots.
Acclimatizing & Transplanting Outdoors
To avoid transplant shock, winter squash seedlings ought to be acclimated to outdoor environments gradually.
Set seedlings in a shaded area outdoors for 1-2 hours during the first three days.
Daily increase sunlight exposure over the subsequent days.
Keep them outside all day, bringing them indoors at night between days seven to ten.
Transplant into the garden when night temperatures remain above 55°F, and the soil is warm.
Space plants 3-4 feet apart for optimal results.
Pro Tip: Incorporate compost in each planting hole for an enhanced nutrient supply.
Three Frequent Mistakes to Evade When Initiating Winter Squash Indoors
Planting Prematurely
Squash develops rapidly. If you begin too early, you’ll end up with overgrown, rootbound seedlings before the weather is suitable for outdoor planting.
Resolution: Initiate seeds 3-4 weeks prior to your last frost date.
Excessive Watering
Overwatering results in damping-off disease, a lethal fungal affliction that obliterates seedlings at the base.
Resolution: Water from the bottom and allow the top inch of soil to dry slightly in between watering sessions.
Neglecting Hardening Off
Seedlings require time to acclimatize before being planted outside. Skipping this phase can lead to sunburn, stunting, or death.
Resolution: Gradually expose them to outdoor conditions over 7-10 days.
Pro Tip: New to cultivating squash? Don’t fret! Even if errors occur, squash are resilient—they will recover with appropriate care.
Troubleshooting Seedling Issues
Leggy seedlings: Relocate them closer to the grow light.
Slow growth: Verify the temperature—cold conditions hinder development.
Yellowing leaves: This might result from overwatering or a nitrogen deficiency.
Associated Posts:
Conclusion: Your Optimal Winter Squash Harvest Commences Now
Starting winter squash indoors provides you with more robust plants, earlier harvesting, and enhanced yields. With the appropriate conditions and attention, your seedlings will flourish from day one and give you delicious, flavorful squash throughout the season.
Author: Laura Kennedy
Writer & Proprietor of Little Yellow Wheelbarrow
Laura is an adept gardener and passionate flower aficionado. Despite her playful skirmishes with planting space guidelines, Laura’s work motivates gardeners to cultivate flourishing, stunning spaces that embody both creativity and sustainability.
Published: Feb 3, 2021 · Modified: Nov 5, 2025 by Shelly · This post may contain affiliate links · 1 Comment Cooking with kids doesn’t have to be comp [...]
With seaside lanterns crafted from sand, you can bring an authentic vacation ambiance to your home. All you require are a few supplies, a dash of imag [...]
How would you like to learn How to Draw the Grinch Step by Step? I’ll use my many years of drawing experience (over 50!) to break the drawing down int [...]
This Never Fail Chocolate Fudge Recipe delivers smooth, creamy, and chocolatey fudge- every- single- time. It’s the only fudge recipe you'll ever need [...]
Winter squash is a garden essential due to its robust taste and lengthy shelf life. However, to achieve a more abundant and healthier harvest, it’s cr [...]
I’m so excited to share my hand drawn Grinch Coloring Pages with you. This free coloring page captures the Grinch and his tiny heart that grows when h [...]
Make an adorable tissue paper bunny craft on canvas! A fun and easy Easter project for kids using Mod Podge, tissue paper, and pom poms. When I was li [...]
We use cookies on our website to give you the most relevant experience by remembering your preferences and repeat visits. By clicking “Accept”, you consent to the use of ALL the cookies.
This website uses cookies to improve your experience while you navigate through the website. Out of these, the cookies that are categorized as necessary are stored on your browser as they are essential for the working of basic functionalities of the website. We also use third-party cookies that help us analyze and understand how you use this website. These cookies will be stored in your browser only with your consent. You also have the option to opt-out of these cookies. But opting out of some of these cookies may affect your browsing experience.
Necessary cookies are absolutely essential for the website to function properly. These cookies ensure basic functionalities and security features of the website, anonymously.
Cookie
Duration
Description
cookielawinfo-checbox-analytics
11 months
This cookie is set by GDPR Cookie Consent plugin. The cookie is used to store the user consent for the cookies in the category "Analytics".
cookielawinfo-checbox-functional
11 months
The cookie is set by GDPR cookie consent to record the user consent for the cookies in the category "Functional".
cookielawinfo-checbox-others
11 months
This cookie is set by GDPR Cookie Consent plugin. The cookie is used to store the user consent for the cookies in the category "Other.
cookielawinfo-checkbox-necessary
11 months
This cookie is set by GDPR Cookie Consent plugin. The cookies is used to store the user consent for the cookies in the category "Necessary".
cookielawinfo-checkbox-performance
11 months
This cookie is set by GDPR Cookie Consent plugin. The cookie is used to store the user consent for the cookies in the category "Performance".
viewed_cookie_policy
11 months
The cookie is set by the GDPR Cookie Consent plugin and is used to store whether or not user has consented to the use of cookies. It does not store any personal data.
Functional cookies help to perform certain functionalities like sharing the content of the website on social media platforms, collect feedbacks, and other third-party features.
Performance cookies are used to understand and analyze the key performance indexes of the website which helps in delivering a better user experience for the visitors.
Analytical cookies are used to understand how visitors interact with the website. These cookies help provide information on metrics the number of visitors, bounce rate, traffic source, etc.
Advertisement cookies are used to provide visitors with relevant ads and marketing campaigns. These cookies track visitors across websites and collect information to provide customized ads.