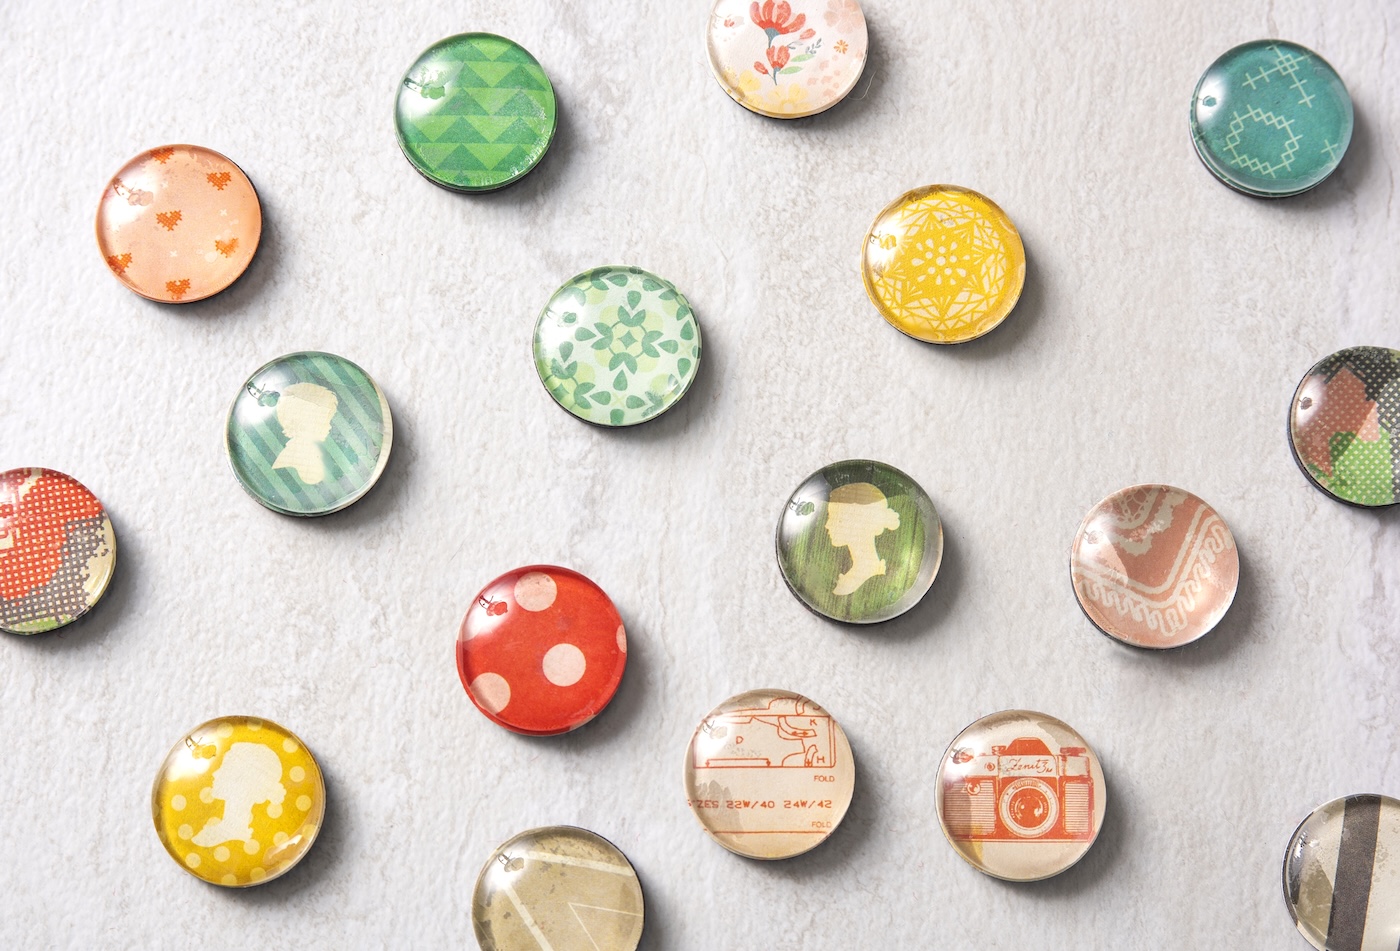
These DIY Mod Podge magnets are adorable, personalized, and simple to create using scrapbooking paper and glass gems! Ideal for children’s crafts, presents, or refrigerator decoration.
Required Skills: None. No previous crafting experience is necessary to craft these magnets – they are straightforward enough for anyone to create, including kids.
Seeking a craft that’s simple, charming, and genuinely practical? These DIY Mod Podge magnets are about to become your refrigerator’s new favorite companions.
Constructed with just a few materials — glass gems, scrapbook paper, and Mod Podge — they represent the kind of project that fulfills all criteria: beginner-friendly, cost-effective, and entirely customizable.
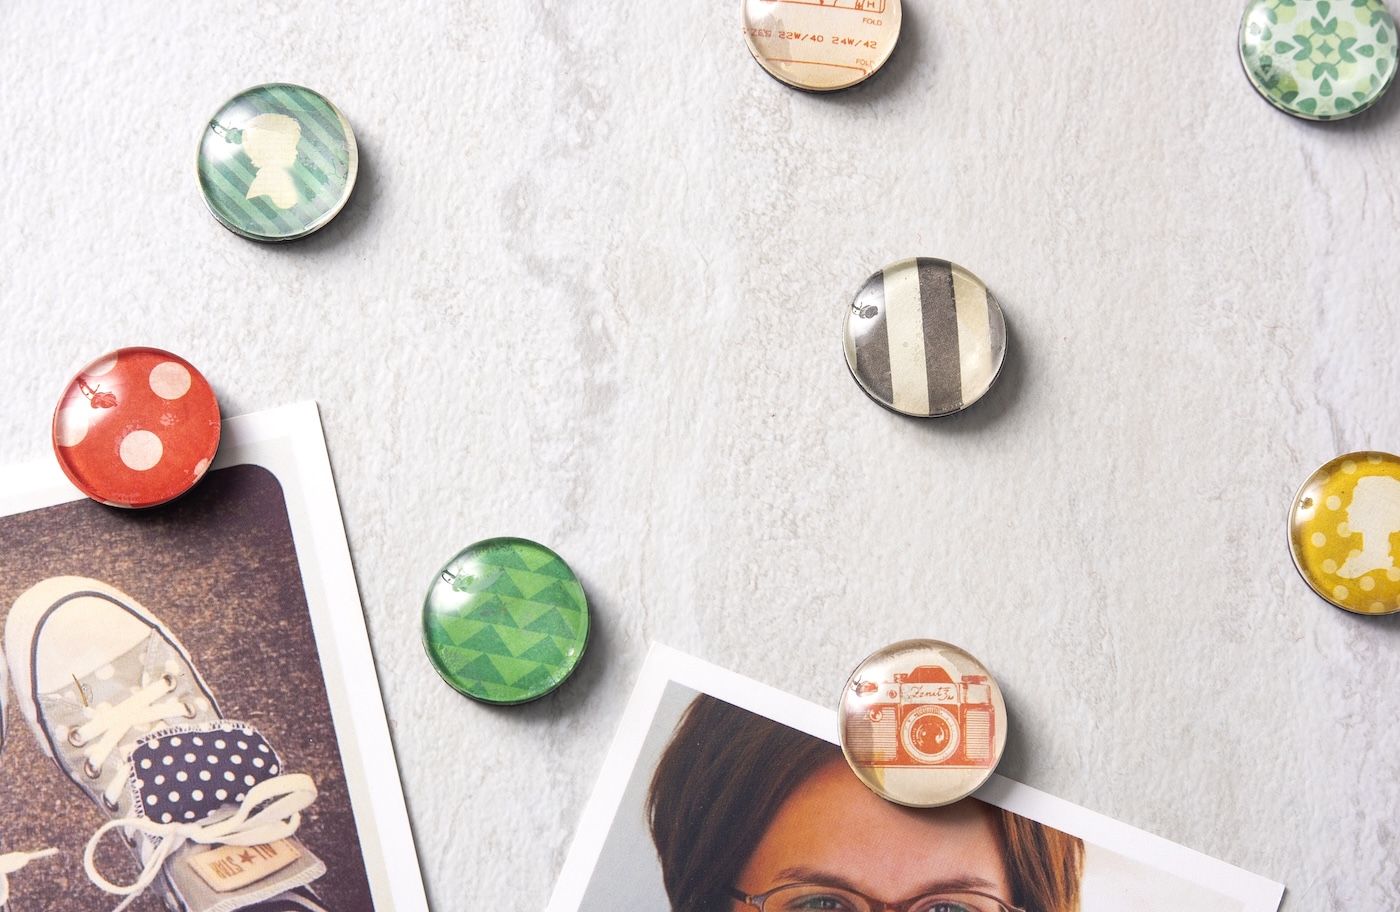
Why create your own magnets? Because commercially available ones tend to be costly, flimsy, and honestly — where’s the character? These handcrafted wonders are robust enough to hold actual items (yes, more than one sheet of paper), and they serve as tiny pieces of artwork.
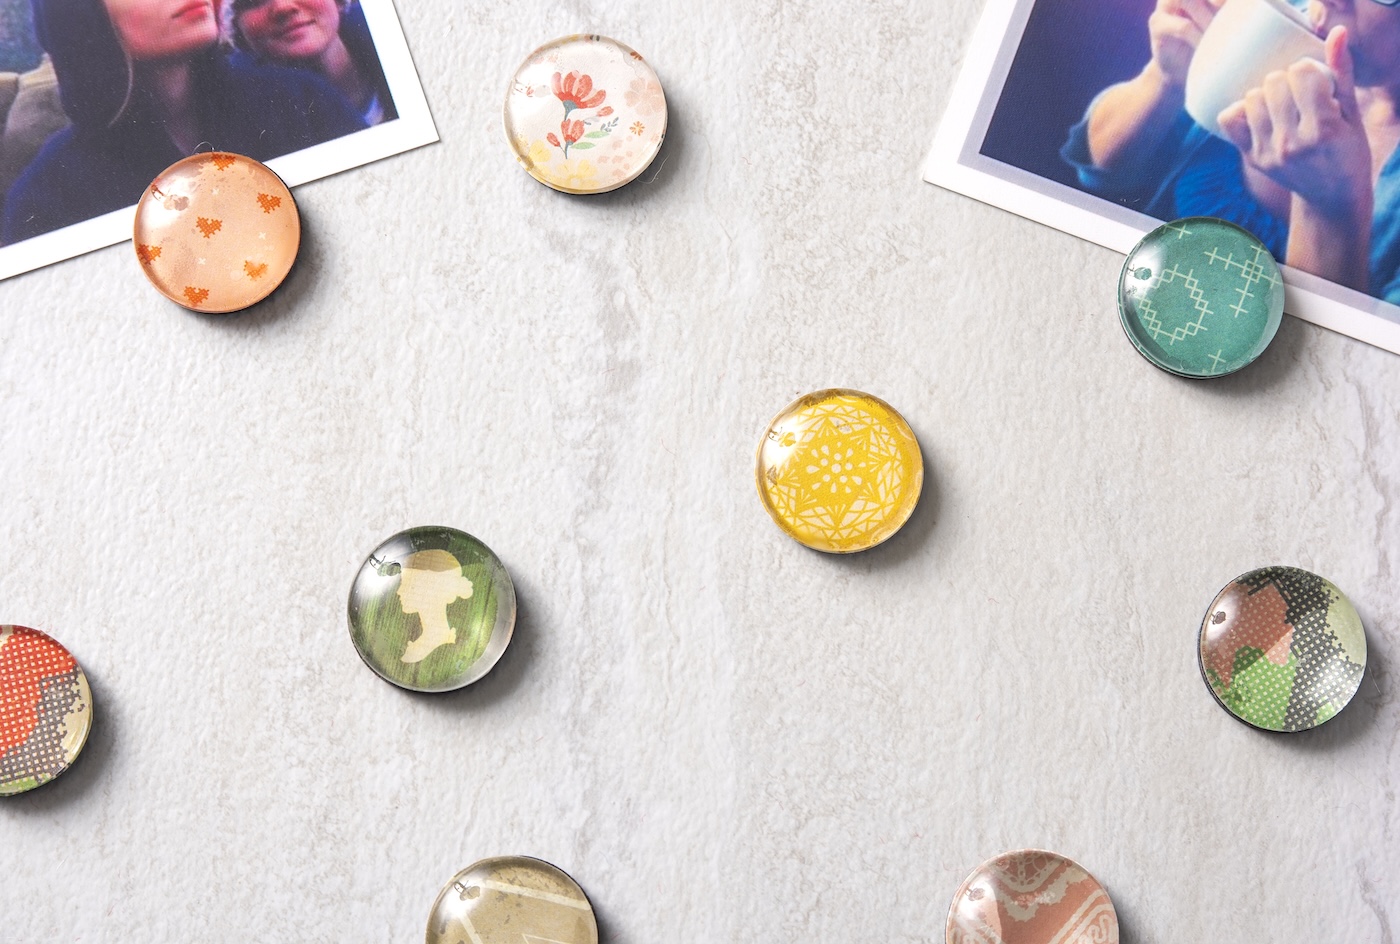
They’re fantastic for embellishing your fridge, organizing your workspace, gifting to educators or colleagues, or even as party favors.
Concerned about the procedure? Worry not!
- ✔️ Can children make them? Absolutely! With a little oversight during the adhesive phase, this is an excellent craft for all ages.
- ✔️ Will they really adhere? Definitely — they’re resilient and effective due to strong magnets and the correct adhesive.
- ✔️ What type of paper is most suitable? Scrapbook paper is optimal, but you may also use photographs, wrapping paper, or even old comics for a playful touch.
- ✔️ Do I require specialized skills? Not at all. If you can outline a circle and apply Mod Podge, you’re all set.
Whether you’re crafting a set for your kitchen, enhancing your home office, or creating thoughtful personalized gifts, these Mod Podge magnets are a quick and rewarding project. Let’s begin… because your fridge deserves a makeover.
Retrieve the printable how-to guide below:
Mod Podge Magnets
Discover how to create magnets using Mod Podge and paper! Enjoyable and simple for novices and perfect for gifts.
Preparation Time10 minutes mins
Active Time1 hour hr 20 minutes mins
Drying Time2 hours hrs
Total Time3 hours
Sure! Here’s the text with synonyms and altered sentence structures while keeping the HTML tags intact:
hrs 30 minutes mins
Output: 36 magnets
Expense: $18
-
Use a circle punch to cut out the circles.
-
In case you lack a circle punch, outline the magnets on the scrapbook paper and cut them out with scissors.
-
Apply Mod Podge to the rear of the marble piece and on top of the paper using a brush.
-
Carefully place the scrapbook paper on top and press firmly. Set aside. Repeat this process with the other marbles and paper. Allow to dry for 20 minutes.
-
Cut the extra paper along the edges with scissors.
-
Put a small amount of strong craft glue or E-6000 on the back, then press your magnet firmly. Repeat. Allow your magnets to dry for several hours before using or gifting.
There are kits obtainable on Amazon with adhesive magnets that enable you to bypass one of the gluing phases. Discover them here.
If you liked these magnets, I would appreciate it if you explored these other crafts you can do at home:
Bottle Cap Magnets • DIY Clipboard • Glass Photo Magnets • DIY Notebook • Glitter Mug • Create a Keychain • Mod Podge Coasters • Painted Wooden Spoons • Photo Blocks • Photo Bracelet • Photo Pillows • Travel Mug